
Introduction
Removing a bathroom faucet is often considered a daunting task. However, with the right tools and knowledge, it can be done relatively easily. This article will provide an overview of the problem and guide you through the entire process of removing a bathroom faucet.
Step-by-Step Guide on How to Remove a Bathroom Faucet
Before you begin, make sure you have all the necessary tools for the job. These include pliers, an adjustable wrench, a basin wrench, and a screwdriver. Additionally, you will also need a replacement faucet if you are planning to replace the existing one.
The first step is to shut off the water supply to the faucet. This can be done by turning off the valves at the base of the sink or the main water supply valve in your home. Once the water is turned off, you can begin to unscrew the faucet from its mounting plate.
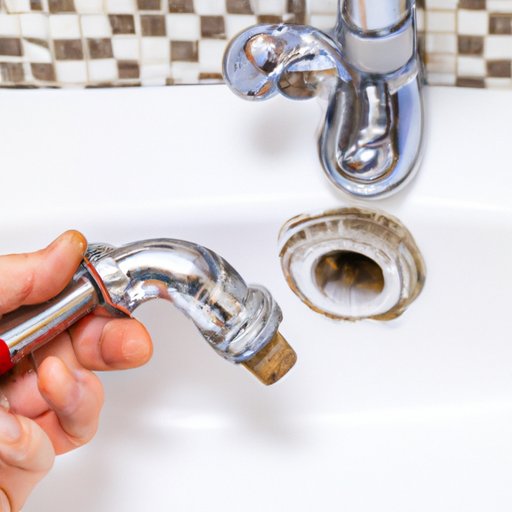
Next, you will need to remove the nuts and washers that are holding the faucet in place. Use a basin wrench to loosen the nuts and then gently pull out the faucet from the sink. Be careful not to damage the sink during this process.

DIY: Removing a Bathroom Faucet in Just a Few Simple Steps
If you’re feeling confident enough to tackle the job yourself, here are a few simple steps to get the job done. First, prepare your work area by gathering all the necessary tools and supplies. Then, start by removing the handle and escutcheon from the faucet body. Next, use an adjustable wrench to take off the valve stem. Finally, detach the supply lines and remove the faucet.

How to Easily Remove a Bathroom Faucet in 5 Steps
Removing a bathroom faucet doesn’t have to be complicated. Here are five easy steps to help you get started. First, turn off the water supply to the faucet. Then, use an adjustable wrench or a basin wrench to loosen the nut that holds the faucet in place. After that, carefully remove the old faucet from the sink. Replace the washer and nut, and finally, clean up any debris.
A Comprehensive Guide to Uninstalling a Bathroom Faucet
For a more detailed approach to removing a bathroom faucet, follow these steps. First, disconnect the water supply to the faucet. Then, remove the handle and escutcheon. Next, use an adjustable wrench to unscrew the faucet body. Once the faucet body is removed, take out the valve stem. Finally, replace any broken parts before reinstalling the faucet.

Quick and Easy Tutorial for Removing a Bathroom Faucet
If you’re looking for a quick and easy way to remove a bathroom faucet, here’s a tutorial that can help. Start by shutting off the water supply to the faucet. Then, remove the handle and escutcheon. Next, use an adjustable wrench or a basin wrench to unscrew the faucet body. After that, take out the valve stem and put in the new faucet.
Conclusion
Removing a bathroom faucet is not as difficult as it may seem. With the right tools and knowledge, anyone can do it. By following the steps outlined in this article, you can easily remove your old faucet and install a new one. The benefits of doing so include improved water flow, increased efficiency, and improved aesthetics.