
Introduction
Cabinet handles are an essential part of any kitchen or bathroom remodel. They provide a convenient way to open and close cabinets, as well as add a decorative touch to the space. Installing cabinet handles is not a difficult task and can be done in just a few simple steps. This article will provide an overview of the issue and then offer a comprehensive guide on how to put handles on cabinets.
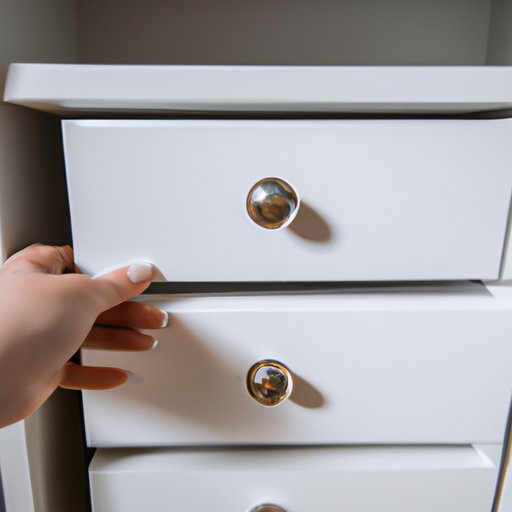
Step-by-Step Guide to Installing Cabinet Handles
Before installing your new cabinet handles, it is important to ensure you have all the necessary tools and materials. In addition to the handles themselves, you will need a drill, drill bits, screws, and a screwdriver. It is also recommended that you have some sandpaper or a file handy in case you need to adjust the size of the holes.
Once you have gathered all the necessary items, you can begin prepping the cabinet. Start by cleaning the surface with a damp cloth to remove any dirt and dust. Then measure the existing holes to determine the size of the new handles. If the holes do not match the size of the handles, use the sandpaper or file to enlarge them until they are the right size.
Next, attach the handles to the cabinet. Place the handle against the cabinet door and mark where the screws should go. Drill the pilot holes for the screws, then secure the handles in place with the screws. Finally, use the screwdriver to tighten the screws until they are firmly in place.
How to Easily Install New Handles on Cabinets
Installing new handles on cabinets is a relatively easy task. The first step is to measure the existing holes to determine the size of the new handles. Once you have the measurements, you can select the type of handle you want and purchase the correct size. It is important to choose a handle that is both functional and aesthetically pleasing.
After selecting the handles, prepare the cabinet by cleaning the surface with a damp cloth to remove any dirt and dust. Then mark where the handles should go and drill the pilot holes for the screws. Secure the handles in place with the screws, then use the screwdriver to tighten them until they are firmly in place.

DIY: Installing Cabinet Handles in Minutes
Installing cabinet handles is a quick and easy DIY task that can be completed in minutes. First, gather all the necessary tools and materials such as a drill, drill bits, screws, and a screwdriver. Next, measure the existing holes to determine the size of the new handles and select the type of handle you want. Mark where the handles should go and drill the pilot holes for the screws.
Secure the handles in place with the screws, then use the screwdriver to tighten them until they are firmly in place. Finally, wipe down the entire area with a damp cloth to remove any dirt and dust, and check the handles to make sure they are properly secured.

The Quick and Easy Way to Put Handles on Cabinets
Putting handles on cabinets doesn’t have to be complicated. Start by selecting the right handles for the job. Measure the existing holes to determine the size of the handles and choose ones that fit the dimensions. Then mark where the holes should go and drill the pilot holes for the screws.
Secure the handles in place with the screws and use the screwdriver to tighten them until they are firmly in place. Finally, wipe down the entire area with a damp cloth to remove any dirt and dust, and check the handles to make sure they are properly secured.

Installing Cabinet Handles: A Simple Guide for Beginners
Installing cabinet handles may seem daunting, but it is actually quite straightforward. To get started, you will need a few basic tools such as a drill, drill bits, screws, and a screwdriver. Then measure the existing holes to determine the size of the new handles and select the type of handle you want.
Mark where the handles should go and drill the pilot holes for the screws. Secure the handles in place with the screws, then use the screwdriver to tighten them until they are firmly in place. Finally, wipe down the entire area with a damp cloth to remove any dirt and dust, and check the handles to make sure they are properly secured.
Conclusion
Installing cabinet handles is a relatively easy task that can be done in just a few simple steps. This article has provided a comprehensive guide on how to put handles on cabinets, including step-by-step instructions, tips and tricks, and helpful resources. With the right tools and materials, anyone can easily install new handles on their cabinets.
For more information on installing cabinet handles, be sure to visit your local hardware store or online resources such as Home Depot or Lowe’s. You can also find helpful videos and tutorials online that provide step-by-step instructions.