
Introduction
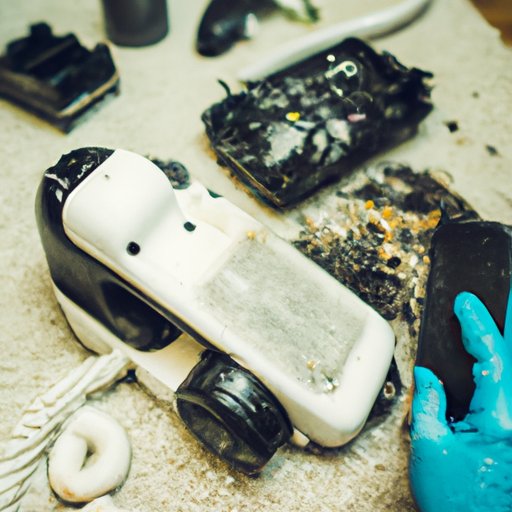
Water damage can be devastating for any device, particularly a phone. It can cause permanent damage to the internal components of the phone, making it unusable. Fortunately, there are steps that can be taken to repair a water damaged phone and potentially save it from becoming a total loss. In this article, we will explore these steps in detail and provide step-by-step instructions on how to fix a water damaged phone.
Power Down the Device
The first step in repairing a water damaged phone is to power down the device. This will help prevent further damage from occurring to the internal components. To power down the device, simply hold down the power button until the device turns off. Once the device has been powered down, it is important to leave it off until the other steps have been completed.
Remove Battery, SIM Card, and Memory Card
The next step in repairing a water damaged phone is to remove the battery, SIM card, and memory card. These components can easily become damaged if left in the device while it is being repaired, so it is important to take them out before proceeding. To remove the battery, SIM card, and memory card, simply follow the instructions in your phone’s user manual. Once these components have been removed, they should be set aside in a safe place until the repair is complete.
Dry Out the Device
Once the battery, SIM card, and memory card have been removed, it is time to dry out the device. This is an essential step in repairing a water damaged phone, as moisture can cause permanent damage to the internal components. There are several methods for drying out a water damaged phone, including using a blow dryer on a low heat setting, leaving the phone in direct sunlight, or using canned air or compressed air to blow out the moisture. Whichever method is used, it is important to make sure the device is completely dry before continuing.
Use a Vacuum Cleaner to Remove Excess Liquid
Another important step in repairing a water damaged phone is to use a vacuum cleaner to remove any excess liquid. This will help ensure that all of the moisture has been removed from the device. To do this, simply attach the vacuum cleaner to the device and turn it on. Move the vacuum cleaner around the device in a circular motion to ensure that all of the excess liquid has been removed.

Fill a Bag With Silica Gel or Rice
Once the device has been dried out and the excess liquid has been removed, it is important to fill a bag with silica gel or rice. This will help absorb any remaining moisture in the device. To do this, simply fill a plastic bag with either silica gel or rice and place the device inside. Make sure the device is completely covered by the silica gel or rice and leave it in the bag for at least 24 hours.
Visit a Professional Technician
The final step in repairing a water damaged phone is to visit a professional technician. A qualified technician will have the knowledge and experience to properly diagnose and repair the device. They will also be able to provide advice on how to prevent future water damage. To find a qualified technician, simply search online for “water damage phone repair” or “phone repair near me”.
Conclusion
Water damage can be devastating for any device, particularly a phone. Fortunately, there are steps that can be taken to repair a water damaged phone and potentially save it from becoming a total loss. This article has explored these steps in detail and provided step-by-step instructions on how to fix a water damaged phone. If you have experienced water damage to your phone, take action now and follow these steps to get your device back up and running.