
Introduction
Outdoor faucets are essential components of any home’s plumbing system, providing a convenient way to access water for gardening, washing cars, filling pools, and more. Unfortunately, outdoor faucets can leak due to worn washers, loose connections, corrosion, or clogs in the water line. If left unchecked, these issues can cause costly damage to your property, so it’s important to act quickly if you suspect a leaking outdoor faucet. In this article, we’ll provide a step-by-step guide on how to fix an outdoor faucet leak.
Replace the Washers
The first step in fixing an outdoor faucet leak is to replace the washers. Washers are rubber discs that fit between the valve stem and the faucet body, creating a watertight seal. Over time, washers can become worn out or cracked, allowing water to seep through and create a leak. Fortunately, replacing the washers is relatively easy.
Step-by-Step Instructions:
- Turn off the water supply to the faucet.
- Unscrew the handle from the faucet body.
- Remove the packing nut and lift out the valve stem.
- Remove the old washer from the valve stem and replace it with a new one.
- Reassemble the faucet and turn on the water supply.
Tips for Choosing the Right Washers: When purchasing replacement washers, make sure to choose ones that are sized correctly for your faucet. You should also look for washers made of durable materials such as rubber or neoprene, as these will last longer and provide a better seal.
Tighten the Connections
If the washers are in good condition but the faucet is still leaking, the next step is to check the connections. Loose connections can allow water to seep through and create a leak, so it’s important to make sure all the connections are tightened properly.
Step-by-Step Instructions:
- Turn off the water supply to the faucet.
- Check all the connections for tightness.
- Use a wrench to tighten any loose connections.
- Reassemble the faucet and turn on the water supply.
Tips for Tightening the Connections Correctly: When tightening the connections, be careful not to overtighten them. Overexerting yourself can strip the threads or break the pipe, so use just enough force to ensure a secure connection.
Check for Corrosion
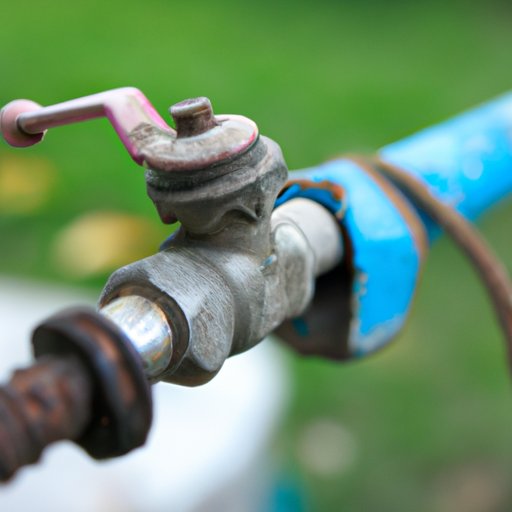
Corrosion can also lead to outdoor faucet leaks, as it can weaken the metal parts of the faucet and allow water to seep through. To check for corrosion, you’ll need to inspect the faucet for signs of rust or discoloration.
Step-by-Step Instructions:
- Inspect the faucet for signs of rust or discoloration.
- If corrosion is found, use a wire brush to remove it.
- Apply a protective coating to prevent further corrosion.
Tips for Dealing with Corrosion: If you find corrosion on the faucet, it’s important to take steps to prevent it from spreading. Use a wire brush to remove any rust or discoloration, then apply a protective coating such as paint or epoxy to help protect against future corrosion.
Inspect the Hose Bib
The hose bib is the part of the faucet where you attach the garden hose. Over time, the hose bib can become worn or corroded, which can cause the faucet to leak. To check the hose bib, you’ll need to inspect it for signs of wear and tear.
Step-by-Step Instructions:
- Inspect the hose bib for signs of wear and tear.
- If the hose bib is worn or corroded, replace it.
Tips for Recognizing Signs of Wear and Tear: Look for signs of cracking, flaking, or discoloration. If the hose bib is severely worn or corroded, it’s best to replace it with a new one.
Unclog the Water Line
Clogs in the water line can also cause outdoor faucet leaks. To check for a clog, you’ll need to disconnect the faucet from the water line and flush it out with a garden hose.
Step-by-Step Instructions:
- Disconnect the faucet from the water line.
- Attach a garden hose to the water line and flush it out.
- If the water flow is slow, use a plumbing snake to remove any clogs.
Tips for Preventing Future Clogs: To prevent clogs in the future, make sure to clean out the water line regularly. You can also add a filter to the water line to help keep debris out of the faucet.
Install a New Faucet
If all else fails, you may need to install a new faucet. Installing a new faucet isn’t too difficult, but it does require some basic plumbing skills. Before you begin, make sure you have all the necessary tools and supplies.
Step-by-Step Instructions:
- Turn off the water supply to the faucet.
- Disconnect the old faucet from the water line.
- Install the new faucet according to the manufacturer’s instructions.
- Reconnect the faucet to the water line and turn on the water supply.
Tips for Finding the Right Replacement: Make sure to choose a faucet that is compatible with your existing plumbing setup. You should also look for a faucet made of durable materials such as brass or stainless steel, as these will last longer and provide better performance.
Conclusion
Fixing a leaking outdoor faucet doesn’t have to be a daunting task. By following the steps outlined in this article, you can easily diagnose and repair the issue. From replacing the washers to installing a new faucet, you now know how to fix an outdoor faucet leak. Remember, the key is to act quickly and take preventive measures to avoid further damage.
It’s important to take care of outdoor faucet leaks right away, as they can lead to more serious problems if left unchecked. With the right knowledge and tools, you can easily fix a leaky outdoor faucet and keep your property safe from costly damage.