
Introduction
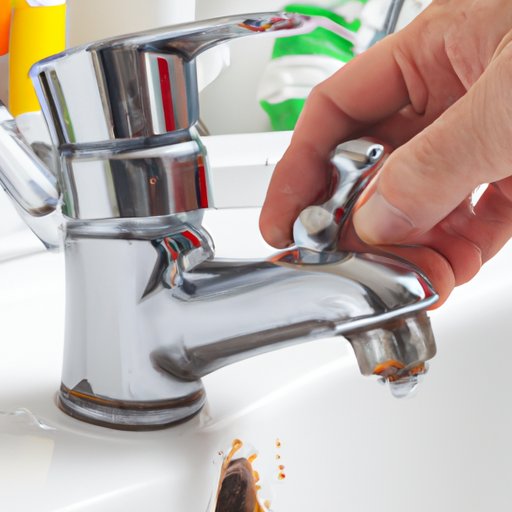
A dripping bathroom faucet is one of the most common plumbing problems that homeowners face. It not only causes an annoying sound but can also waste large amounts of water if left unchecked. The good news is that it doesn’t take a professional plumber to fix this problem. With the right tools and knowledge, you can easily repair your own dripping bathroom faucet.
Step-by-Step Guide to Fixing a Dripping Bathroom Faucet
If you want to tackle the job yourself, here’s a step-by-step guide to help you out:
Gather Necessary Tools
Before you begin, make sure you have all the necessary tools for the job. You’ll need a wrench set, adjustable pliers, screwdrivers, and a basin wrench. Depending on the type of faucet you have, you might also need a special tool such as an Allen wrench or a cartridge puller.
Shut Off Water Supply
Once you have all the tools you need, the first step is to shut off the water supply to your bathroom. This is usually done at the main shutoff valve near your home’s water meter. If you don’t know where the main shutoff valve is, ask your local water utility for assistance.
Remove Handle and Other Parts
Once the water supply is shut off, you can start removing the handle and other parts from the faucet. To do this, use the appropriate wrench to loosen the nuts or screws that are holding the parts in place. Be careful not to strip any of the screws or nuts when removing them.
Replace Seals and Washers
In most cases, a dripping bathroom faucet is caused by worn-out seals or washers. To replace them, you’ll need to purchase replacement parts that match the size and type of the originals. Once you have the new parts, simply unscrew the old ones and replace them with the new ones.
Reassemble Parts
Once you’ve replaced the seals and washers, you can begin to reassemble the parts. Make sure to use the same order and torque that you used when disassembling the faucet. Finally, tighten the nuts or screws to secure the parts in place.
Turn Water Supply Back On
Once everything is put back together, you can turn the water supply back on. Before doing so, make sure that all the connections are tight and there are no leaks. If there are any leaks, you may need to adjust the connections or replace the parts.

DIY Tips to Stop a Dripping Bathroom Faucet
Here are some additional tips to consider when trying to fix a dripping bathroom faucet:
Clean the Aerator
The aerator is the small screen at the end of the faucet spout. Over time, it can become clogged with minerals and debris, which can cause the faucet to drip. To clean it, use a brush and some vinegar or baking soda to scrub away the buildup.
Tighten or Replace the O-ring
The O-ring is a rubber seal that sits between the faucet body and the handle. If it is loose or damaged, it can cause the faucet to leak. To fix this, try tightening the O-ring or replacing it with a new one.
Check for Loose Nuts and Bolts
Finally, check all the nuts and bolts that hold the faucet together. If any of them are loose, you may need to tighten them using a wrench. If they are too tight, you may need to replace them.
How to Repair a Leaky Bathroom Faucet in 5 Easy Steps
Here’s a quick overview of the steps you need to take to repair a leaking bathroom faucet:
Step 1: Shut Off Water Supply
The first step is to shut off the water supply to the bathroom. This is usually done at the main shutoff valve near your home’s water meter.
Step 2: Remove Handle and Other Parts
Next, use the appropriate wrench to remove the handle and other parts from the faucet. Be careful not to strip any of the screws or nuts when removing them.
Step 3: Inspect and Replace Washers or Seals
Inspect the washers or seals and replace them if necessary. Make sure to purchase replacement parts that match the size and type of the originals.
Step 4: Reassemble Parts
Once you’ve replaced the washers or seals, you can begin to reassemble the parts. Use the same order and torque that you used when disassembling the faucet.
Step 5: Turn on Water Supply
Finally, turn the water supply back on and check for any leaks. If there are any leaks, you may need to adjust the connections or replace the parts.

A Quick Guide on How to Fix a Dripping Bathroom Faucet
For those who want to quickly fix a dripping bathroom faucet, here’s a quick guide to get you started:
Step 1: Shut Off Water Supply
The first step is to shut off the water supply to the bathroom. This is usually done at the main shutoff valve near your home’s water meter.
Step 2: Inspect and Replace Washers or Seals
Inspect the washers or seals and replace them if necessary. Make sure to purchase replacement parts that match the size and type of the originals.
Step 3: Reassemble Parts
Once you’ve replaced the washers or seals, you can begin to reassemble the parts. Use the same order and torque that you used when disassembling the faucet.
Step 4: Clean the Aerator
The aerator is the small screen at the end of the faucet spout. To clean it, use a brush and some vinegar or baking soda to scrub away the buildup.
Step 5: Turn on Water Supply
Finally, turn the water supply back on and check for any leaks. If there are any leaks, you may need to adjust the connections or replace the parts.

The Essential Guide to Fixing a Leaking Bathroom Faucet
If you want to ensure that your bathroom faucet is fixed properly, here’s a comprehensive guide to help you out:
Gather Necessary Tools
Before you begin, make sure you have all the necessary tools for the job. You’ll need a wrench set, adjustable pliers, screwdrivers, and a basin wrench. Depending on the type of faucet you have, you might also need a special tool such as an Allen wrench or a cartridge puller.
Shut Off Water Supply
Once you have all the tools you need, the first step is to shut off the water supply to your bathroom. This is usually done at the main shutoff valve near your home’s water meter. If you don’t know where the main shutoff valve is, ask your local water utility for assistance.
Remove Handle and Other Parts
Once the water supply is shut off, you can start removing the handle and other parts from the faucet. To do this, use the appropriate wrench to loosen the nuts or screws that are holding the parts in place. Be careful not to strip any of the screws or nuts when removing them.
Inspect and Replace Washers or Seals
In most cases, a dripping bathroom faucet is caused by worn-out seals or washers. To replace them, you’ll need to purchase replacement parts that match the size and type of the originals. Once you have the new parts, simply unscrew the old ones and replace them with the new ones.
Reassemble Parts
Once you’ve replaced the seals and washers, you can begin to reassemble the parts. Make sure to use the same order and torque that you used when disassembling the faucet. Finally, tighten the nuts or screws to secure the parts in place.
Clean the Aerator
The aerator is the small screen at the end of the faucet spout. Over time, it can become clogged with minerals and debris, which can cause the faucet to drip. To clean it, use a brush and some vinegar or baking soda to scrub away the buildup.
Tighten or Replace the O-ring
The O-ring is a rubber seal that sits between the faucet body and the handle. If it is loose or damaged, it can cause the faucet to leak. To fix this, try tightening the O-ring or replacing it with a new one.
Check for Loose Nuts and Bolts
Finally, check all the nuts and bolts that hold the faucet together. If any of them are loose, you may need to tighten them using a wrench. If they are too tight, you may need to replace them.
Turn on Water Supply
Once everything is back together, you can turn the water supply back on. Before doing so, make sure that all the connections are tight and there are no leaks. If there are any leaks, you may need to adjust the connections or replace the parts.
Conclusion
Fixing a dripping bathroom faucet is a relatively simple task that anyone can do with the right tools and knowledge. The steps outlined in this guide should help you repair your faucet quickly and easily. However, if you find that the problem persists, you may need to call a professional plumber for further assistance.