
Introduction
Connecting a mouse to your laptop is an essential part of enjoying the full computing experience. Whether you are using your laptop for work or play, having a reliable mouse is key to ensuring that your tasks are completed in a timely manner. However, connecting a mouse to your laptop can be a daunting task, especially if you are not familiar with the technology. This article will provide a step-by-step guide to help you connect your mouse to your laptop.
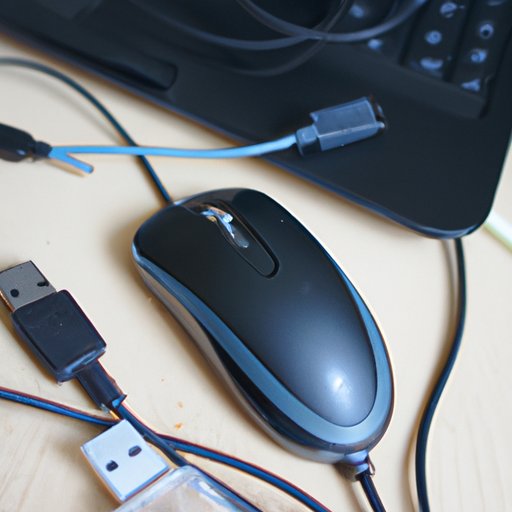
Using a USB Cable
The most common way to connect a mouse to your laptop is by using a USB cable. USB stands for Universal Serial Bus, and it is a type of data cable used for transferring data between devices. The USB cable has two ends, one end connects to the mouse and the other end connects to the laptop. In order to connect the mouse to your laptop, you need to plug the USB cable into both devices.
Connecting via Bluetooth
Another way to connect a mouse to your laptop is by using Bluetooth technology. Bluetooth is a short-range wireless technology that allows two devices to communicate with each other. The mouse must have a built-in Bluetooth receiver in order to connect to your laptop. To connect the mouse to your laptop, you need to turn on the Bluetooth setting on your laptop and then pair the mouse with your laptop.
Using an RF Wireless Receiver
If you have an RF (radio frequency) wireless mouse, you can connect it to your laptop by using an RF wireless receiver. The receiver plugs into your laptop’s USB port and acts as a bridge between the mouse and the laptop. You need to plug the receiver into your laptop before you can use the mouse. Once the receiver is plugged in, you can turn on the mouse and it should automatically connect to the receiver.
Installing Mouse Drivers
In some cases, you may need to install mouse drivers in order for your mouse to work properly. Mouse drivers are software programs that allow your mouse to communicate with your laptop. Depending on the type of mouse you have, you may need to download and install the appropriate mouse driver from the manufacturer’s website. Once the driver is installed, you should be able to use your mouse with your laptop.
Plugging in the Mouse
Once you have installed the appropriate drivers and connected the mouse to your laptop, you need to physically plug in the mouse. Most mice come with a USB cable that needs to be plugged into the USB port on your laptop. Once the mouse is plugged in, you should be able to use it with your laptop.
Checking Your Laptop’s Settings
In some cases, you may need to change your laptop’s settings in order for the mouse to work properly. You need to check the settings related to the mouse, such as the speed and sensitivity. You can access these settings from the control panel or from the mouse settings menu. Once you have adjusted the settings, you should be able to use your mouse with your laptop.
Troubleshooting Any Issues
If you are having trouble connecting your mouse to your laptop, there are a few things you can try. First, make sure that the mouse is turned on and that the batteries are charged. Second, check the USB ports to make sure that they are working properly. Third, make sure that the correct drivers are installed on your laptop. Finally, if all else fails, contact the manufacturer or a computer technician for assistance.
Conclusion
Connecting a mouse to your laptop is a relatively simple process. All you need to do is plug the mouse into your laptop and install the appropriate drivers. Once the mouse is connected, you can adjust the settings to suit your needs. If you run into any issues, you can try troubleshooting them or contact a professional for assistance. With this guide, you should now be able to easily connect your mouse to your laptop.