
Introduction
Connecting an HP printer to a computer can be a daunting task for those who are not tech-savvy. However, with the right steps and the correct materials, it is relatively easy to get the job done. This article provides a step-by-step guide on how to connect an HP printer to a computer.
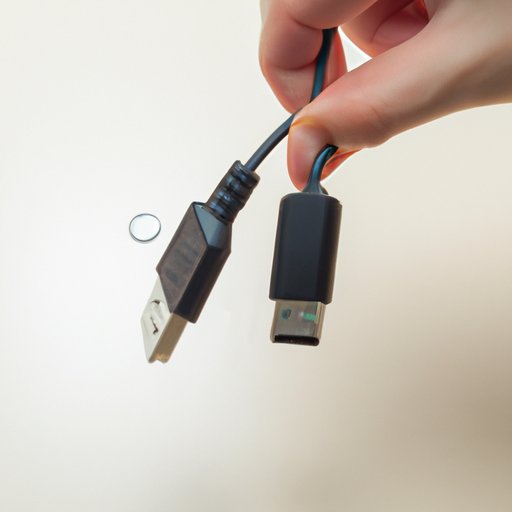
Purchase and Install a Compatible USB Cable
The first step in connecting an HP printer to a computer is to purchase and install a compatible USB cable. The cable should be long enough to reach from the printer to the computer. When purchasing the cable, make sure that it is compatible with both the printer and the computer.
Once the cable has been purchased, it must be installed. To do this, plug one end of the cable into the USB port on the back of the printer and the other end into the USB port on the computer. If the ports are hard to reach, use a USB extension cable to make the connection easier.
Download the HP Printer Driver Software
The next step is to download the HP printer driver software. This software allows the printer to communicate with the computer. To find the appropriate software, go to the HP website and search for the model number of the printer. Once the correct driver has been found, download it to the computer.
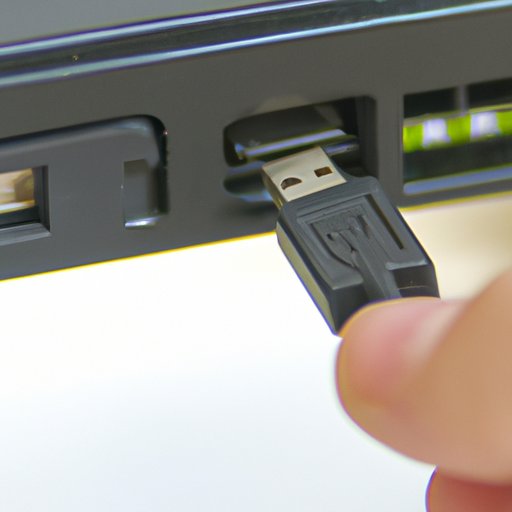
Connect the USB Cable to the Computer and Printer
Once the driver has been downloaded, the USB cable must be connected to both the computer and the printer. To do this, plug one end of the cable into the USB port on the back of the printer and the other end into the USB port on the computer. Make sure that the connections are secure and that the cables are not loose.
Follow the On-Screen Instructions to Install the Drivers
After the USB cable has been connected, the computer will recognize the printer and prompt the user to install the drivers. Follow the on-screen instructions to complete the installation process.
Select the “Add Printer” Option in the Printers & Scanners Settings
Once the drivers have been installed, the next step is to select the “Add Printer” option in the Printers & Scanners settings. To access this setting, open the Control Panel and select the “Devices and Printers” option. Then, click the “Add a Printer” button and follow the on-screen instructions.
Select the HP Printer from the List of Available Printers
Once the “Add Printer” option has been selected, the computer will scan for available printers. Select the HP printer from the list of available printers and follow the on-screen instructions to complete the setup process.
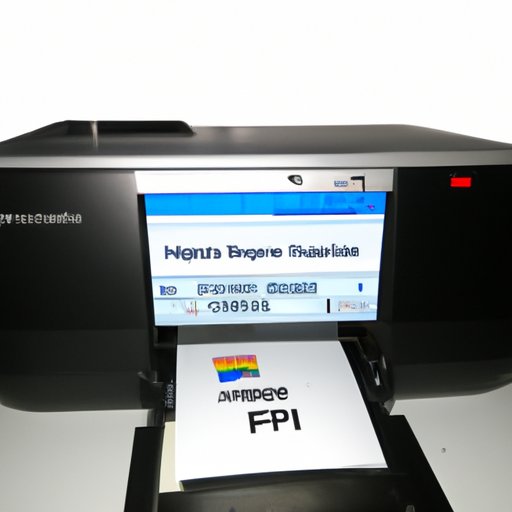
Follow the On-Screen Instructions to Finish the Setup Process
The final step is to follow the on-screen instructions to finish the setup process. This includes setting up the printer, selecting the type of connection, and configuring the printer settings.
Conclusion
Connecting an HP printer to a computer is relatively straightforward if the right steps are followed. This article outlined the steps necessary to connect an HP printer to a computer, including purchasing and installing a compatible USB cable, downloading the HP printer driver software, connecting the USB cable to the computer and printer, following the on-screen instructions to install the drivers, selecting the “Add Printer” option in the Printers & Scanners settings, selecting the HP printer from the list of available printers, and following the on-screen instructions to finish the setup process.