
Introduction
Installing a ceiling fan with light is a great way to add style and functionality to any room in your home. But for those who are unfamiliar with electrical work, the idea of wiring a ceiling fan with light can be intimidating. Fortunately, learning the basics of wiring a ceiling fan with light doesn’t have to be overwhelming. With the right knowledge and tools, you can easily tackle this DIY project.
This article will provide a step-by-step guide to wiring a ceiling fan with light. We’ll also discuss how to connect a ceiling fan and light for maximum efficiency, provide a beginner’s guide to wiring, and offer troubleshooting tips for common problems.
Step-by-Step Guide to Wiring a Ceiling Fan with Light
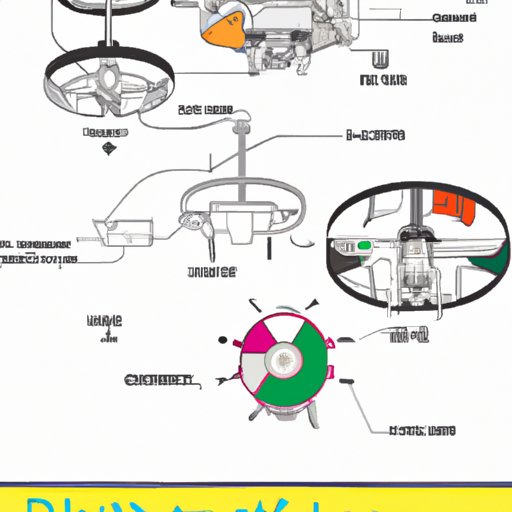
Before you begin wiring a ceiling fan with light, it’s important to gather all the necessary materials. You’ll need a fan-rated outlet box, ceiling fan mounting bracket, wiring connectors, wire nuts, ceiling fan, and light kit.
Once you have all the materials, you’ll need to remove the existing wiring and fixture. Turn off the power at the circuit breaker box, then remove the switch cover plate and unscrew the existing wiring from the electrical box. Next, install the fan-rated outlet box according to the directions that came with it.
Now it’s time to connect the fan and light. Connect the black wire from the fan to the black wire from the light kit, and the white wire from the fan to the white wire from the light kit. Then, connect the green or bare copper wire from the fan to the green or bare copper wire from the light kit. Finally, secure the wires with wire nuts.
The last step is to finish up the installation. Install the mounting bracket and secure it with screws. Then, attach the fan and light to the mounting bracket and secure them with screws. Finally, reinstall the switch cover plate and turn on the power at the circuit breaker box.

How to Connect a Ceiling Fan and Light for Maximum Efficiency
When connecting a ceiling fan and light, it’s important to understand voltage and amperage. Voltage is the amount of electrical pressure that supplies power to the fan and light. Amperage is the amount of current flowing through the circuit.
It’s also important to choose the right size fan and light. The fan should be the appropriate size for the room and the light should be bright enough to provide adequate lighting. Lastly, make sure to install the correct circuit breakers.
A Beginner’s Guide to Wiring a Ceiling Fan with Light
When wiring a ceiling fan with light, it’s important to understand wiring diagrams. These diagrams indicate which wires go where and how they should be connected. It’s also important to identify ground wires, which typically have an exposed copper core.
Finally, make sure to secure the wiring with electrical tape or wire connectors. This will ensure that the wiring stays in place and won’t come loose over time.

DIY: Installing a Ceiling Fan with Light in 4 Easy Steps
Installing a ceiling fan with light can be done in just four easy steps. First, assemble the fan according to the instructions that came with it. Next, mount the fan on the ceiling using the included mounting bracket. Then, make the electrical connections by connecting the fan and light. Finally, test the fan and light to make sure everything is working properly.
The Basics of Wiring a Ceiling Fan with Light
Understanding wire color codes is essential when wiring a ceiling fan with light. Generally, black wires are hot and white wires are neutral. Make sure to strip the insulation off the wires before connecting them to the terminals.
When connecting the wires to the terminals, it’s important to make sure the connections are tight. If the connections are too loose, the fan and light won’t operate correctly.

Troubleshooting Tips for Installing a Ceiling Fan with Light
If you encounter any problems while installing a ceiling fan with light, there are a few troubleshooting tips you can try. First, check for any loose connections in the wiring. If you find any, tighten them up. Next, reset the circuit breakers. Finally, if the fan and light still aren’t working, replace the faulty switches.
Conclusion
Installing a ceiling fan with light is a relatively simple project that anyone can do. By following the steps outlined in this article, you can easily wire a ceiling fan with light. Just remember to gather the necessary materials, make the correct electrical connections, and troubleshoot common problems.