
Introduction
Wiring a car stereo without a harness involves researching the correct wiring diagram for your car’s make and model, purchasing the necessary supplies, unplugging the battery and removing the old car stereo, connecting the ground wire to the bare metal of the car chassis, connecting the power wires to the car’s fuse box, installing the speakers and connecting them to the head unit, and testing the new car stereo before reinstalling the battery.
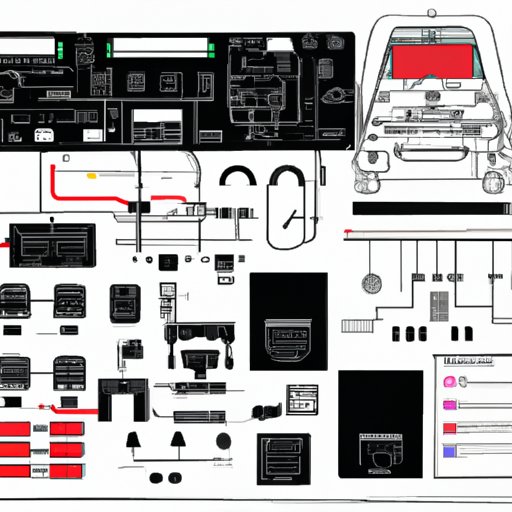
Researching the Wiring Diagram
The first step in wiring a car stereo without a harness is to research the correct wiring diagram for your car’s make and model. The wiring diagram will provide you with the information you need to know about the different wires and their functions. This will help you determine which wires need to be connected to the head unit, as well as the proper way to connect them. You can find the wiring diagram online or in the owner’s manual of your car.
Once you have located the wiring diagram, it is important to take the time to understand it. Pay close attention to the color coding of the wires and their corresponding functions, as this will make it easier to identify and connect them when you are ready to install the new car stereo. It is also important to note any special instructions that may be included in the wiring diagram.
Purchasing the Necessary Supplies
The next step in wiring a car stereo without a harness is to purchase the necessary supplies. You will need a wiring kit, which includes the appropriate wires and connectors for connecting the head unit to the car’s electrical system. You will also need a set of tools for cutting and stripping the wires, as well as for securing the ground wire to the chassis. It is important to purchase the supplies from a reliable source, as poor quality parts can cause damage to your car’s electrical system.

Unplugging the Battery and Removing the Old Car Stereo
Before beginning the installation process, it is important to take safety precautions. To avoid electric shock, start by unplugging the battery and removing the old car stereo. It is best to use a pair of pliers or a socket wrench to loosen the screws that secure the stereo to the dashboard. Once the screws are removed, you should be able to pull the stereo out of the dashboard.
Connecting the Ground Wire to the Bare Metal of the Car Chassis
After the old car stereo has been removed, the next step is to locate and connect the ground wire to the bare metal of the car chassis. The ground wire is usually black, and it should be connected to a bolt or screw on the body of the car. Once the ground wire is connected, you should use a wrench to securely tighten the connection.
Connecting the Power Wires to the Car’s Fuse Box
The next step is to identify and connect the power wires to the car’s fuse box. The power wires are usually red and yellow, and they should be connected to the corresponding terminals in the fuse box. It is important to ensure that the connections are secure and that the wires are not damaged in any way.

Installing the Speakers and Connecting Them to the Head Unit
Once the power wires have been connected to the fuse box, the next step is to prepare the speakers for installation. This involves cutting and stripping the ends of the speaker wires, making sure that the ends are clean and free of any debris. Once the wires are prepared, they can be connected to the head unit. Depending on the type of head unit you have, the speakers may need to be wired in series or in parallel.

Testing the New Car Stereo and Reinstalling the Battery
Before reinstalling the battery, it is important to test the new car stereo to make sure it is working properly. Once the stereo is tested and all connections are secure, the battery can be reconnected and the car can be started. If all goes well, the new car stereo should be up and running.
Conclusion
Wiring a car stereo without a harness requires a bit of research and preparation, but it can be done with the right knowledge and supplies. By following the steps outlined in this article, you should have no problem wiring your car stereo without a harness. Be sure to double check all of your connections and test the new car stereo before reinstalling the battery, and you should have no trouble getting your new car stereo up and running.
As a final tip for future reference, always be sure to label each wire and connection so that you can easily identify them in the future. This will make it much easier to troubleshoot any potential problems down the road.