
Introduction
Testing a refrigerator compressor is an important part of maintaining the appliance. A refrigerator compressor is responsible for circulating the coolant that helps keep food and drinks cold. If the compressor is not functioning properly, it can lead to food spoilage and energy inefficiency. To ensure that your refrigerator is running optimally, it is important to regularly test the compressor.
In order to test a refrigerator compressor, you will need certain tools and equipment. An ohmmeter, multimeter, and thermometer are all necessary for testing. It is also important to be aware of any safety precautions when accessing the refrigerator compressor.
Safety Precautions
When accessing the refrigerator compressor, it is important to take certain safety precautions. Before beginning the testing process, it is important to unplug the refrigerator and allow it to cool down. This will help prevent any electric shock or injury. Additionally, it is important to wear protective gloves and eyewear to reduce the risk of injury.
It is also important to make sure that there are no flammable materials near the refrigerator. This includes paper, cloth, rags, and other combustible items. These materials can catch fire if they come into contact with the electrical components of the refrigerator.
Step-by-Step Instructions
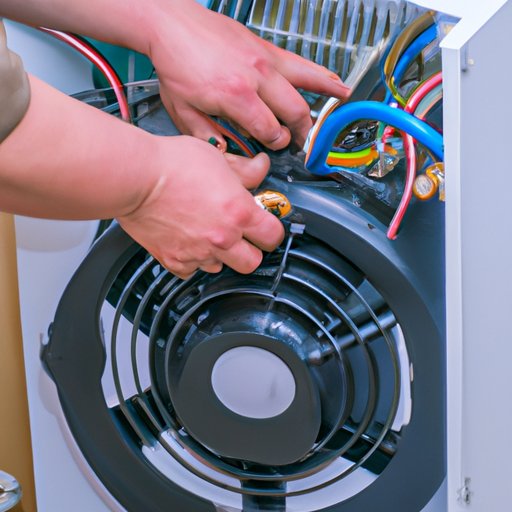
Once the refrigerator has cooled down and all safety precautions have been taken, you can begin the testing process. First, you will need to connect the necessary tools to the refrigerator compressor. An ohmmeter should be connected to the start and run terminals of the compressor. A multimeter should be connected to the start and common terminals, and a thermometer should be placed on the compressor body.
Once the tools are connected, you can begin the test. The ohmmeter should read between 2 and 10 ohms, indicating that the compressor is functioning correctly. The multimeter should read between 0.5 and 2 amps, indicating that the compressor is drawing the correct amount of current. Finally, the temperature of the compressor should be within a normal range (typically between 55°F and 65°F). If any of these readings are abnormal, it could indicate a problem with the compressor.
Troubleshooting Tips
If the test results indicate that there is a problem with the compressor, there are several potential causes. One of the most common issues with refrigerator compressors is a defective start relay. This can cause the compressor to draw too much current, resulting in overheating. If this is the case, replacing the start relay should resolve the issue.
Another common issue is a clogged condenser coil. This can lead to poor air circulation, which can result in the compressor overheating. Cleaning the condenser coil can help improve air circulation and reduce the risk of overheating.
Conclusion
Regularly testing a refrigerator compressor is an important part of maintaining the appliance. By following the steps outlined in this article, you can safely and accurately test the compressor to ensure that it is functioning properly. In addition, familiarizing yourself with common issues and their solutions can help you quickly identify and address any issues that may arise.