
Introduction
Taking off a bicycle pedal can be a tricky task, especially if you don’t have the right tools or knowledge. Whether you need to replace a broken pedal or just want to clean and inspect it, knowing how to remove a bicycle pedal is an important skill for any cyclist. This guide will provide a step-by-step guide on how to take off a bicycle pedal, as well as some tips and tricks to help make the job easier.
Step-by-Step Guide: How to Take Off a Bicycle Pedal
Removing a bicycle pedal is relatively straightforward when you have the right tools and know the correct steps. Here’s a look at what you’ll need to do:
Gather the Necessary Tools
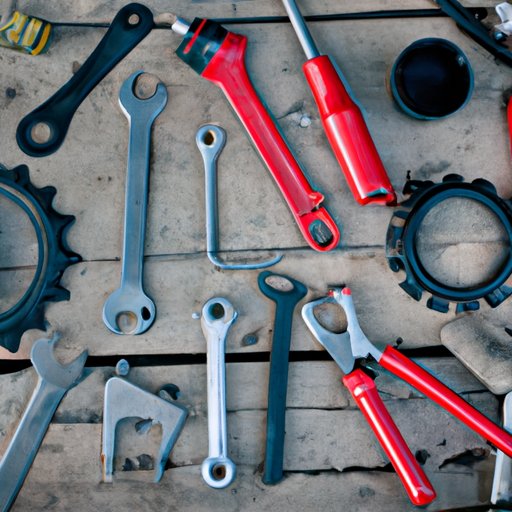
Before you get started, you’ll need to gather the necessary tools. You’ll need a pedal wrench, which is specifically designed to easily loosen and tighten the pedals. You may also need a hammer to help loosen the pedals, as well as some lubrication to help reduce friction between the threads. Make sure you have all the tools you need before you begin.
Loosen the Pedal
Once you have your tools gathered, you’ll need to loosen the pedal. Place the pedal wrench over the axle and turn it counterclockwise. If the pedal is really stuck, you may need to use a hammer to help break it free from the axle. Be careful not to apply too much force, as this could damage the pedal.
Remove the Pedal
Once the pedal is loose, you can remove it from the axle. Pull the pedal away from the bike and set it aside. Make sure to pay attention to the direction of the threads, as they will need to be lined up correctly when you replace the pedal later.
Clean and Inspect the Pedal
Now that the pedal is off, you can give it a good cleaning. Use a soft cloth and some warm soapy water to remove any dirt and grime that has built up over time. After cleaning, inspect the pedal for any signs of wear or damage. If the pedal is still in good condition, you can reinstall it. But if it’s damaged, you may need to replace it.

A Visual Guide to Taking Off a Bicycle Pedal
If you’re more of a visual learner, here’s a step-by-step guide on how to take off a bicycle pedal with photos:
Step 1: Gather the Necessary Tools
First, gather the necessary tools, including a pedal wrench, a hammer, and some lubrication.
Step 2: Loosen the Pedal
Place the pedal wrench over the axle and turn it counterclockwise. If the pedal is really stuck, you may need to use a hammer to help break it free from the axle.
Step 3: Remove the Pedal
Once the pedal is loose, pull it away from the bike and set it aside.
Step 4: Clean and Inspect the Pedal
Give the pedal a good cleaning and inspect it for any signs of wear or damage.

The Basics of Removing a Bicycle Pedal
Before you start taking off a bicycle pedal, there are a few key concepts you should understand. Here’s a look at the basics of removing a bicycle pedal:
Understanding Thread Direction
When removing a bicycle pedal, it’s important to pay attention to the direction of the threads. Pedals have either left-hand or right-hand threads, which means they will need to be turned either clockwise or counterclockwise when loosening or tightening them. Make sure to check the direction of the threads before you begin.
Identifying the Right/Left Side of the Pedal
Another important concept to understand is the right and left side of the pedal. Most pedals are labeled with R for right and L for left, but if yours isn’t labeled, you can easily identify them by looking at the threads. The right side will have a left-hand thread, while the left side will have a right-hand thread.
Different Types of Pedals
Finally, you should be aware that there are different types of pedals. Some pedals have a spindle, while others have a cartridge design. The type of pedal you have will determine the type of tool you need to use for removal. Make sure you know what type of pedal you have before you begin.
Tips and Tricks for Easily Removing Bicycle Pedals
Removing a bicycle pedal can be a difficult task, but there are a few tips and tricks you can use to make the job easier. Here’s a look at some of the best ways to easily remove bicycle pedals:
Use a Pedal Wrench
A pedal wrench is specifically designed to easily loosen and tighten the pedals. It’s a must-have tool for any cyclist and makes removing a pedal much easier. Be sure to use the correct size wrench for your pedals.
Apply Lubrication
Applying some lubrication to the threads can help reduce friction and make it easier to remove the pedal. Make sure to use a lubricant that is safe for bike components.
Use a Hammer
If the pedal is really stuck, you may need to use a hammer to help break it free from the axle. Just be careful not to apply too much force, as this could damage the pedal.

How to Remove a Bicycle Pedal in Minutes
With the right tools and knowledge, you can easily remove a bicycle pedal in just a few minutes. Here’s what you need to do:
Gathering the Right Tools
Gather the necessary tools, such as a pedal wrench, a hammer, and some lubrication. Make sure you have all the tools you need before you begin.
Follow the Steps Carefully
Follow the steps outlined in this guide carefully. Pay attention to the direction of the threads and be sure to use the right tools for the job.
Have Patience
Removing a bicycle pedal can be a tricky task and it may take some time. Have patience and take your time to ensure you don’t damage the pedal.
Conclusion
Removing a bicycle pedal is a relatively simple task once you have the right tools and knowledge. This guide provides a step-by-step guide on how to take off a bicycle pedal, as well as some tips and tricks to help make the job easier. With the right tools and patience, you can have the pedal removed in no time.