
Introduction
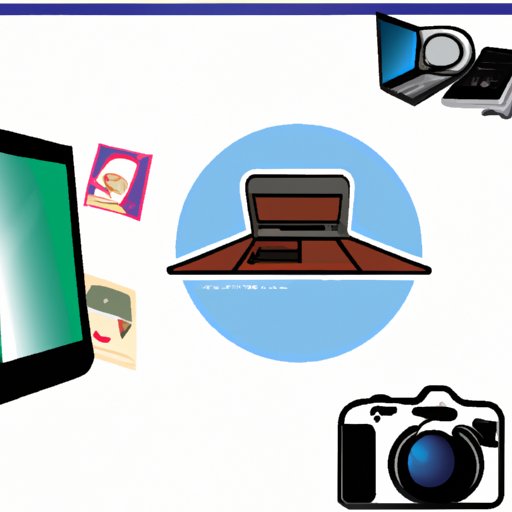
Taking pictures with a computer is becoming increasingly popular as technology advances. There are many different ways to do so, including using a webcam, digital camera, smartphone, photo editing software, scanner, screen capture tool, or external camera. This article will provide an overview of each method, as well as step-by-step instructions for taking a picture on a computer.
Use a Webcam
A webcam is a digital camera that connects to a computer via a USB cable. It is an easy and inexpensive way to take pictures on a computer. The quality of pictures taken with a webcam is not as high as those taken with a digital camera, but it is still good enough for most purposes.
Steps for setting up and using a webcam:
- Connect the webcam to the computer with the USB cable.
- Install any necessary software that came with the webcam.
- Open the webcam software.
- Position the webcam in the desired spot.
- Adjust the settings to get the desired picture.
- Click the “Take Picture” button.
- Save the picture to the desired location.
Use a Digital Camera
A digital camera is a more advanced option for taking pictures on a computer. Digital cameras are usually higher quality than webcams, and they can be used to take professional-looking photos. However, they are also more expensive and require more setup.
Steps for connecting and using a digital camera:
- Connect the digital camera to the computer with the USB cable.
- Install any necessary software that came with the digital camera.
- Open the digital camera software.
- Position the digital camera in the desired spot.
- Adjust the settings to get the desired picture.
- Press the shutter button to take the picture.
- Save the picture to the desired location.
Utilize a Smartphone
Smartphones are also a great option for taking pictures on a computer. Smartphones are relatively inexpensive and have built-in cameras that take high-quality pictures. They are also very easy to use and can be connected to a computer in just a few steps.
Steps for connecting and using a smartphone:
- Connect the smartphone to the computer with the USB cable.
- Open the photo app on the smartphone.
- Position the smartphone in the desired spot.
- Adjust the settings to get the desired picture.
- Press the shutter button to take the picture.
- Save the picture to the desired location.
Download Photo Editing Software
Photo editing software is another option for taking pictures on a computer. Photo editing software allows users to edit and enhance their photos, giving them more control over the final product. Popular photo editing software includes Adobe Photoshop and GIMP.
Steps for downloading and using photo editing software:
- Download and install the desired photo editing software.
- Open the photo editing software.
- Import the desired photo into the software.
- Edit the photo to get the desired result.
- Export the edited photo to the desired location.
Use a Scanner
Scanners are another option for taking pictures on a computer. Scanners allow users to scan physical photos and documents into digital images. Scanners are more expensive than other options, but they are great for preserving old photos or documents.
Steps for connecting and using a scanner:
- Connect the scanner to the computer with the USB cable.
- Install any necessary software that came with the scanner.
- Open the scanner software.
- Place the desired item in the scanner.
- Adjust the settings to get the desired picture.
- Click the “Scan” button.
- Save the scanned image to the desired location.
Employ a Screen Capture Tool
Screen capture tools are a great option for taking pictures on a computer. Screen capture tools allow users to take screenshots of their computer screens. This is useful for capturing images from websites or computer programs.
Steps for downloading and using a screen capture tool:
- Download and install the desired screen capture tool.
- Open the screen capture tool.
- Position the tool in the desired spot.
- Adjust the settings to get the desired picture.
- Click the “Capture” button.
- Save the captured image to the desired location.

Connect an External Camera to the Computer
An external camera is another option for taking pictures on a computer. External cameras are similar to webcams, but they are usually higher quality and more expensive. They are great for taking professional-looking photos.
Steps for connecting and using an external camera:
- Connect the external camera to the computer with the USB cable.
- Install any necessary software that came with the external camera.
- Open the external camera software.
- Position the external camera in the desired spot.
- Adjust the settings to get the desired picture.
- Click the “Take Picture” button.
- Save the picture to the desired location.
Conclusion
Taking pictures on a computer is a great way to capture memories or document information. There are many different methods for doing so, including using a webcam, digital camera, smartphone, photo editing software, scanner, screen capture tool, or external camera. This article has provided an overview of each method, as well as step-by-step instructions for taking a picture on a computer.
For more information about taking pictures on a computer, check out the following resources: