
Introduction
Staining kitchen cabinets is an easy way to create a stunning visual impact in your home. Not only does it add a beautiful finish to your cabinets, but it can also help protect them from water damage and other environmental elements. Staining kitchen cabinets can be a rewarding DIY project, but there are some important steps you should take to ensure you get the best results.

Overview of Staining Kitchen Cabinets
Staining kitchen cabinets involves applying a colorant to the cabinet surface that penetrates into the wood and highlights the natural grain patterns. The colorant is usually a combination of pigment and oil or lacquer, which provides a durable finish. Once the stain is applied, you will need to seal the finish with a protective coating, such as varnish or polyurethane. This helps protect the wood from moisture, dust, and other environmental elements.
Benefits of Staining Kitchen Cabinets
Staining kitchen cabinets offers many benefits, including:
- It creates a unique look that enhances the natural beauty of the wood.
- It is relatively inexpensive compared to other finishes.
- It is easy to apply and doesn’t require any special tools or skills.
- It is durable and long-lasting.
- It can be used to match existing cabinetry or create a new look.
Step-by-Step Guide to Staining Kitchen Cabinets
If you’re ready to tackle the project yourself, here is a step-by-step guide to staining kitchen cabinets:
Preparing the Cabinet Surface
The first step is to prepare the cabinet surface for staining. Start by removing all hardware, such as handles and hinges. Then use sandpaper to remove any existing finish on the cabinets. This will help the stain penetrate better and provide a more even finish. Make sure to sand with the grain of the wood and wipe down the surface with a damp cloth to remove any sawdust.
Applying the Stain
Once the surface is prepared, you can begin applying the stain. Use a brush or rag to apply the stain in even strokes. Start at the top of the cabinet and work your way down. Make sure to cover all areas evenly and wipe away any excess stain. Allow the stain to dry completely before proceeding.
Sealing the Finish
When the stain has dried, you can seal the finish with a protective coating. Choose a product that is designed for kitchen cabinets and follow the manufacturer’s instructions. Apply two to three coats of the sealer, allowing each coat to dry before applying the next. Make sure to sand lightly between coats for the best results.

DIY Tips for Staining Kitchen Cabinets
Here are some helpful tips for tackling the project yourself:
Choosing the Right Stain
Choose a stain that is designed for kitchen cabinets and follows the manufacturer’s instructions. Consider the color of your cabinets and the type of wood they are made of when selecting the stain. Test the stain on a sample piece of wood to make sure you like the color before applying it to the cabinets.
Sanding the Surface
Sanding the cabinet surfaces is an important part of the process. Be sure to use the right type of sandpaper and sand in the direction of the grain. Sanding will help the stain penetrate deeper into the wood and create a more even finish.
Cleaning and Prepping the Cabinets
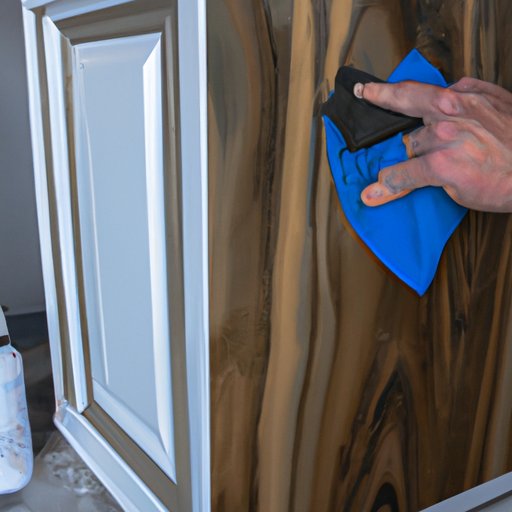
Before applying the stain, make sure to clean and prep the cabinets. Use a damp cloth to remove any dirt and debris and make sure the surface is free of grease or dust. This will help the stain adhere better and create a smoother finish.
How to Stain Kitchen Cabinets for a Professional Finish
For a professional-looking finish, there are a few extra steps you should take:
Applying the Stain Evenly
When applying the stain, make sure to do so evenly. This means using the same amount of pressure and making sure to cover all areas. If you are using a brush, try to keep the bristles flat against the surface for the best results.
Using Quality Primers and Sealers
Using quality primers and sealers will ensure a professional finish. Make sure to choose products that are specifically designed for kitchen cabinets and follow the manufacturer’s instructions. This will help protect the cabinets from moisture and other environmental elements.
Finishing with Protective Coating
Once the stain is applied and the surface is sealed, finish the job by applying a protective coating. This will help protect the cabinets from wear and tear and make them easier to clean. Choose a product that is designed for kitchen cabinets and follow the manufacturer’s instructions.
A Beginner’s Guide to Staining Kitchen Cabinets
If you’re a beginner, here are some tips for getting started:
Understanding Different Types of Stains
There are several types of stains available, such as oil-based, water-based, and gel. Each type has its own advantages and disadvantages, so it’s important to know what you want before you start. Oil-based stains are more durable, while water-based stains are easier to clean up. Gel stains are ideal for creating a glossy finish.
Selecting Stain Colors
Stain colors can range from light to dark and from neutral to vibrant. Consider the color of your cabinets and the type of wood they are made of when selecting a stain color. You may also want to consider the overall style of your kitchen when selecting a color.
Testing Stain Colors on a Sample Piece
Before applying the stain to your cabinets, it’s always a good idea to test it on a sample piece of wood. This will give you an idea of how the stain looks and how it will interact with the wood. You can also experiment with different colors and finishes to find the perfect look for your kitchen.

Tips for Getting an Even Stain on Kitchen Cabinets
Getting an even stain on kitchen cabinets can be tricky, but here are some tips to help you out:
Sanding and Prepping the Surface Thoroughly
Before applying the stain, make sure to sand and prep the surface thoroughly. This will help the stain penetrate deeper into the wood and create a more even finish. Make sure to use the right type of sandpaper and sand in the direction of the grain.
Working in Small Sections
When staining kitchen cabinets, it’s best to work in small sections. This will help you avoid mistakes and ensure an even finish. Start at the top of the cabinet and work your way down, covering all areas evenly.
Using the Right Tools
Make sure you have the right tools for the job. A brush or rag is usually the best choice for applying the stain, but you may want to invest in a spray gun if you’re looking for a professional finish. Also, make sure you have plenty of clean rags on hand for wiping away excess stain.
Conclusion
Staining kitchen cabinets is a great way to add a unique touch to your home. With the right preparation and technique, you can achieve a professional finish. Remember to sand and prep the surface thoroughly, choose the right stain, and apply it evenly. With a little patience and practice, you’ll be able to transform your kitchen cabinets in no time!
Summary of Steps
Staining kitchen cabinets involves several steps, including: preparing the cabinet surface, applying the stain, sealing the finish, and applying a protective coating. Make sure to use the right type of stain and sand in the direction of the grain for the best results.
Final Thoughts
Staining kitchen cabinets is an easy and rewarding DIY project. Just remember to plan ahead and take your time. With some patience and practice, you’ll be able to achieve a professional finish.