
Introduction
Staining furniture is the process of applying color to wood surfaces to enhance the beauty of the grain and protect the wood from damage. It can be used to restore an old piece of furniture or to give a new piece a unique look. Staining furniture requires some basic knowledge and a few simple steps.
Step-by-Step Guide to Staining Furniture
Staining furniture is a relatively straightforward process, but it must be done carefully in order to achieve the desired results. Here is a step-by-step guide to staining furniture:
Preparation
Before you begin staining, you must prepare the surface of the furniture. The first step is to sand the wood. This will remove any dirt, dust, or other debris that could affect the finish. Once the wood is clean, you should apply a wood conditioner. This will help the stain to absorb evenly into the wood.
Applying Stain
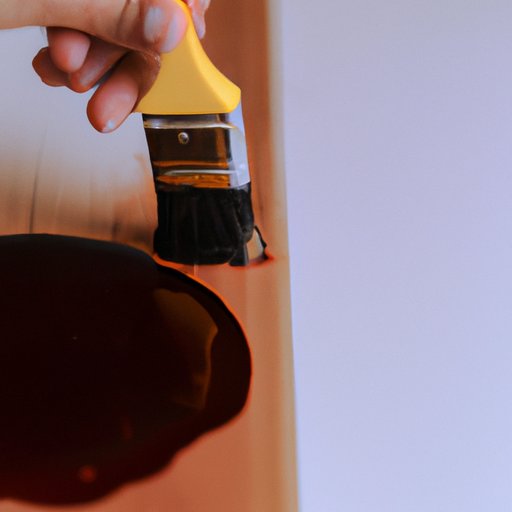
Once the wood is prepared, you can begin applying the stain. First, you must choose the right type of stain for your project. There are several types of stains available, so it’s important to do your research before making a decision. Once you’ve selected the appropriate stain, you can begin applying it. Use a brush or cloth to apply the stain in even strokes. Work in sections and allow sufficient time for the stain to dry between coats.
Finishing
After the stain has been applied, it’s time to seal the wood. This will protect the wood and keep the color from fading over time. Sealing the wood can be done with either varnish or polyurethane. Apply the sealant with a brush or cloth and allow it to dry completely before using the furniture.

Tips for Applying the Perfect Stain to Your Furniture
Staining furniture can be a rewarding experience, but it also requires patience and attention to detail. Here are some tips to help you get the perfect stain on your furniture:
- Choose the right tools. You’ll need a good quality brush or cloth, sandpaper, and a wood conditioner.
- Use a brush or cloth to apply the stain. This will help ensure an even coat.
- Work in sections. Don’t try to stain the entire piece of furniture at once. Instead, work in small sections and allow each section to dry before moving on to the next.
- Test on a hidden area. Before applying the stain to the entire piece, test it on a hidden area to make sure you’re happy with the results.
Choosing the Right Type of Stain for Your Furniture
There are several types of stains available, and it’s important to choose the right one for your project. Here are some of the most common types of stains:
- Oil-based stains: These stains penetrate deep into the wood and provide a rich, vibrant color. They take longer to dry, however, so they should not be used in areas that receive frequent use.
- Water-based stains: These stains are easier to clean up and don’t require as much preparation as oil-based stains. They dry quickly and provide a lighter color than oil-based stains.
- Gel stains: Gel stains are thicker than traditional stains and can be used to achieve a more uniform color. They are great for covering blemishes and providing a consistent finish.
- Specialty stains: Specialty stains are designed to be used on specific types of wood. They can provide a unique look and are often used to highlight the natural grain of the wood.

How to Refinish Furniture with Stain
Refinishing furniture with stain is similar to staining new furniture, but there are a few extra steps involved. Here is an overview of the process:
- Preparing the surface: Start by sanding the furniture to remove any dirt, dust, or other debris. Next, use a wood conditioner to help the stain absorb evenly into the wood.
- Applying the stain: Choose the right type of stain for your project and apply it in even strokes. Allow sufficient time for the stain to dry between coats.
- Finishing the refinishing: After the stain has been applied, seal the wood with either varnish or polyurethane. Allow the sealant to dry completely before using the furniture.

DIY: How to Stain Your Own Furniture
Staining furniture can seem like a daunting task, but with the right materials and a bit of patience, you can create a beautiful piece of furniture. Here are the steps you’ll need to take:
- Gather the necessary materials: You’ll need sandpaper, a wood conditioner, the appropriate type of stain, a brush or cloth, and sealant.
- Prepare the surface: Sand the furniture to remove any dirt, dust, or other debris. Apply a wood conditioner to help the stain absorb evenly into the wood.
- Apply the stain: Use a brush or cloth to apply the stain in even strokes. Work in sections and allow sufficient time for the stain to dry between coats.
- Finish the job: Once the stain has been applied, seal the wood with either varnish or polyurethane. Allow the sealant to dry completely before using the furniture.
Conclusion
Staining furniture is a relatively simple process, but it requires patience and attention to detail. Follow the steps outlined in this guide and use the tips provided to ensure a successful project. With the right materials and a bit of practice, you’ll be able to transform an old piece of furniture into a beautiful work of art.
Start by preparing the surface of the furniture. Then, choose the right type of stain for your project and apply it in even strokes. Allow sufficient time for the stain to dry between coats, and finish the job by sealing the wood with either varnish or polyurethane. With these steps in mind, you’ll be able to create a stunning piece of furniture that you’ll be proud to display in your home.