
Introduction
Photo sharing is the act of sending or posting digital photos that you’ve taken with your phone or camera to other people. This can be done through various methods such as emailing, messaging, or uploading them to social media sites. The ability to share photos has made it easier than ever for people to stay connected and share their experiences with others.
In today’s digital world, many people use their iPhones to take photos and videos. With the iPhone’s powerful camera and editing tools, it’s become an indispensable tool for capturing and preserving memories. And the Photos app makes it easy to organize and share photos with friends and family.
In this article, we’ll explore how to share photo albums on iPhone. We’ll look at different methods such as using iCloud Photo Sharing, AirDrop, iMessage, and cloud storage services. By the end of this article, you’ll have a better understanding of how to share photos and the benefits of doing so.
How to Share Photo Albums on iPhone
Using iCloud Photo Sharing
iCloud Photo Sharing is a great way to share photos and videos with friends and family. It’s easy to set up and allows you to invite people to view and contribute to shared albums. Here’s how to get started:
Setting up iCloud Photo Sharing
First, open the Settings app and tap “iCloud.” Then, tap “Photos” and make sure that the “iCloud Photo Sharing” switch is in the “On” position.
Inviting Friends and Family
Once you’ve enabled iCloud Photo Sharing, you can create shared albums and invite others to view and contribute to them. To do this, open the Photos app and tap the “Shared” tab. Then, tap the plus sign (+) in the top right corner and select “New Shared Album.” Enter a name for the album and invite people by entering their email addresses.
Editing Shared Albums
You can also edit shared albums. For example, you can add, delete, or reorder photos, change the cover image, and add comments. To do this, open the Photos app and tap the “Shared” tab. Select the shared album you want to edit and tap the three dots (…) in the top right corner. From here, you can make any changes you want.
Using AirDrop
AirDrop is another great way to quickly and easily share photos with others who are nearby. Here’s how to use it:
Turning on AirDrop
First, make sure that AirDrop is turned on. To do this, open the Control Center by swiping up from the bottom of the screen. Then, tap the AirDrop icon and select either “Contacts Only” or “Everyone.”
Finding the Photos You Want to Share
Next, open the Photos app and select the photos you want to share. Tap the share icon in the bottom left corner and select the person you want to send the photos to.
Sending Photos via AirDrop
Once you’ve selected the person you want to send the photos to, they will receive a notification. When they accept the request, the photos will be sent to their device.
Sending Photos via iMessage
If you want to send photos to someone who isn’t nearby, you can use iMessage. Here’s how to do it:
Creating an iMessage Conversation
First, open the Messages app and create a new conversation with the person you want to send the photos to.
Selecting Photos from Your Library
Next, open the Photos app and select the photos you want to send. Tap the share icon in the bottom left corner and select the conversation you created.
Sending Photos via iMessage
The photos will then be sent to the person you selected. They will be able to view and save the photos on their device.
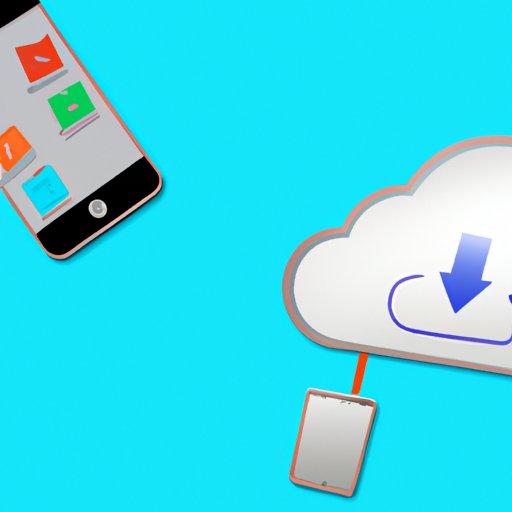
Uploading Photos to a Cloud Storage Service
Another option for sharing photos is to upload them to a cloud storage service. This allows you to store photos in the cloud and access them from any device. Here’s how to do it:
Choosing a Cloud Storage Service
First, you’ll need to choose a cloud storage service. Popular options include Dropbox, Google Drive, and iCloud. Choose one that meets your needs and offers enough storage space for all your photos.
Installing the Cloud Storage App
Next, install the cloud storage app on your iPhone. Open the App Store and search for the app you chose. Once you’ve found it, tap “Install” to download and install the app.
Uploading Photos to the Cloud
Once the app is installed, open it and log in. Then, select the photos you want to upload and tap the “Upload” button. The photos will be uploaded to the cloud, where they can be accessed from any device.
Creating a Shared Album on the Photos App
Finally, you can create a shared album directly in the Photos app. This is a great option if you don’t want to use a third-party service. Here’s how to do it:
Opening the Photos App
Open the Photos app and tap the “Shared” tab. Then, tap the plus sign (+) in the top right corner and select “New Shared Album.”
Selecting Photos for the Shared Album
Next, select the photos you want to add to the shared album. Tap “Add” in the top right corner when you’re finished.
Sharing the Album with Friends and Family
Finally, enter the names or email addresses of the people you want to share the album with. When they accept the invitation, they will be able to view and contribute to the album.
Conclusion
We’ve explored different ways to share photo albums on iPhone. These include using iCloud Photo Sharing, AirDrop, iMessage, and cloud storage services. Each method has its own advantages and disadvantages, so choose the one that best suits your needs.
Sharing photos is a great way to stay connected and preserve memories. With the methods outlined in this article, you’ll be able to easily and quickly share photos with friends and family.