
Introduction
Outdoor lighting can be a great way to add ambiance, security, and safety to your home or business. But it can also be a hassle to manually turn on and off the lights every day. Setting a timer for your outdoor lights is an easy and convenient way to automate the process and make sure that your lights are always on when you need them.
In this article, we will explore the benefits of setting a timer for outdoor lights, provide a step-by-step guide on how to do so, and offer a beginner’s guide for those who are new to the process. We will also discuss what you need to know about setting a timer for your outdoor lights, as well as the easiest way to do so.
Overview of Setting Timer for Outdoor Lights
Setting a timer for outdoor lights can be a simple and effective way to save time and effort, as well as energy. It allows you to set specific times for the lights to turn on and off, giving you more control over when the lights are used. For example, you can set a timer so that the lights will turn on in the evening and turn off in the morning, or you can set a timer so that the lights will turn on and off at specific times throughout the day.
Timers can be manual or automated. Manual timers require you to physically set the timer each time you want to change the schedule. Automated timers, on the other hand, allow you to program the timer to turn the lights on and off at specific times, and they can even be programmed to turn the lights on and off at random intervals to give the appearance of someone being home even when no one is.

Benefits of Setting a Timer for Outdoor Lights
The main benefit of setting a timer for outdoor lights is that it eliminates the need to manually turn the lights on and off. This saves you time and effort, as well as energy. Additionally, setting a timer for outdoor lights can help to deter intruders and improve the security of your home or business.
Timers can also be used to create unique lighting effects and ambiance. For example, you can set a timer to turn the lights on and off at different intervals, or you can use multiple timers to control different sets of lights. You can even use a timer to turn the lights on and off at random intervals, giving the impression that someone is home even when no one is.
Step-by-Step Guide on How to Set a Timer for Outdoor Lights
Setting a timer for outdoor lights is relatively straightforward. Here is a step-by-step guide on how to do so:
Choose the Right Timer
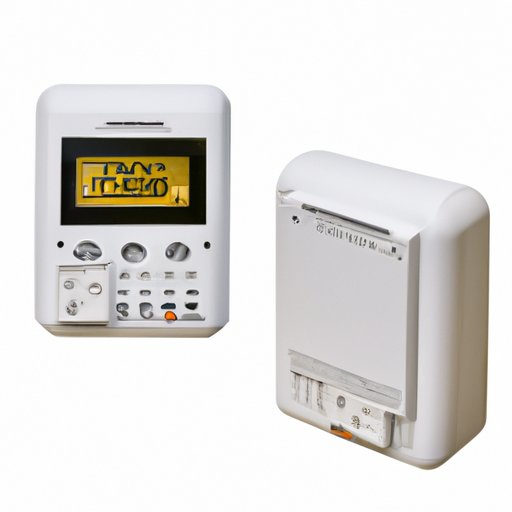
The first step is to choose the right timer for your needs. There are several types of timers available, including manual, digital, and plug-in timers. Consider the features of each type of timer and determine which one is best for your needs.
Install the Timer
Once you have chosen the right timer, you will need to install it. Follow the instructions provided with the timer to ensure proper installation.
Connect the Timer to the Power Source
Next, you will need to connect the timer to the power source. Depending on the type of timer you have, this may involve connecting the timer directly to the power source or using an adapter. Make sure to follow all safety precautions when working with electricity.
Set the Timer
Once the timer is connected to the power source, you can set the timer. Refer to the instructions provided with the timer to ensure you set it correctly.
Test the Timer
Finally, once the timer is set, you should test it to make sure it is working properly. Turn on the lights and wait for the timer to kick in and turn them off. If the timer does not work, double-check the settings and try again.
A Beginner’s Guide to Setting a Timer for Outdoor Lights
If you are new to setting a timer for outdoor lights, there are a few things you should know before getting started. Understanding the different types of timers and their features, as well as determining the best timer for your needs, will help ensure that you get the most out of your investment.
Understand the Different Types of Timers
The first step is to understand the different types of timers available. Manual timers are the simplest and most cost-effective option, but they require you to physically set the timer each time you want to change the schedule. Digital timers are more expensive but offer more features, such as multiple programs and random cycling options. Plug-in timers are the most expensive but are the easiest to install and use.
Determine the Best Timer for Your Needs
Once you understand the different types of timers, you can determine which one is best for your needs. Consider the features of each type of timer and decide which ones are most important to you. Also consider the cost of each timer and make sure you are getting the best value for your money.
Learn How to Install and Set the Timer
Once you have selected the right timer, you will need to learn how to install and set it. Refer to the instructions provided with the timer to ensure proper installation and operation. If you are unsure of how to install or set the timer, consult a professional.

Setting a Timer for Your Outdoor Lights: What You Need to Know
Before you set up a timer for your outdoor lights, there are a few things you should consider. These include the type of lighting you have, the type of timer you need, and the best way to mount the timer.
Consider the Type of Lighting You Have
The type of lighting you have will determine the type of timer you need. For example, if you have low-voltage lighting, you will need a low-voltage timer. Similarly, if you have high-voltage lighting, you will need a high-voltage timer.
Consider the Type of Timer You Need
Once you have determined the type of lighting you have, you can then consider the type of timer you need. Manual timers are the simplest and most cost-effective option, while digital timers offer more features and convenience. Plug-in timers are the easiest to install and use, but they are also the most expensive.
Determine the Best Way to Mount the Timer
Finally, you will need to determine the best way to mount the timer. Most timers can be mounted directly to the wall or ceiling, but some may require additional mounting hardware. Make sure to follow the instructions provided with the timer to ensure proper installation.

The Easiest Way to Set a Timer for Your Outdoor Lights
If you are looking for the easiest way to set a timer for your outdoor lights, plug-in and digital timers are your best bet. Plug-in timers are the simplest to install and use, as they simply plug into any standard outlet. Digital timers offer more features and convenience, but they are more expensive and require more installation.
Use a Plug-in Timer
Plug-in timers are the simplest and most cost-effective option. They simply plug into any standard outlet and can be set to turn the lights on and off at specific times. They are also the easiest to install and use, making them ideal for those who are new to setting a timer for outdoor lights.
Use a Digital Timer
Digital timers are more expensive than plug-in timers, but they offer more features and convenience. They can be set to turn the lights on and off at specific times, as well as to cycle the lights on and off at random intervals. They also allow you to program multiple schedules, making them ideal for those who need more control over their outdoor lighting.
How to Automate Your Outdoor Lighting with a Timer Setting
For maximum convenience and control over your outdoor lighting, investing in a smart timer is the way to go. Smart timers allow you to control your outdoor lighting from your smartphone or other device, and they can be programmed to turn the lights on and off at specific times or random intervals.
Invest in a Smart Timer
Smart timers are the most advanced and expensive option, but they offer the most convenience and control. They allow you to control your outdoor lighting from your smartphone or other device, and they can be programmed to turn the lights on and off at specific times or random intervals. They are also the easiest to install and use, making them ideal for those who are looking for an automated solution.
Program the Timer for Maximum Convenience
Once you have invested in a smart timer, you will need to program it for maximum convenience. Follow the instructions provided with the timer to ensure proper installation and programming. Once the timer is set up, you can control your outdoor lighting with the touch of a button.
Conclusion
Setting a timer for outdoor lights can be a simple and effective way to save time and effort, as well as energy. It can also help to deter intruders and improve the security of your home or business. In this article, we explored the benefits of setting a timer for outdoor lights, provided a step-by-step guide on how to do so, and offered a beginner’s guide for those who are new to the process. We also discussed what you need to know about setting a timer for your outdoor lights, as well as the easiest way to do so.
Whether you choose a manual, digital, or plug-in timer, setting a timer for your outdoor lights is an easy and convenient way to automate the process and make sure that your lights are always on when you need them. With a little bit of research and preparation, you can easily set up a timer for your outdoor lights and enjoy the benefits of automated lighting.