
Introduction
Scanning documents to your computer is an essential part of keeping track of important information. Whether you’re a business owner, student, or home user, having access to digital versions of your documents can help you save time and money. But what exactly is scanning, and what equipment do you need to get started?
Scanning is the process of converting physical documents into digital images. This is done by passing light over the document and capturing the reflected image onto a sensor. The resulting digital file can then be stored on your computer or printed out.
There are many benefits to scanning documents. For instance, it allows you to make backup copies of important documents, store them in multiple locations, and share them with others quickly and easily. Additionally, it can help you save space since you no longer have to keep bulky paper files. Finally, scanning documents can help you protect your data from physical damage or theft.
Step-by-Step Guide to Scanning Documents to Your Computer
Ready to get started? Here’s a step-by-step guide for scanning documents to your computer.
Understanding the Basics
Before you begin, you’ll need to understand the basics of scanning documents. First, you’ll need to decide which type of scanner you want to use. There are both flatbed and sheet-fed scanners available, each of which has its own advantages and disadvantages. You should also consider factors such as resolution, speed, and compatibility with your computer.
Connecting Your Printer/Scanner to Your Computer
Once you’ve selected your scanner, you’ll need to connect it to your computer. If you’re using a wireless scanner, simply follow the instructions provided with the device to connect it to your network. If you’re using a USB scanner, plug the USB cable into your computer and then into the scanner. Once connected, your computer should automatically detect the scanner.
Selecting a Scanning Program
Now that your scanner is connected, you’ll need to select a scanning program. Most scanners come with their own scanning software, but if you don’t have one, there are plenty of free programs available online. Once you’ve chosen a program, install it on your computer and launch it.
Scanning Documents onto Your Computer
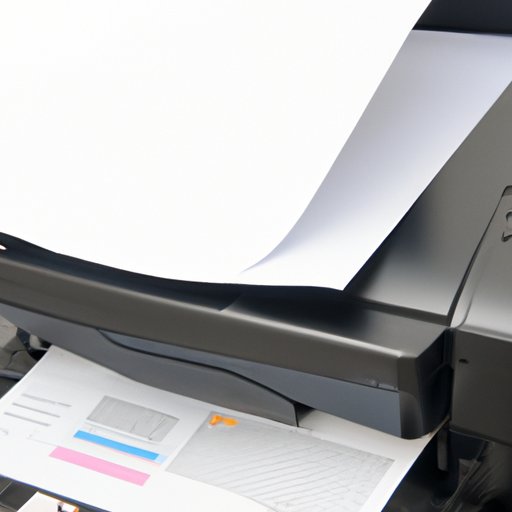
Now you’re ready to scan! Place your document on the scanner bed and adjust any settings as necessary. Then, click the “Scan” button and follow the on-screen instructions. Depending on the size of the document and the resolution you choose, it may take a few minutes for the scan to complete.
How to Convert Paper Documents into Digital Files
In addition to scanning documents, you may also want to convert paper documents into digital files. To do this, you’ll need to use a file conversion program. These programs allow you to convert paper documents into various digital formats, such as PDF, JPG, or TIFF. Depending on the program you use, you may also be able to edit the documents before converting them.
Types of File Formats
When converting paper documents into digital files, it’s important to understand the different types of file formats. The most common file format is PDF, which stands for Portable Document Format. PDF files are widely used because they are easy to open, read, and share. Other file formats include JPG, TIFF, and PNG.
Converting Paper Documents into Digital Files
To convert a paper document into a digital file, you’ll need to use a file conversion program. Most programs are designed to be user-friendly, so you should be able to complete the process without much difficulty. Simply open the program, select the paper document you want to convert, and then choose the desired file format. The program will then convert the document for you.

Tips for Scanning Documents and Photos to Your Computer
Here are some tips to help you get the best results when scanning documents and photos to your computer.
Optimizing Resolution for Quality Results
When scanning documents, it’s important to use the right resolution. Higher resolutions produce better results, but they also take up more space. If you’re scanning documents for archival purposes, you should use the highest resolution possible. If you’re scanning documents for sharing or printing, you can opt for a lower resolution to save space.
Automating the Process
If you’re scanning multiple documents, you can save time by automating the process. Many scanners come with an auto-feeder tray, which allows you to load multiple documents at once. Then, the scanner will automatically scan each document in sequence. This can be especially useful if you’re scanning large batches of documents.
Utilizing OCR Technology
Optical Character Recognition (OCR) is a technology that can help you convert scanned documents into searchable text. OCR software reads each letter and number in a scanned document and then converts it into text. This makes it easier to search through documents and find the information you need quickly and easily.
Using Your Printer/Scanner to Create Digital Copies of Hard Copy Documents
In addition to scanning documents, you can also use your printer/scanner to create digital copies of hard copy documents. This can be especially helpful if you need to make multiple copies of the same document.
Setting Up Your Printer/Scanner
To create digital copies of hard copy documents, you’ll first need to set up your printer/scanner. Make sure the device is properly connected to your computer and that all the necessary drivers and software are installed. Once everything is set up, you’re ready to start copying.
Adjusting Settings and Configurations
Before you begin copying, you should adjust the settings and configurations of your printer/scanner. This includes selecting the correct paper size, choosing the appropriate resolution, and making any other adjustments necessary for the best results.
Troubleshooting Tips
If you encounter any problems while creating digital copies of hard copy documents, there are several troubleshooting tips you can try. First, make sure the paper is correctly loaded in the printer/scanner. Then, check the settings and configurations to ensure they are correct. Finally, refer to the user manual for further assistance.
Scanning Documents: An Overview of the Process and Equipment Needed
Now that you know how to scan documents to your computer, let’s take a look at the process and equipment needed.
Different Types of Scanners
When it comes to scanners, there are two main types: flatbed and sheet-fed. Flatbed scanners are larger and heavier, but they offer higher resolutions and better image quality. Sheet-fed scanners are smaller and lighter, but they tend to be slower and produce lower quality images.
Selecting the Right Software
Once you’ve selected your scanner, you’ll need to choose the right scanning software. Many scanners come with their own software, but if not, there are plenty of free programs available online. When selecting a program, make sure it’s compatible with your scanner and offers the features you need.
Installing the Necessary Drivers
Finally, you’ll need to install any necessary drivers for your scanner. Most scanners come with installation discs containing the necessary drivers, but if not, you can usually download them from the manufacturer’s website. Once you’ve installed the drivers, you’re ready to start scanning.
Conclusion
Scanning documents to your computer is a quick and easy way to store, share, and protect important documents. By understanding the basics of scanning, connecting your printer/scanner to your computer, selecting the right software, and following the steps outlined in this article, you can begin scanning documents in no time. Additionally, by utilizing OCR technology and automating the process, you can save time and increase efficiency.