
Introduction
Cabinet resurfacing is a great way to give your kitchen or bathroom cabinets a brand new look without having to replace them entirely. It involves sanding down the existing cabinets and applying a fresh coat of paint or stain, as well as installing new cabinet hardware. The process can be time consuming and requires some patience, but it is worth it in the end for the beautiful results.
Benefits of Cabinet Resurfacing
There are many benefits to cabinet resurfacing. First, it is much more cost effective than replacing your cabinets entirely. Second, you can customize the color and finish of your cabinets to match your existing décor. Third, it is an easy way to update the look of your kitchen or bathroom without having to do a full renovation. Finally, it can add value to your home if you ever decide to sell.

Preparing the Cabinets for Resurfacing
The first step in resurfacing your cabinets is to prepare them for the process. This includes removing all existing cabinet hardware, such as handles, hinges, and knobs. You will also want to clean the cabinets to remove any dirt or debris that may have accumulated over time. Once the cabinets are clean, you will need to sand them down to create a smooth surface for the new paint or stain to adhere to.
Choosing the Right Materials for Resurfacing
Once the cabinets are prepped, it’s time to choose the right materials for resurfacing. You will need to select a primer that is suitable for the type of paint or stain you plan to use. There are several types of primers available, so make sure to read the instructions carefully before making your selection. You will also need to pick out a paint or stain color that will complement your existing décor. Finally, you may want to purchase new cabinet hardware to complete the look.

Applying Primer to the Cabinets
Before applying the primer, it’s important to make sure the area is well ventilated and that you are wearing protective clothing and safety glasses. Once the area is prepared, you can apply the primer using a brush or roller. Make sure to cover the entire surface of the cabinets, paying special attention to any corners or crevices. Allow the primer to dry completely before moving on to the next step.
Sanding Down the Cabinets
Once the primer has dried, it’s time to sand down the cabinets to create an even surface. You will need to use sandpaper to smooth out any uneven spots and remove any excess dust and debris. This step is important for ensuring that the paint or stain adheres properly to the cabinets.

Applying Paint or Stain to the Cabinets
After the cabinets have been sanded down, it’s time to apply the paint or stain. Make sure to choose a paint or stain that is suitable for the type of cabinets you have and that will complement your existing décor. You may need to mix the paint or stain according to the manufacturer’s instructions. Once the mixture is ready, apply the paint or stain evenly to the cabinets using a brush or roller. Allow the paint or stain to dry completely before moving on to the next step.
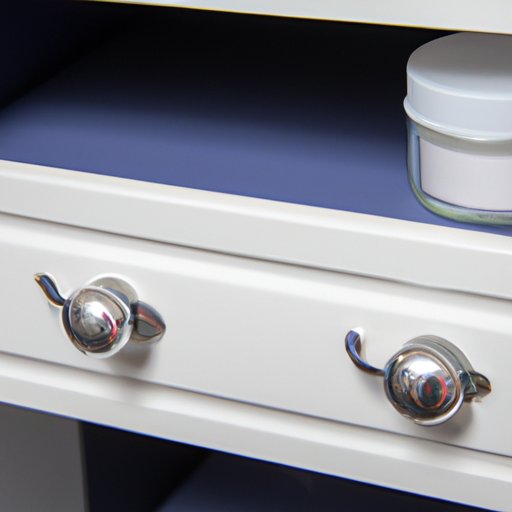
Installing New Cabinet Hardware
If you are replacing the existing cabinet hardware, now is the time to install the new pieces. Measure the holes in the cabinets to ensure that you purchase the correct size of hardware. Then, use a drill to secure the new hardware in place. Be sure to follow the manufacturer’s instructions for proper installation.
Finishing the Cabinet Resurfacing Project
Once the paint or stain has dried and the new hardware is installed, it’s time to finish up the project. You may want to seal the cabinets with a varnish to protect the paint or stain from scratches and wear. Finally, be sure to clean up any leftover mess from the resurfacing process.
Conclusion
Cabinet resurfacing is a great way to give your kitchen or bathroom a brand new look without the expense of replacing your cabinets. The process involves prepping the cabinets, applying primer, sanding down the cabinets, applying paint or stain, and installing new hardware. Although it takes some time and patience, the end result is worth it for the beautiful transformation.