
Introduction
Indoor plants can be an enjoyable addition to any home or office. Not only do they bring a touch of nature indoors, but they can also help improve air quality and provide a calming atmosphere. However, in order to keep them healthy and thriving, it’s important to regularly repot them.
Repotting is simply the process of transferring a plant from its current pot into a new one. It’s important because plants need space to grow and access to nutrients from the soil. Over time, the soil in a pot will become depleted of nutrients and the roots of the plant may become congested and crowded. Repotting helps to fix these issues and ensure that the plant has enough space to grow and thrive.
Step-by-Step Guide on How to Repot an Indoor Plant
Repotting an indoor plant is not a difficult process, but it does require some time and care. Follow these steps to ensure that your plant is properly repotted:
Gather the necessary supplies
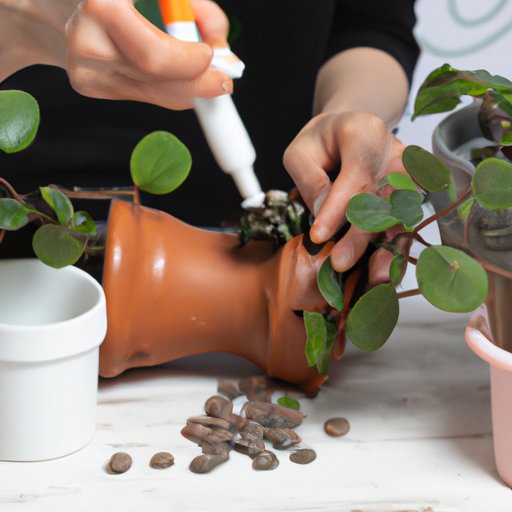
The first step is to gather all the supplies you will need. You will need a new pot, potting soil, a pair of scissors or pruners, and a trowel or spoon. If desired, you can also add a bit of fertilizer to the soil.
Prepare the new pot and soil
Once you have gathered the necessary supplies, prepare the new pot by adding some potting soil. Make sure to fill it up to about two inches from the top. If you are adding fertilizer, mix it into the soil before adding it to the pot.
Carefully remove the plant from its old pot
Next, carefully remove the plant from its old pot. Gently squeeze the sides of the pot and then turn it upside down. The plant should come out easily, but if it doesn’t, you can use a trowel or spoon to loosen the soil around the edges. Once the plant is out, check the roots for any signs of disease or damage.
Place the plant in the new pot and fill with soil
Once you’ve checked the roots, place the plant in the new pot and fill it with soil. Make sure to leave about an inch of space between the soil and the top of the pot. This will allow for proper drainage.
Water and add fertilizer, if desired
Finally, water the plant and add a bit of fertilizer, if desired. Water slowly and evenly until the soil is damp. Then, add a bit of fertilizer to the soil to give the plant an extra boost of nutrients.

Tips for Making the Repotting Process Easier
Repotting can be a bit tricky, so here are a few tips to make the process easier:
Choose a pot that is slightly larger than the previous one
It’s best to choose a pot that is slightly larger than the previous one. This will give the plant enough room to continue to grow and thrive.
Use well-draining soil
Using a well-draining soil is essential for successful repotting. If the soil doesn’t drain well, the plant may become overwatered and suffer from root rot.
Be gentle when handling the plant
When removing the plant from its old pot, be sure to handle it gently. If you pull too hard, the roots could become damaged.

Choosing the Right Pot and Soil for Repotting
Choosing the right pot and soil is essential for successful repotting. Here are a few things to consider when making your selection:
Consider the size and type of your plant
The size and type of your plant will determine the size of the pot you need. For example, larger plants may need a larger pot, while smaller plants can get away with a smaller one.
Select a pot that has drainage holes
It’s important to select a pot that has drainage holes. This will allow excess water to drain out, preventing the plant from becoming overwatered.
Choose a potting mix specifically designed for indoor plants
When selecting a potting mix, look for one that is specifically designed for indoor plants. This type of soil will provide the nutrients your plant needs to thrive.
Troubleshooting Common Issues When Repotting
If you experience any of the following issues when repotting your plant, try the following solutions:
Overwatering
If your plant is experiencing overwatering, reduce the amount of water you are giving it and make sure the soil is draining properly.
Underwatering
If your plant is not getting enough water, increase the amount you are giving it and make sure the soil is moist but not soggy.
Poor drainage
If the soil is not draining properly, try adding some perlite or sand to the soil. This will help it to drain more efficiently.

How to Know When Your Plant Needs to be Repotted
Sometimes it can be difficult to tell when your plant needs to be repotted. Here are a few signs to look out for:
Signs of rootbound plants
If the roots of your plant are beginning to circle around the inside of the pot, it’s likely time to repot. This is a sign that the plant is rootbound and needs more space to grow.
Signs of stunted growth
If your plant is not growing as quickly as it used to, it may need to be repotted. This could be a sign that the soil is depleted of nutrients or that the plant is rootbound.
Foul odors coming from the soil
If you notice a foul odor coming from the soil, it could be a sign that the plant needs to be repotted. This could mean that the soil is not draining properly or that it has become contaminated with bacteria or fungi.
Conclusion
Repotting is an important part of caring for indoor plants. By repotting your plants regularly, you can ensure they have enough space to grow and access to the nutrients they need. With the right supplies and a bit of patience, you can successfully repot your indoor plants. Remember to select the right pot and soil, be gentle when handling the plant, and troubleshoot any common issues that arise.