
Introduction
Replacing a dryer vent can seem like a daunting task, especially if you’re not familiar with home repairs. However, it doesn’t have to be a difficult process if you know the steps to take. In this article, we’ll walk you through the eight steps necessary for replacing your dryer vent from start to finish.
Research the Local Building Codes
Before you begin any repair project, it’s important to familiarize yourself with the local building codes. Depending on where you live, there may be specific regulations regarding the installation of dryer vents. Make sure to read up on these regulations before proceeding.
Gather Necessary Tools
Once you’ve done your research, it’s time to gather the tools you’ll need for the job. You’ll need a screwdriver, pliers, drill, ladder, and saw. Additionally, make sure you have the correct size replacement vent before beginning.
Measure Your Dryer Vent
Before you begin, measure the size of your current dryer vent so that you can buy the correct size replacement. This is an important step to ensure that the new vent fits properly.
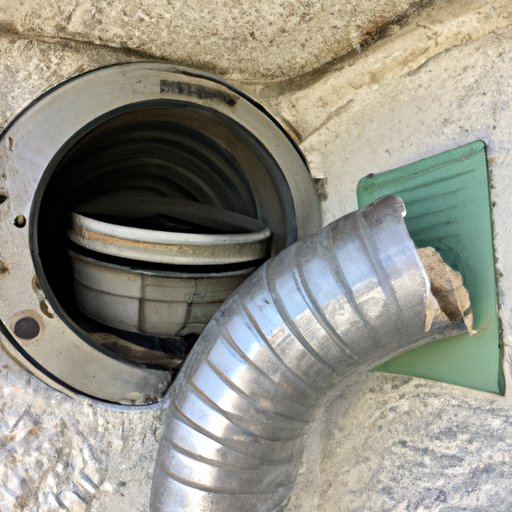
Remove Old Vent
Now that you’ve gathered all of the necessary tools and supplies, it’s time to remove the old vent. First, unscrew and remove all attachments, such as the screws, clamps, and hoses. Once everything is removed, you’re ready to move on to the next step.
Install New Vent
Now that the old vent has been removed, it’s time to install the new one. Make sure to follow the instructions that come with the new vent. This will ensure that you install it correctly and safely.
Test the Vent
Once the new vent is installed, it’s important to test it to make sure it is working properly. Try running your dryer with the vent installed to make sure it’s functioning correctly.
Conclusion
Replacing a dryer vent isn’t as complicated as it seems. By following the eight steps outlined in this article, you can easily and safely replace your dryer vent. Research the local building codes, gather the necessary tools, measure your vent, remove the old vent, install the new vent, and then test it to make sure it’s working properly. With these steps, you can avoid any costly mistakes or potential dangers that could occur.