
Introduction
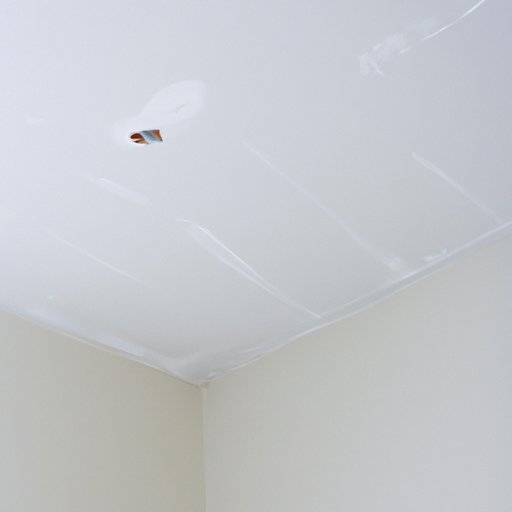
Ceiling drywall is a type of interior wall covering that is used to finish ceilings in many homes and businesses. It consists of gypsum plasterboard sheets that are attached to the ceiling joists and then tiled to create a smooth surface. Replacing ceiling drywall can be a daunting task, but with the right tools and materials and an understanding of the process, it can be done with relative ease.
Prepare the Necessary Tools and Materials
The first step in replacing ceiling drywall is to make sure you have all the necessary tools and materials. The most important tool is a drywall saw, which is used to cut the drywall panels to size. Other tools and materials you will need include a measuring tape, a level, screws, drywall joint compound, drywall tape, and a paint roller. When selecting the drywall panels, make sure to choose ones that are durable and moisture resistant.

Measure and Cut the Drywall
Once you have all the necessary tools and materials, the next step is to measure and cut the drywall panels to fit the ceiling. Start by measuring the length and width of the ceiling and then use the drywall saw to cut the panels to size. Make sure to measure twice and cut once to ensure accuracy. It’s also important to wear safety goggles when cutting the drywall to protect your eyes from any dust or debris.
Install the New Drywall
Now that the drywall is cut to size, it’s time to install it. Begin by positioning the drywall panels on the ceiling and then attach them to the ceiling joists using drywall screws. Make sure the screws are evenly spaced and driven into the joists at least 1/8 inch below the drywall surface. Once all the panels are installed, use a level to check for plumbness.
Secure the New Drywall
To ensure the new drywall is secure, it’s important to use metal corner strips or furring strips along the edges of the panels. These strips should be screwed into the joists and then covered with drywall tape. This will help prevent the drywall from coming loose over time.

Tape and Mud the Seams
Once the drywall is installed and secured, the next step is to tape and mud the seams. Start by applying drywall tape to the joints between the panels and then cover the tape with a thin layer of drywall joint compound. Allow the compound to dry overnight before sanding it down to create a smooth finish.

Sand and Paint the Ceiling
The final step in replacing ceiling drywall is to sand and paint the ceiling. Start by sanding the drywall to remove any imperfections and then apply a coat of primer. Once the primer is dry, apply two coats of paint, allowing each coat to dry before applying the next. Finally, use a paint roller to apply a third coat of paint, if desired, for a more polished look.
Conclusion
Replacing ceiling drywall is not as difficult as it may seem. With the right tools, materials, and knowledge of the process, anyone can do it. The steps involved include preparing the necessary tools and materials, measuring and cutting the drywall, installing it, securing it, taping and mudding the seams, and sanding and painting the ceiling. Following these steps and taking advantage of the tips provided will result in a successful replacement of your ceiling drywall.