
Introduction
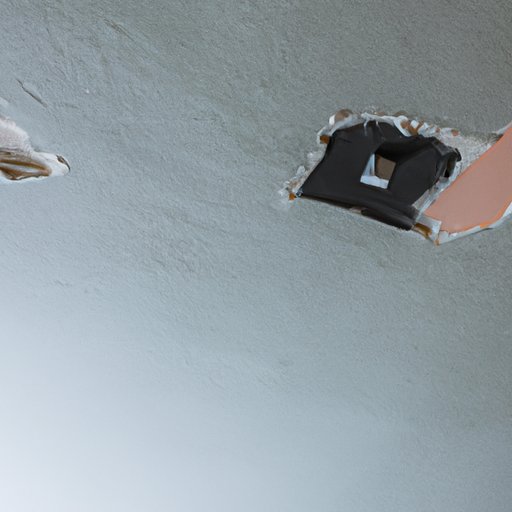
A hole in the ceiling can be an eyesore, but it doesn’t have to stay that way. With the right materials and tools, you can easily repair the hole in your ceiling and restore its original appearance. This article will provide step-by-step guidance on how to repair a hole in the ceiling.

Purchase a Drywall Repair Kit
The first step is to purchase a drywall repair kit. These kits come with all the necessary materials and tools to complete the job. You can find these kits at most home improvement stores or online. When purchasing a kit, make sure to select one that includes a high-quality patch, joint compound, and screws.

Identify the Size of the Hole
Next, you need to identify the size of the hole. Use a tape measure to accurately measure the length and width of the hole. Once you know the exact dimensions of the hole, you can prepare the surrounding area by removing any loose debris or dirt. If the hole is large, you may want to use a vacuum cleaner to remove any dust particles.
Cut a Patch to Fit the Hole
The next step is to cut a patch that is slightly larger than the hole. The patch should be made from the same material as the ceiling, such as drywall or plasterboard. Make sure to use a sharp utility knife or scissors to cut the patch. After cutting the patch, sand the edges to ensure a smooth finish.
Secure the Patch with Drywall Screws
Once the patch is the correct size, secure it to the ceiling using drywall screws. Make sure to use the appropriate type of screw for the material of your ceiling. Place the screws around the perimeter of the patch and make sure they are evenly spaced. This will ensure that the patch is firmly secured to the ceiling.

Apply Joint Compound and Sand Smooth
After securing the patch with screws, apply joint compound to the patch. Use a putty knife to spread the compound over the patch and ensure that it is completely covered. Let the compound dry before sanding it down until it is smooth and flush with the ceiling.
Paint the Ceiling
The final step is to paint the ceiling. Choose a paint color that matches the existing color of the ceiling. When applying the paint, make sure to use even strokes and cover the entire patch. Allow the paint to dry before touching up any areas that may need it.
Check for Additional Damage
Before you consider the job finished, inspect the surrounding area for any additional damage. Look for cracks or other signs of wear that may need to be addressed. If you find any additional damage, you may need to make repairs before painting.
Conclusion
Repairing a hole in the ceiling is a straightforward process that anyone can do. With the right materials and tools, you can easily repair the hole in your ceiling and restore its original appearance. As always, use caution when working with electric tools, as they can be dangerous.