
Introduction
Drywall ceilings are popular in homes and businesses due to their relatively low cost and ease of installation. However, they can become damaged over time due to water damage or other causes. Fortunately, repairing a drywall ceiling is relatively straightforward and can be done with some basic supplies and tools. This article will provide a step-by-step guide on how to repair a drywall ceiling.
Gather the Supplies
Before beginning the repair process, it is important to gather all the necessary supplies. The following supplies will be needed: drywall tape, joint compound, putty knife, sandpaper, and a utility knife. These supplies can be easily purchased at a local hardware store.
Prepare the Area
The next step is to prepare the area for repair. First, use a utility knife to cut out any damaged drywall. Be sure to remove as much of the damaged drywall as possible. Next, use a vacuum cleaner to remove any debris from the ceiling that may have resulted from cutting out the damaged drywall.
Secure the Damaged Area
Once the area has been prepared, it is time to secure the damaged area. Start by applying drywall tape over the damaged area. Make sure the tape is applied evenly and securely. This will help prevent further damage from occurring.
Apply Joint Compound
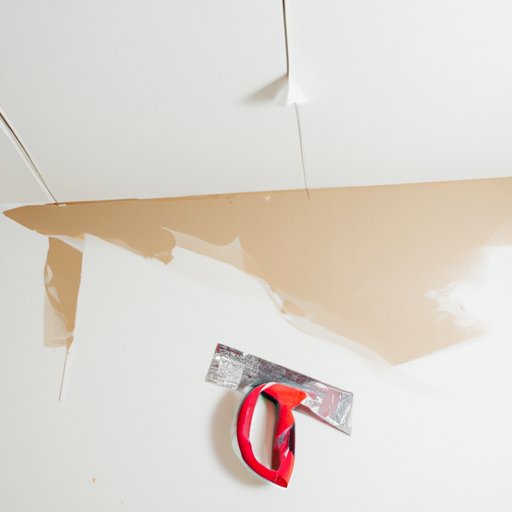
The next step is to apply joint compound over the taped area. Spread a thin layer of joint compound over the taped area using a putty knife. Be sure to spread the joint compound evenly so it covers the entire area.
Sand the Area
Once the joint compound is dry, it is time to sand the area until it is smooth. This will ensure that the repaired area blends in with the rest of the ceiling. Use medium-grit sandpaper to sand the area and be sure to wipe away any excess dust with a damp cloth.
Paint the Area
The final step is to paint the repaired area to match the rest of the ceiling. Start by priming the area. Once the primer is dry, apply two coats of paint. Allow the paint to dry completely before putting the furniture back in place.
Conclusion
Repairing a drywall ceiling is not difficult, but it does require patience and attention to detail. By following the steps outlined above, you can easily repair any damaged drywall ceiling. Gather the necessary supplies, prepare the area, secure the damaged area, apply joint compound, sand the area, and then paint the area. With a little bit of effort, you can have your drywall ceiling looking good as new.