
Introduction
Ceiling drywall is a common material used in many homes for interior walls and ceilings. Over time, it can become damaged due to water leakage, cracks, or other factors. When this happens, it’s important to repair the drywall as soon as possible to prevent further damage.
This article will provide a step-by-step guide on how to repair ceiling drywall. It will cover how to identify the problem areas, cut out damaged sections, install replacement drywall, finish the edges, prime and paint, and clean up. With these instructions, you should be able to successfully repair your ceiling drywall.
Identify the Problem Areas
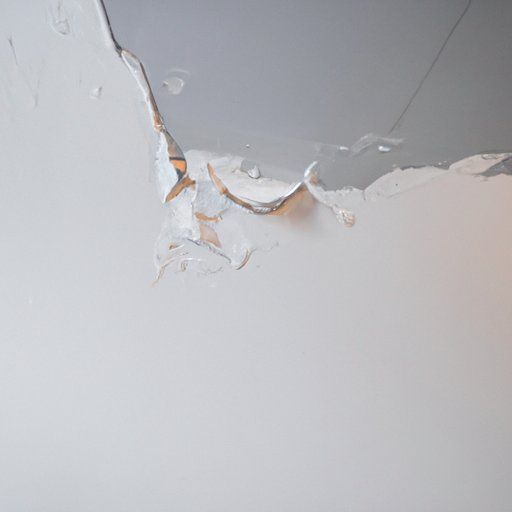
The first step in repairing ceiling drywall is to identify the problem areas. Begin by inspecting the drywall for any signs of damage, such as cracks, holes, or discoloration. If you notice any of these issues, mark them with a pencil so that you know which areas need to be repaired.
Cut Out Damaged Sections
Once you have identified the problem areas, the next step is to cut out the damaged sections. This can be done with a utility knife. Carefully cut around the damaged area, leaving a margin of about an inch on all sides. Be sure to wear safety glasses when cutting to protect your eyes from dust and debris.
Prepare the Area
Before installing the replacement drywall, it’s important to prepare the area. Begin by vacuuming up any dust and debris left over from cutting. Next, wipe down the surrounding wall with a damp cloth to remove any dirt or residue.
Install Replacement Drywall
Once the area has been prepared, the next step is to install the replacement drywall. Measure the hole and cut a piece of drywall slightly larger than the hole. This will ensure that the new piece fits properly. Secure the drywall in place with screws.
Finish the Edges
After the drywall has been installed, the edges will need to be finished. Cover the edges with spackle or joint compound and allow it to dry completely before sanding it smooth. Once the edges are finished, the drywall is ready to be primed and painted.
Prime and Paint
To complete the repair, apply a coat of primer to the patched area. Allow the primer to dry before painting to match the rest of the ceiling. Make sure to use a good quality paint that is designed for ceilings to ensure a long-lasting finish.
Clean Up
The final step is to clean up. Vacuum up any remaining dust and debris. You can also use a damp cloth to wipe down the area if necessary.