
Introduction
At some point, it may become necessary to remove shelves from a Samsung refrigerator. This could be due to a variety of reasons, such as needing to replace a broken shelf, or just wanting to rearrange the interior of the fridge. Whatever the reason, this task can be accomplished with relative ease, as long as the proper steps are followed.
The purpose of this article is to provide an overview of the process of removing shelves from a Samsung refrigerator. This includes preparation, removal, cleaning and reattachment. With these instructions, anyone should be able to successfully navigate this task.
Preparation
The first step in this process is to unplug the refrigerator from its power source. This is an important safety measure, as working on any appliance while it is still plugged in can be dangerous. Once the power has been disconnected, the next step is to clean around the shelves, removing any debris or food that may be present.
Removing the Shelves
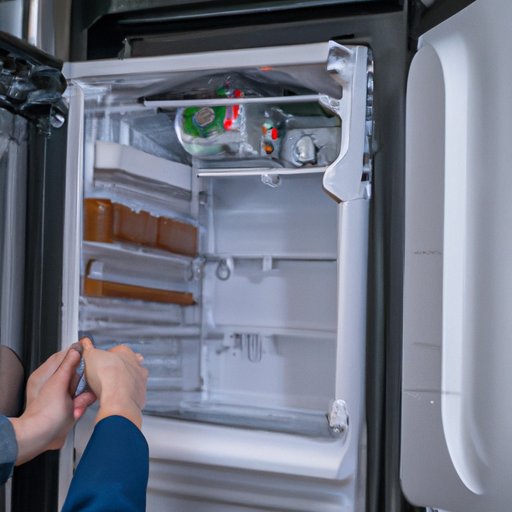
Now that the refrigerator is unplugged and the area around the shelves is clear, it is time to begin the actual process of removing them. The first step is to gently pull out each shelf. Depending on the model, this may require a slight tug, as the shelves may be stuck in place. Once they have been pulled out, they need to be checked for any screws or bolts that may be holding them in place. If any are found, they will need to be removed before the shelf can be taken out.
Once all the screws or bolts have been removed, the next step is to carefully lift each shelf off. It is important to take care when doing this, as there may be fragile parts that can easily break. The shelves can then be inspected for any broken pieces or other damage that may have occurred during removal.
Cleaning
After the shelves have been removed, the interior of the refrigerator should be cleaned thoroughly. This includes wiping down all surfaces, as well as vacuuming up any loose dirt or crumbs. This is a good opportunity to also check for any signs of mold or mildew, which may need to be treated before the shelves are reattached.
Reattaching the Shelves
Once the interior has been cleaned, the next step is to reattach the shelves. They should be returned to their original positions, as this will ensure that they fit correctly and securely. Any screws or bolts that were removed should also be replaced, as they help to hold the shelves in place. Finally, the refrigerator should be plugged back in and tested to make sure everything is working properly.
Conclusion
Removing shelves from a Samsung refrigerator is a relatively simple task that can be accomplished with a few basic tools and some patience. The process includes unplugging the refrigerator, cleaning the area around the shelves, removing any screws or bolts, lifting each shelf off, cleaning the interior, and reattaching the shelves. By following these steps, anyone should be able to safely and successfully remove shelves from their Samsung refrigerator.