
Introduction
Removing a hard drive from a laptop can be a daunting task for those who are not familiar with the inner workings of computers. Fortunately, with the right knowledge and preparation, it is possible to safely and securely remove a hard drive from a laptop. This article will provide a step-by-step guide on how to do so.

Research and Investigate Your Laptop Model
The first step in removing a hard drive from a laptop is to identify the make and model of the laptop. This information can usually be found on the bottom or back of the laptop. It is important to know what type of laptop you have as this will determine the type of hard drive installed in the laptop and the exact steps necessary to remove it.
Power Down the Laptop and Unplug All Cables
Once you have identified the make and model of the laptop, the next step is to shut down the computer and disconnect any peripherals or cords connected to the laptop. This includes any charging cables, external hard drives, USB devices, etc. Once everything has been disconnected, it is safe to proceed with the removal process.

Open the Laptop and Locate the Hard Drive
In order to access the internal components of the laptop, you will need to remove any screws or fasteners holding the laptop together. Once the laptop is opened, locate the hard drive and take note of its position. The hard drive will typically be located near the center of the laptop and may be secured by screws or other fasteners.
Unscrew/Unfasten the Hard Drive from the Laptop
Carefully unscrew or unfasten the hard drive from the laptop. Make sure that all screws and fasteners are removed before attempting to lift the hard drive out of the laptop.
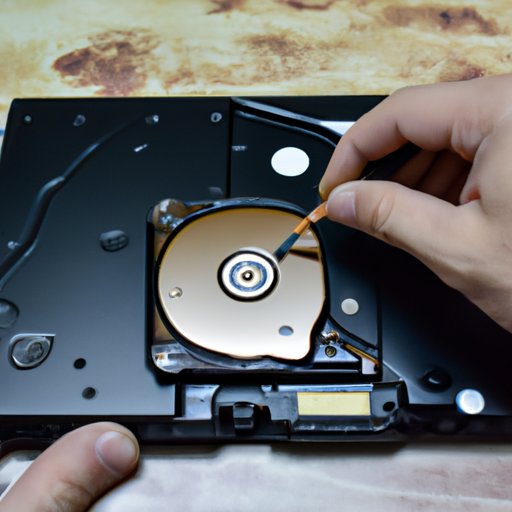
Carefully Remove the Hard Drive from the Laptop
Once all of the screws have been removed, carefully lift the hard drive out of the laptop. Be sure to hold the hard drive firmly and securely while doing so as any sudden movements could cause damage to the hard drive.

Disconnect the Hard Drive from Any Connectors
Before completely removing the hard drive from the laptop, make sure to detach any wires or connectors attached to the hard drive. This includes any SATA or power cables that may be connected to the hard drive.
Conclusion
By following the steps outlined above, you should now have successfully removed the hard drive from your laptop. To ensure the safety of the hard drive, it is important to store it in an anti-static bag and handle it with care. Additionally, it is also a good idea to keep the laptop’s screws and fasteners in a safe place in case they are needed in the future.
Removing a hard drive from a laptop can be a tricky process, but with the right knowledge and preparation it can be done safely and securely. Hopefully this article has provided you with the information necessary to properly remove a hard drive from your laptop.