
Introduction
Whirlpool is one of the leading appliance manufacturers in the world, providing quality products that are designed to last. One of the most popular appliances they produce is the freezer drawer, which provides ample space for food storage. Whether you’re looking to replace an old model or upgrade to a new one, knowing how to remove a Whirlpool freezer drawer can be quite beneficial.
Overview of Whirlpool Freezer Drawers
Whirlpool freezer drawers are a great way to store frozen foods, as they keep items conveniently organized and accessible. The drawers are made from high-grade materials, such as stainless steel, and feature adjustable temperature settings, making them ideal for storing a variety of items. Additionally, many models come with removable shelves, allowing for further customization.

Benefits of Removing a Freezer Drawer
Whether you’re replacing an old model or simply want to rearrange your refrigerator, knowing how to remove a Whirlpool freezer drawer can help make the process much easier. Removing the drawer will allow you to access the interior of the unit, giving you more flexibility when it comes to cleaning, maintenance, and reorganizing. Plus, if you’re looking to replace the drawer, having it removed will save you time and effort.
Step-by-Step Guide to Removing a Whirlpool Freezer Drawer
Removing a Whirlpool freezer drawer doesn’t have to be complicated or time-consuming. Here’s a step-by-step guide to help you get started:
Preparing the Area for Removal
Before you start, make sure to clear out any items that may be blocking access to the drawer. Also, turn off the power to the unit to avoid any potential electrical shocks.
Locating and Removing the Screws
Next, locate the screws that hold the drawer in place. Most models will have two screws located on the bottom of the drawer. Use a screwdriver to remove the screws and set them aside.
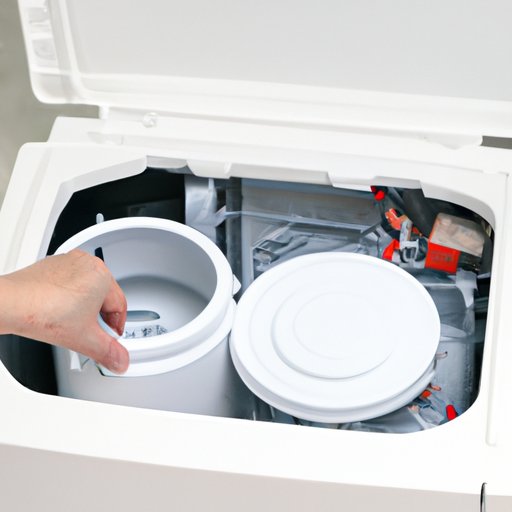
Removing the Drawer and its Contents
Once the screws have been removed, gently pull the drawer outward until it is free from the unit. Carefully transfer any remaining contents to another container and then place the drawer aside.

Video Tutorial on How to Easily Remove a Whirlpool Freezer Drawer
If you’re still unsure of how to properly remove a Whirlpool freezer drawer, don’t worry! There are plenty of helpful tutorials available online. One great resource is this video tutorial from Appliance Parts Pros, which walks viewers through the entire process in just a few minutes.
Link to Video Tutorial
Here’s the link to the tutorial: https://www.youtube.com/watch?v=YyVQ_gF6TZU
What to Expect from the Tutorial
The tutorial covers all the necessary steps for removing a Whirlpool freezer drawer, including locating and removing the screws, disconnecting the drain hose, and uninstalling the drawer. It also offers helpful tips for making the job simpler and safer.

A Comprehensive Guide to Uninstalling a Whirlpool Freezer Drawer
If you need further assistance with removing a Whirlpool freezer drawer, here’s a comprehensive guide to help you out:
Shutting off Power to the Unit
Before attempting to remove the drawer, make sure to shut off the power to the unit. This will prevent any accidental shocks or fires.
Disconnecting the Drain Hose
Next, locate the drain hose and disconnect it from the back of the freezer drawer. You may need to use a wrench or pliers to loosen the connection. Once it’s disconnected, set the hose aside.
Uninstalling the Drawer
Now, locate and remove the screws that hold the drawer in place. With the screws removed, you should be able to carefully pull the drawer outward until it’s free from the unit. Transfer any remaining contents to another container and then place the drawer aside.
Tips for Removing a Whirlpool Freezer Drawer in Minutes
Although the process of removing a Whirlpool freezer drawer isn’t overly complicated, there are still a few tips that can help make the job go faster and smoother. Here are some of the most important ones:
Wearing Protective Gear
When removing the drawer, make sure to wear protective gear such as gloves and safety glasses. This will help protect you from any debris or sharp edges that may be present.
Using Suitable Tools
Using the right tools for the job is essential. Make sure to have a screwdriver and wrench or pliers on hand to easily remove the screws and disconnect the drain hose.
Avoiding Damage to the Unit
Finally, take care not to damage the unit while trying to remove the drawer. Work slowly and carefully to ensure that everything goes smoothly.

DIY: How to Quickly and Safely Remove a Whirlpool Freezer Drawer
If you’re feeling confident enough to tackle the project yourself, here’s a quick and easy guide to removing a Whirlpool freezer drawer:
Steps for Removal
- Shut off the power to the unit.
- Locate and remove the screws that hold the drawer in place.
- Gently pull the drawer outward until it’s free from the unit.
- Transfer any remaining contents to another container.
- Place the drawer aside.
Safety Precautions
- Wear protective gear such as gloves and safety glasses.
- Use the right tools for the job (screwdriver, wrench, etc.).
- Work slowly and carefully to avoid damaging the unit.
Tips and Tricks for Taking Out a Whirlpool Freezer Drawer with Ease
If you’re still having trouble removing a Whirlpool freezer drawer, here are some additional tips and tricks that can help:
Utilizing Leverage
If the drawer is stuck, try using leverage to gently pry it out. Place a flat-head screwdriver between the drawer and the unit and then apply pressure downwards. This should help to loosen the drawer and make it easier to remove.
Working Slowly and Carefully
Take your time with the process and avoid rushing. Working too quickly can cause damage to the unit, so it’s important to take your time and be careful.
Conclusion
Removing a Whirlpool freezer drawer doesn’t have to be difficult. With the right tools, safety precautions, and a bit of patience, you can easily take out the drawer and access the interior of the unit. Hopefully, this guide has helped you understand the process better and given you the confidence to tackle the job yourself.