
Introduction
Popcorn ceilings, also known as stucco or cottage cheese ceilings, are a common feature in homes built from the 1950s to the 1980s. They are made up of a spray-on or paint-on acoustic material that creates a textured look and helps reduce noise. Over time, the texture can start to look outdated, stained, and cracked. If you’re looking for a way to update your home, removing the popcorn ceiling is a great place to start.
There are several reasons why homeowners choose to remove popcorn ceilings. Some may want to get rid of the dated look, while others may be concerned about asbestos contamination. Whatever your reason, it’s important to know how to properly and safely tackle this project.
Using a Wet/Dry Vacuum
One of the easiest ways to remove popcorn ceiling is by using a wet/dry vacuum. The benefits of using this method include no need to use harsh chemicals and less mess overall. All you need is a wet/dry vacuum and a ladder.
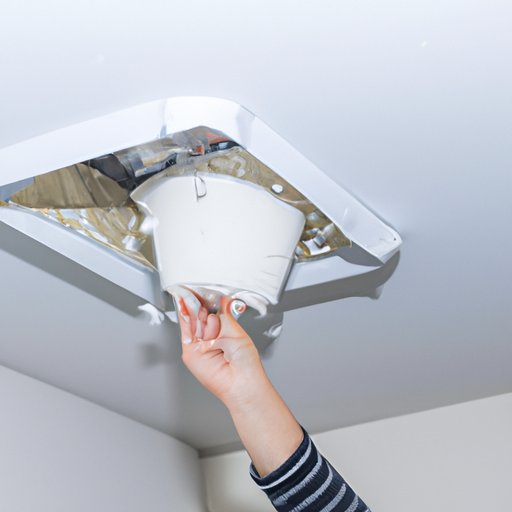
To begin, you’ll need to fill a bucket with warm water and a few drops of liquid soap. Next, turn on the wet/dry vacuum and attach the hose to the bucket. Then, climb up the ladder and start vacuuming the popcorn ceiling. As you vacuum, make sure to keep the nozzle close to the ceiling, but not too close as to damage the drywall underneath. Once you’ve vacuumed the entire area, use a damp cloth to wipe away any remaining residue.

Scraping with a Putty Knife
If the popcorn ceiling is particularly stubborn, you may need to resort to scraping it off with a putty knife. This method requires more elbow grease, but it can be effective in getting rid of the texture. The advantages of using this method include the ability to target small areas and avoid damaging the drywall underneath.
When using a putty knife, make sure to wear safety goggles to protect your eyes from any falling debris. Start at one corner of the ceiling and gently scrape the texture off in a circular motion. Be careful not to press too hard, as this could cause damage to the underlying drywall. Once you’ve scraped off all the texture, use a damp cloth to wipe away any remaining residue.
Sanding Down the Popcorn Ceiling
If you have an especially thick layer of popcorn ceiling, you may need to sand it down before scraping it off. The benefits of using this method include being able to reach tight corners and crevices, as well as avoiding damage to the drywall underneath. All you need is a sanding pole and a face mask.
Start by attaching the sanding pole to an electric sander. Then, put on your face mask and climb up the ladder. Gently sand the popcorn ceiling in a circular motion, making sure to keep the sander moving to avoid creating divots in the drywall. Once you’ve finished sanding, use a damp cloth to wipe away any remaining dust and debris.
Using a Chemical Stripper
If you don’t have access to a sanding pole or a wet/dry vacuum, you can use a chemical stripper to remove the popcorn ceiling. The benefits of using this method include being able to target small areas and avoiding damage to the drywall underneath. All you need is a chemical stripper and protective gear.
Start by putting on protective gloves, goggles, and a respirator. Then, mix the chemical stripper according to the manufacturer’s instructions. Apply the stripper to the popcorn ceiling using a paintbrush, making sure to cover the entire area. Allow the stripper to sit for 10-15 minutes, then scrape off the texture with a putty knife. Finally, use a damp cloth to wipe away any remaining residue.

Covering the Popcorn Ceiling with Drywall
If you’re looking for a more permanent solution, you can cover the popcorn ceiling with drywall. The advantages of using this method include being able to customize the look of the ceiling and ensuring a long-lasting finish. All you need is drywall, screws, and a drill.
Start by measuring the ceiling and cutting the drywall to size. Then, use a drill to attach the drywall to the ceiling joists. Make sure to secure each sheet of drywall with screws. Once all the drywall is installed, tape and mud the seams and let it dry overnight. Finish off by sanding down the drywall and painting the ceiling.
Conclusion
Removing popcorn ceiling can be a daunting task. However, with the right tools and techniques, it’s possible to successfully tackle this project. From using a wet/dry vacuum and scraping with a putty knife, to sanding down the popcorn ceiling and using a chemical stripper, there are plenty of options available for tackling this task. For a more permanent solution, you can always cover the popcorn ceiling with drywall.
No matter which method you choose, it’s important to take all necessary safety precautions and follow the instructions carefully. With a little patience and effort, you’ll be able to transform your outdated popcorn ceiling into a modern and stylish space.