
Introduction
Removing bathroom tiles can be a daunting task, but it doesn’t have to be. With the right tools and know-how, anyone can successfully tackle this project. This article will provide step-by-step instructions for how to remove bathroom tile, as well as safety precautions to keep in mind along the way. We’ll also provide tips for disposing of the old tiles and installing new ones. So no matter your experience level, you can be sure that you’ll have all the information you need to get the job done right.
Preparing the Space
Before you begin the process of removing your bathroom tiles, there are a few steps you should take to make sure the space is ready. First, gather the supplies you’ll need for the job. These include a hammer, chisel, electric drill, protective gear, and any other tools that may be necessary. It’s also important to shut off the water supply to the area before you start working.
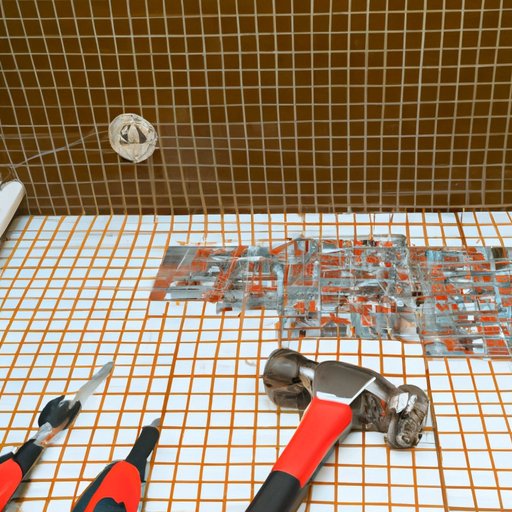
Removing Tile with a Hammer and Chisel
Using a hammer and chisel is one of the most common methods for removing bathroom tiles. Start by positioning the chisel at one corner of the tile and tapping it gently with the hammer. Slowly work your way around the edges of the tile until it loosens and can be removed. Keep in mind that this method is likely to cause some dust, so it’s important to wear protective gear such as goggles, gloves, and a face mask.

Using an Electric Drill to Remove Tiles
If the tiles are particularly stubborn, an electric drill may be necessary. Begin by drilling several holes into the tile. Make sure to avoid drilling all the way through the tile, as this could damage the wall beneath. Once the holes have been drilled, use a chisel to pry the tile away from the wall. Again, be sure to wear protective gear while doing this.
Scraping Away Mortar and Grout
Once the tiles have been removed, you will need to scrape away the remaining mortar and grout. This can be done with a trowel or other scraping tool. Be careful not to scratch the surface of the wall with the tool. If the mortar and grout are particularly stubborn, you may need to use a chemical solvent to loosen them up before scraping.

Disposing of the Old Tiles
After the tiles have been removed, you will need to dispose of them properly. The best way to do this is to contact your local waste management authority for advice. Depending on where you live, there may be specific regulations in place for disposing of bathroom tiles. Make sure you comply with these regulations to avoid any fines or penalties.

Cleaning the Surface Before Replacing Tiles
Before installing new tiles, it’s important to make sure the surface of the wall is clean and free of debris. Use a damp cloth or sponge to wipe away any dust or dirt. If there are any stubborn stains, you may need to use a mild cleaner or chemical solvent to remove them. Be sure to let the surface dry completely before proceeding.
Installing New Tiles
Now it’s time to install the new tiles. Start by spreading adhesive onto the wall, then carefully place each tile in its designated spot. Use a level to make sure the tiles are even, and press them firmly into the adhesive. Once the tiles have been installed, apply grout in between them with a rubber trowel. Allow the grout to set for 24 hours before using the area.
Conclusion
Removing bathroom tiles is a big job, but with the right tools and knowledge, it can be done relatively easily. This article has outlined all the steps necessary for safely and effectively removing old tiles and replacing them with new ones.