
Introduction
Bathroom fans are important appliances in any home. Not only do they help keep the air in the bathroom clean and free of moisture, but they also help reduce odors and prevent mold growth. But what happens when your bathroom fan stops working or becomes too noisy? It may be time to remove and replace it.
This article will provide a step-by-step guide on how to safely and easily remove and replace a bathroom fan. It will also discuss safety precautions, tools needed, and common problems and solutions. Finally, it will include tips for choosing the right fan, sealing the exterior, and a final installation checklist.
Step-by-Step Guide to Removing a Bathroom Fan
Before you begin, there are some safety precautions that must be taken. Make sure the power is turned off at the circuit breaker before beginning any work. Also, wear protective gear such as goggles, gloves, and a dust mask when working with electrical components.
You will also need some basic tools such as a screwdriver, pliers, and a wire stripper. These can usually be found in most home tool kits.
Now you are ready to start the process of removing the fan. First, locate the screws that secure the fan to the ceiling. Use a screwdriver to remove the screws and set them aside. Once the screws are removed, you will be able to slide the fan out of the ceiling.
Next, you need to disconnect the wiring. Locate the power cord and the switch wires. Carefully disconnect the wires from each other using a pair of pliers. Make sure to label the wires so you know which one goes where when you install the new fan.
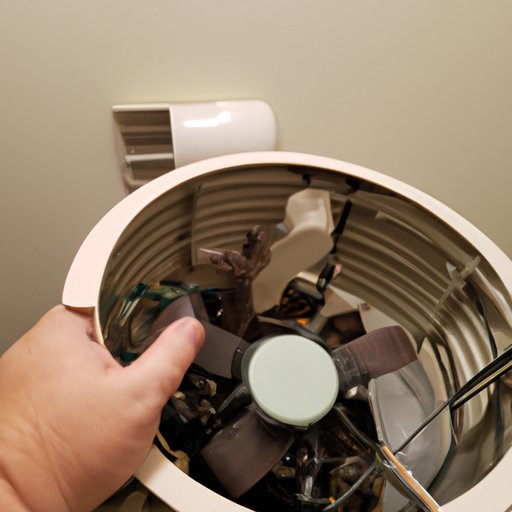
The last step is to carefully remove the fan from the ceiling. Lift the fan up and out of the opening in the ceiling. You may need an extra set of hands to help with this step.
How to Safely and Easily Uninstall a Bathroom Fan
Once the fan is removed, you can prepare the area for the new fan. Start by cleaning the area and removing any dust or debris. This will ensure a successful installation of the new fan.
Next, you need to disconnect the wiring from the fan itself. Use a wire stripper to carefully strip away the insulation from the wires. Then, carefully disconnect the wires from the fan.
Finally, you need to remove the fan itself. Carefully lift the fan up and out of the ceiling. If necessary, you may need an extra set of hands to help with this step.

DIY: Learn How to Replace Your Bathroom Fan in Minutes
Now that the old fan has been removed, it’s time to install the new one. Before you begin, make sure you have all the necessary materials and tools. You will need a new fan, a screwdriver, pliers, and a wire stripper.
Start by installing the new fan in the ceiling. Secure the fan in place using the screws provided. Next, connect the wiring. Carefully connect the power cord and the switch wires. Make sure to use the labels to ensure the correct connections.
Finally, you need to connect the wiring to the fan itself. Use a wire stripper to carefully strip away the insulation from the wires. Then, carefully connect the wires to the fan.
Troubleshooting and Removing a Bathroom Fan
Sometimes, even after installing a new fan, there can still be problems. One of the most common issues is noise. If the fan is too loud, it could be due to improper installation or a faulty fan. If the fan is making strange noises, it could indicate a loose connection or a defect in the fan.
Another issue could be poor air flow. If the fan doesn’t seem to be moving enough air, it could be blocked by something such as lint or dust. To fix this, simply clean the fan and check for any blockages.
Finally, you should test the fan to make sure it is working properly. Turn on the fan and listen for any strange noises. If everything seems to be working correctly, then you have successfully installed the new fan.

Tips for Replacing an Old or Noisy Bathroom Fan
Replacing an old or noisy bathroom fan can be a daunting task, but it doesn’t have to be. Here are some tips to help make the process easier:
- Clean and prepare the area before beginning the installation process.
- Choose the right fan for your needs. Consider the size of the room, the amount of air flow needed, and the noise level.
- Seal the exterior of the fan with silicone caulk to help reduce noise and improve efficiency.

The Ultimate Guide to Removing and Replacing a Bathroom Fan
Replacing a bathroom fan can be a simple and cost-effective way to improve the air quality in your home. Not only will it help reduce odors and moisture, but it can also help reduce energy costs. Plus, it can be done in a matter of minutes.
To ensure a successful installation, here is a final installation checklist:
- Gather the necessary materials and tools.
- Remove the old fan and disconnect the wiring.
- Install the new fan and connect the wiring.
- Test the fan to make sure it is working properly.
- Clean the area and seal the exterior of the fan.
Conclusion
Removing and replacing a bathroom fan can seem like a daunting task, but it doesn’t have to be. With the right tools and a little bit of knowledge, you can easily and safely remove and replace your bathroom fan in a matter of minutes.
By following the steps outlined in this article, you can ensure a successful installation and improved air quality in your home. So get started today and enjoy the benefits of a new, quiet, and efficient bathroom fan.