Introduction
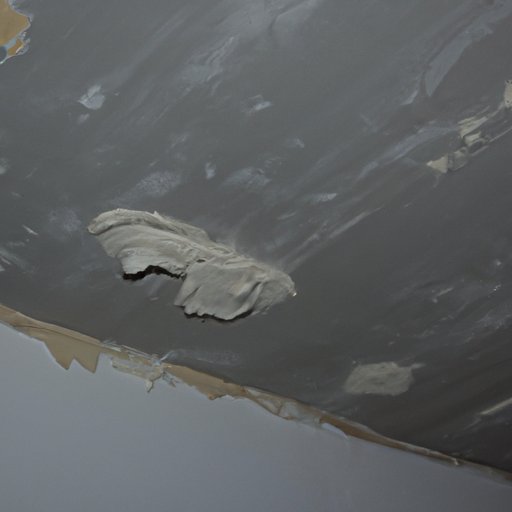
A textured ceiling is a type of ceiling finish that has been textured with materials such as joint compound or stucco. It can give a room an interesting look and can be easier to clean than a smooth ceiling. However, there may come a time when you need to remove the texture from your ceiling. This article will provide a step-by-step guide on how to do this safely and efficiently.
Prepare the Room
Before you begin removing the texture, it’s important to prepare the room. Start by covering the floor and any furniture in the room with drop cloths or plastic sheets. This will protect them from dust, debris, and splatters. You should also turn off the power to the room and remove any light fixtures or other items that are attached to the ceiling.
Inspect the Ceiling for Asbestos
If your textured ceiling was installed before 1980, then it could contain asbestos, a hazardous material that can cause serious health problems if inhaled. Before you begin the removal process, it’s important to test for asbestos. You can hire a professional to do this, or you can purchase a testing kit from your local hardware store. Once you have the results of the test, you can proceed.
Choose the Appropriate Tools
Once you have tested for asbestos and prepared the room, it’s time to choose the appropriate tools for the job. You will need a putty knife, a texture scraper, a drywall saw, a hand sander, a vacuum cleaner, and a shop vac. You may also want to have some gloves, goggles, and a dust mask on hand for protection.
Remove the Texture
The next step is to remove the texture from the ceiling. Start by scraping away the texture with a putty knife. Be sure to start in one corner and work your way across the ceiling. If you encounter any stubborn areas, you can use a texture scraper to help remove them. When you’re finished, use a drywall saw to cut away any remaining texture.

Fill in Holes and Cracks
Once you’ve removed all of the texture, it’s important to fill in any holes or cracks that were left behind. To do this, you will need to use joint compound. Use a trowel to spread the joint compound into the holes and cracks. Make sure to smooth it out and let it dry completely before continuing.
Sand the Ceiling Smooth
The next step is to sand the ceiling smooth. This will help ensure that the surface is even and free of bumps and lumps. Start by using a hand sander with medium grit sandpaper to sand the entire ceiling. Once you’ve finished sanding, use a vacuum cleaner and a shop vac to remove any dust and debris.
Prime and Paint
The last step is to prime and paint the ceiling. Start by applying a coat of primer to the ceiling. Let the primer dry completely before applying a coat of paint. If you’re using a roller, make sure to roll in one direction and avoid going back and forth. Once the paint has dried, you’re done!
Conclusion
Removing a textured ceiling can be a daunting task, but following these steps will make the process much easier. Start by preparing the room and inspecting the ceiling for asbestos. Then choose the appropriate tools and remove the texture. Fill in any holes and cracks, sand the ceiling smooth, and finally prime and paint. Following these steps will ensure that your ceiling looks great and is safe to use.


