
Introduction
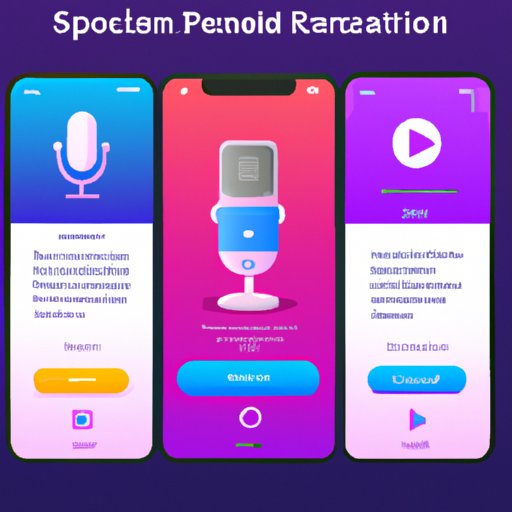
Recording on an iPhone can be a great way to capture audio for podcasts, music, and more. With the right tools and techniques, you can easily create high-quality recordings that sound professional. In this article, we’ll explore how to record on an iPhone, from downloading recording apps to utilizing Voice Memos and other features.
Download a Recording App
The first step in recording on an iPhone is to download a recording app. There are many different recording apps available for iPhones, each with their own unique features and benefits. Some popular recording apps include GarageBand, Pro Tools, and Logic Pro X.
Using a recording app has several advantages. For one, they often come with a variety of built-in instruments and effects that can help you create a polished, professional-sounding recording. Additionally, most recording apps allow you to easily share your recordings with others via email or social media.
To get started, simply search for a recording app in the App Store and download it onto your iPhone. Once downloaded, follow the instructions to set up the app and start recording.
Utilize Voice Memos
Another way to record on an iPhone is to use the built-in Voice Memos app. Voice Memos is a free app that allows you to quickly and easily record audio on your iPhone. It is simple to use, and the recordings can be shared with others via email or social media.
To access Voice Memos, simply open the app and press the record button. You can then start recording and adjust the volume, quality, and other settings as needed. When you’re done recording, press the stop button and save the recording. You can then share the recording with others or edit it further.
Use External Audio Accessories
If you’re looking to create higher-quality recordings, you may want to consider using external audio accessories. These accessories connect to your iPhone and allow you to record audio at higher bitrates and resolutions than are possible with the built-in microphone. Some popular external audio accessories include microphones, mixers, and audio interfaces.
Using external audio accessories has several advantages. For one, they allow you to capture better sound quality than is possible with the built-in microphone. Additionally, some audio accessories offer additional features such as noise reduction, EQ, and more. Finally, they can also provide a more convenient way to record as you don’t need to hold your phone while recording.
To get started, simply connect the audio accessory to your iPhone and launch your recording app. Follow the instructions to set up the audio accessory and start recording.
Take Advantage of Built-in Microphone
If you don’t have any external audio accessories, you can still create high-quality recordings using the built-in microphone on your iPhone. To access the microphone, simply open the Voice Memos app and press the record button. You can then start recording and adjust the volume, quality, and other settings as needed.
When recording with the built-in microphone, there are a few tips to keep in mind. First, make sure the microphone is close to the source of the sound. This will help ensure that the sound is captured clearly and accurately. Additionally, try to minimize background noise by turning off any fans or other noise-producing devices in the room.
Record with Third-Party Apps
In addition to recording apps and Voice Memos, you can also use third-party apps to record audio on your iPhone. These apps often offer advanced features such as noise cancellation and EQ, making them ideal for creating professional-sounding recordings. Some popular third-party recording apps include Rode Rec, Zoom, and iRig Recorder.
To get started, simply search for a third-party recording app in the App Store and download it onto your iPhone. Follow the instructions to set up the app and start recording. Be sure to take advantage of any advanced features the app offers to get the best sound quality possible.
Set Up an Audio Interface
Another option for recording on an iPhone is to use an audio interface. An audio interface is a device that connects to your iPhone and allows you to record audio at higher bitrates and resolutions than is possible with the built-in microphone. It also provides additional features such as noise cancellation and EQ, making it ideal for creating professional-sounding recordings.
To get started, simply connect the audio interface to your iPhone and launch your recording app. Follow the instructions to set up the audio interface and start recording. Be sure to take advantage of any advanced features the audio interface offers to get the best sound quality possible.
Try Screen Recording Feature
Finally, you can also use the built-in screen recording feature on your iPhone to record audio. This feature allows you to record whatever is happening on your screen, including audio. To access the screen recording feature, simply open the Control Center and tap the screen recording icon.
Once you’ve enabled the screen recording feature, you can start recording and adjust the settings as needed. When you’re done recording, simply tap the “Stop” button and save the recording. You can then share the recording with others or edit it further.
Conclusion
Recording on an iPhone is a great way to capture audio for podcasts, music, and more. In this article, we explored how to record on an iPhone, from downloading recording apps to utilizing Voice Memos and other features. Whether you’re using a recording app, Voice Memos, external audio accessories, or the built-in microphone, following these steps will help you create high-quality recordings that sound professional.