
Introduction
A dryer belt is an important part of your dryer that helps rotate the drum in order to dry clothes. It is a thin rubber belt that wraps around the drum and motor pulley. Over time, the belt can become worn out or damaged due to age or improper use. If this happens, it’s important to replace the belt as soon as possible so your dryer can continue to function properly.
Step-by-Step Guide to Installing a Dryer Belt
Replacing a dryer belt is not a difficult task, but it requires some knowledge and preparation. Here is a step-by-step guide to help you get started:
1. Unplug the Dryer
The first step is to unplug the dryer from the wall outlet. This will ensure that there is no power running through the unit while you’re working on it. Be sure to also turn off the gas supply if your dryer is powered by natural gas.
2. Remove the Old Dryer Belt
Once the power is off, you can begin to remove the old dryer belt. Start by removing the lint trap and accessing the back panel of the dryer. You may need to remove some screws in order to do this. Once the back panel is removed, you should be able to see the old belt. Carefully remove it and set it aside.
3. Measure the New Belt
Before installing the new belt, measure it to make sure it is the correct size. It should be the same length and width as the old belt. If it is not the correct size, you will have to purchase a new one.
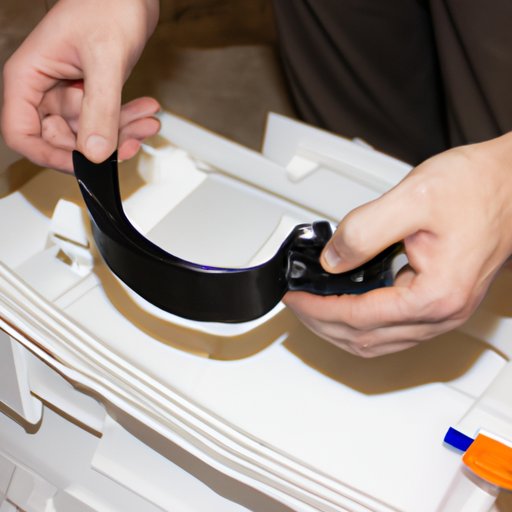
4. Install the New Belt
Once you have the correct size belt, you can begin to install it. Start by threading the belt around the drum and then looping it around the motor pulley. Make sure the belt is securely in place and that all the tension is even. If the belt is too loose, it won’t be able to rotate the drum properly.
5. Plug the Dryer Back In
Once the belt is installed, you can plug the dryer back in and turn it on. Test the dryer to make sure the belt is functioning properly. If everything seems to be working correctly, you can reassemble the back panel of the dryer and replace the lint trap.

Quick and Easy Tips for Replacing a Dryer Belt
When replacing a dryer belt, there are a few things to keep in mind:
- Make sure to unplug the dryer before replacing the belt.
- Take precise measurements of the new belt.
- Use gloves when handling the belt.
DIY Guide to Replacing a Dryer Belt
If you’re looking to replace your dryer belt without calling a professional, here are a few tips to get you started:
- Gather all necessary tools. You’ll need a screwdriver, pliers, and possibly an adjustable wrench.
- Familiarize yourself with how the belt is installed. Take a look at the diagrams in the owner’s manual or online tutorials.
- Follow the step-by-step guide above.

How to Replace a Dryer Belt in 5 Simple Steps
For a quick and easy way to replace your dryer belt, follow these five simple steps:
- Unplug the Dryer
- Remove the Old Dryer Belt
- Measure the New Belt
- Install the New Belt
- Plug the Dryer Back In

The Essential Guide to Replacing a Dryer Belt
To ensure a successful installation, there are certain things you should know before replacing your dryer belt:
- Understand the anatomy of a dryer belt. Knowing the parts and how they fit together will help you understand the installation process.
- Know what type of belt you need. Different models require different types of belts, so make sure you get the right one.
- Have the right tools on hand. You’ll need a screwdriver, pliers, and possibly an adjustable wrench.
- Learn how to properly install the belt. Refer to the diagrams in the owner’s manual or online tutorials.
Troubleshooting Tips for Installing a Dryer Belt
If you’re having trouble installing the dryer belt, here are some troubleshooting tips:
- Check that the belt is the correct size. If it is too small or too large, it won’t work properly.
- Make sure the belt is properly aligned. If the belt is twisted or misaligned, it could cause the dryer to malfunction.
- Ensure the belt is tight enough to turn the drum. If the belt is too loose, it won’t be able to rotate the drum properly.
Conclusion
Installing a dryer belt is a fairly straightforward process, but it requires some knowledge and preparation. By understanding the anatomy of a dryer belt, knowing what type of belt you need, and having the right tools on hand, you can successfully replace your dryer belt. Just remember to always unplug the dryer before starting any work, take precise measurements of the new belt, and ensure the belt is tight enough to turn the drum. With these tips, you should have no problem replacing your dryer belt.