
Introduction
Clip-in hair extensions are a great way to add length, volume, and color to your hair without damaging your natural locks. They come in various types, colors, and textures to suit any hair type and style. Whether you’re looking for a subtle change or a dramatic transformation, clip-in hair extensions can help you achieve your desired look.
In this guide, we’ll explore the basics of clip-in hair extensions and provide step-by-step instructions for installation, application, removal, and styling. We’ll also give you some expert advice on how to make the most out of your new hair extensions.
Step-by-Step Guide to Installing Clip-in Hair Extensions
Installing clip-in hair extensions is easy if you have the right supplies and tools. Here’s a step-by-step guide to help you get started:
Preparation
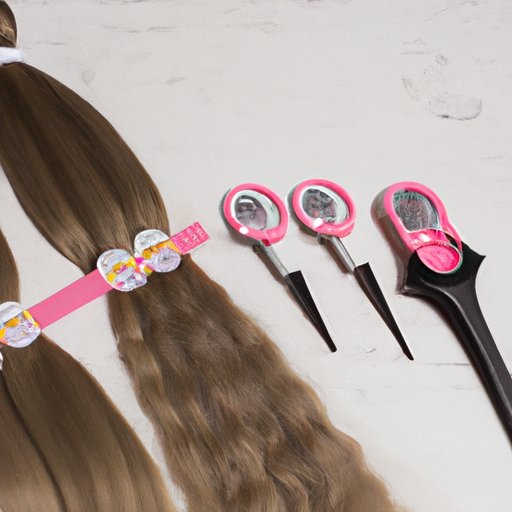
Before you begin, you’ll need to gather the necessary supplies and tools. You’ll need a tail comb, clips, bobby pins, a wide-tooth comb, hairspray, and your chosen set of clip-in hair extensions.
Once you have all the supplies, you’ll need to choose the right color and texture of hair extensions that will blend with your natural hair. Make sure to select the correct length and amount of hair extensions needed for your desired look.
Application
The next step is to separate your natural hair into sections. Start with the bottom layer and work your way up. Secure each section with a clip or bobby pin.
Once your hair is divided into sections, attach the clips to the sections of hair. Secure them firmly so they don’t slip out. Finally, use a tail comb to blend and style the extensions with your natural hair.
Removal
When it’s time to remove the extensions, identify the clips and gently remove them from your hair. Use a wide-tooth comb to brush out the extensions and remove any tangles. Store the hair extensions properly for future use.
A Beginner’s Guide to Attaching Clip-in Hair Extensions
If you’re new to using clip-in hair extensions, it’s important to understand the different types of clip-in hair extensions available. Synthetic clip-in hair is made from artificial fibers and is usually cheaper than other types of hair extensions. Human hair clip-in extensions are made from real human hair and offer a more natural look and feel. Remy clip-in hair is made from cuticles that are kept intact during processing, resulting in a softer, smoother texture.
Once you’ve selected the type of clip-in hair extensions that best suits your needs, you’ll need to learn how to properly attach them. Start by sectioning off your hair, then attach the clips to the sections of hair. Gently blend and style the extensions with your natural hair for a seamless look.
How to Easily Apply Clip-in Hair Extensions
Applying clip-in hair extensions doesn’t have to be complicated. Here’s a quick and easy guide to help you get started:
Measure Your Hair: Take accurate measurements of your head to determine the size and shape of the hair extensions you’ll need.
Select the Right Color and Texture: Choose the right color and texture of hair extensions that will blend with your natural hair.
Prepare Your Hair: Wash and condition your hair before applying the extensions to ensure a smooth and secure fit.
Attach the Clips: Separate your hair into sections and attach the clips to the sections of hair.
Style and Blend: Use a tail comb to blend and style the extensions with your natural hair for a seamless look.
Tips and Tricks for Installing Clip-in Hair Extensions
Installing clip-in hair extensions doesn’t have to be difficult. Here are some tips and tricks to help you get the most out of your new hair extensions:
Wash and condition your hair before applying: Clean and conditioned hair will help the extensions stay in place longer.
Use a tail comb to part your hair accurately: A tail comb can help you part your hair accurately and evenly for a more natural look.
Secure the clips with bobby pins for added security: Bobby pins can help keep the clips in place and prevent them from slipping out.
Use a wide-tooth comb to detangle after application: A wide-tooth comb can help you easily remove any tangles or knots in the extensions.
Use hairspray or styling products to help blend the extensions: Hairspray or styling products can help you blend the extensions with your natural hair for a more seamless look.
Makeover Magic: Learn How to Put in Clip-in Hair Extensions
Ready to take your look to the next level? Here’s a beginner’s guide to help you get started:
Choose the Best Hair Extension Type: Select the type of hair extensions that best suits your needs. Consider factors such as your budget, the desired look, and the amount of maintenance the extensions require.
Follow the Step-by-Step Process: Follow the steps outlined in this guide to install your clip-in hair extensions correctly.
Experiment with Different Styles: Once you’ve installed your clip-in hair extensions, experiment with different styles to create a unique look.
Expert Advice on Installing Clip-in Hair Extensions
For best results, it’s always a good idea to consult a professional stylist. A professional can help you select the right type of hair extensions and recommend the best installation technique for your hair type. Investing in quality hair extensions is also recommended, as they will last longer and look better.
Finally, it’s important to take care of your hair extensions. Brush them regularly to remove tangles and use a mild shampoo and conditioner to keep them clean. Avoid using heat styling tools and chemical treatments on your extensions to maximize their lifespan.
Conclusion
Clip-in hair extensions are a great way to add length, volume, and color to your hair without damaging your natural locks. With the right supplies and tools, you can easily install clip-in hair extensions at home. Be sure to choose the right type of hair extensions, consult a professional stylist, and take care of your extensions for best results.
We hope this guide has given you the information and confidence you need to put in clip-in hair extensions. Now it’s time to experiment with different styles and enjoy your new look!