
Introduction
Painting your kitchen cabinets is a great way to give them a fresh new look and update the style of your kitchen. However, before you start painting, it’s important to take the time to properly prep your kitchen cabinets. The amount of preparation depends on the condition of the cabinets, but taking the time to do it right will ensure that the paint job looks professional and lasts for many years to come.
In this article, we’ll cover the steps for prepping kitchen cabinets for painting, including cleaning and sanding, removing hardware, repairing chips and dents, applying primer, and using painter’s tape.
Clean and Sand the Cabinets
The first step in prepping kitchen cabinets for painting is to clean and sand them. This is an important step because it removes grease, dirt, and other contaminants that can interfere with the adhesion of the paint. It also helps create a smoother surface that will result in a better finish.
The Importance of Cleaning and Sanding
Cleaning and sanding kitchen cabinets are essential steps in the prepping process. Grease, dirt, and other contaminants can prevent the paint from adhering properly to the cabinets. Sanding creates a smoother surface so that the paint will go on evenly and the finish will look professional.
Tips for Cleaning and Sanding
When cleaning your cabinets, be sure to use a degreaser and scrub them thoroughly. For sanding, start with a medium-grit sandpaper and move up to a finer grit. Be sure to wear a face mask and safety goggles during the sanding process.
Remove all Hardware
Once your cabinets are clean and sanded, the next step is to remove all of the hardware. This includes knobs, handles, hinges, and any other pieces that may be attached to the cabinets.
The Importance of Removing Hardware
Removing the hardware is an important step in prepping kitchen cabinets for painting because it allows you to access all of the surfaces that need to be painted. It also prevents the hardware from getting painted and makes the painting process much easier.
Tips for Removing Hardware
When removing the hardware, be sure to keep track of all the screws and other pieces. You can place them in a labeled bag or container so they don’t get lost. If you have trouble removing the hardware, try using a screwdriver or needle-nose pliers.
Repair Chips and Dents
If your cabinets have any chips or dents, now is the time to repair them. This will help ensure that the paint adheres properly to the cabinets and creates a smooth, professional finish.
The Importance of Repairing Chips and Dents
Repairing chips and dents is an important part of prepping kitchen cabinets for painting. If these areas are not repaired, the paint may not adhere properly and the finish could be uneven. Taking the time to repair chips and dents will help ensure a professional-looking finish.
Tips for Repairing Chips and Dents
If the chips and dents are small, you can fill them in with wood putty or spackling compound. For larger areas, you may need to use a wood filler. Be sure to let the filler dry completely before sanding it smooth.
Apply Primer
Once the cabinets are clean, sanded, and repaired, you’re ready to apply primer. This is an important step because it helps the paint adhere to the cabinets and creates a smooth, even finish.
The Importance of Applying Primer
Applying primer is an important step in prepping kitchen cabinets for painting. Primer will help the paint adhere to the cabinets and create a smooth, even finish. It will also help protect the cabinets from moisture and other elements.
Tips for Applying Primer
When applying primer, be sure to use a brush or roller specifically designed for use with primer. Start by brushing the primer into the corners and crevices, then use a roller to apply a thin, even coat over the entire surface. Allow the primer to dry completely before applying the paint.
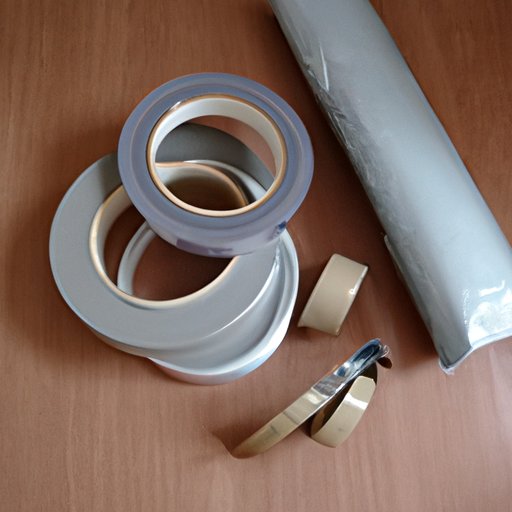
Use Painter’s Tape
The last step in prepping kitchen cabinets for painting is to use painter’s tape. This will help protect any surfaces that you don’t want to be painted, such as countertops and floors.
The Importance of Using Painter’s Tape
Using painter’s tape is an important step in prepping kitchen cabinets for painting. It will help protect any surfaces that you don’t want to be painted, such as countertops and floors. It will also help create crisp, clean lines around the edges of the cabinets.
Tips for Using Painter’s Tape
When using painter’s tape, be sure to apply it firmly and press down along the edges. This will help ensure that it sticks to the surface and creates a good seal. Also, be sure to remove the tape immediately after painting and before the paint has a chance to dry.
Conclusion
Prepping kitchen cabinets for painting is an important step in creating a professional-looking finish. By following the steps outlined in this article, you can ensure that your cabinets are properly prepped and ready for painting. With the right preparation, you can create a beautiful, long-lasting paint job that will transform your kitchen.