
Introduction
Painting cabinets can be an intimidating task, but with the right preparation and steps, you can achieve professional-looking results. This article will provide an in-depth look at how to properly prepare your cabinets for painting, from cleaning and sanding to applying a primer coat. With these tips and tricks, you can save time and money while ensuring a beautiful, long-lasting finish.
Cleaning the Cabinets
The first step in prepping your cabinets for painting is to give them a thorough cleaning. Start by wiping down all surfaces with a damp cloth and some mild dish soap. Make sure to get into any nooks and crannies where dirt and dust may have collected. The cleaner the surface, the better the paint job will turn out. Allow the cabinets to dry completely before proceeding to the next step.
Sanding the Cabinets
Once the cabinets are clean, it’s time to start sanding. Use a medium-grit sandpaper (180-220) and lightly sand the entire surface of the cabinets. Focus on any areas that may be rough or have bumps. Be sure to wear a dust mask when sanding to protect yourself from inhaling any particles. After sanding, wipe down the cabinets with a damp cloth to remove any debris.
Removing Hardware
Next, you’ll want to remove all of the hardware, such as knobs, handles, and hinges. This will help ensure that the paint job is even and without any visible lines. If the hardware is in good condition, you can store it away to use again after painting. If not, you can always purchase new hardware to match the new paint job.
Filling Holes and Cracks
If there are any holes or cracks in the cabinet, now is the time to fill them. Use a wood filler specifically designed for use on cabinets, such as a latex wood filler. Apply the wood filler to the area using a putty knife, then allow it to dry completely before sanding it down. This will help create a smooth, even surface for the paint to adhere to.

Wiping Down with a Damp Cloth
Before priming and painting, it’s important to give the cabinets one last wipe down with a damp cloth. This will remove any remaining dust and debris, as well as any residue from the wood filler. Focus on areas such as corners and crevices, where dirt and dust may have settled. A damp cloth will also help the primer and paint adhere more evenly to the cabinets.
Using Painter’s Tape
Once the cabinets are wiped down and dry, it’s time to use painter’s tape. Painter’s tape is used to protect areas that you don’t want painted, such as walls or countertops. Carefully apply the tape around the edges of the cabinets, taking care to make sure it’s firmly adhered. This will help you create sharp, clean lines when painting.
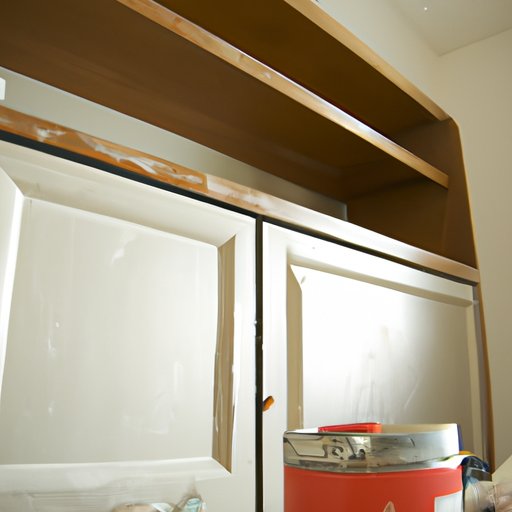
Applying a Primer Coat of Paint
Now it’s time to apply a primer coat of paint. Use a high-quality, oil-based primer specifically designed for use on cabinets. Start by painting the back of the cabinets first, then move on to the front. Be sure to apply the primer in thin, even coats. Allow the primer to dry completely before applying a second coat, if necessary. Once the primer is dry, you’re ready to begin painting your cabinets.
Conclusion
Preparing cabinets for painting requires patience and attention to detail, but following the steps outlined in this article will ensure that you get professional-looking results. From thoroughly cleaning and sanding the cabinets to applying a primer coat of paint, these tips and tricks will help you achieve a beautiful, long-lasting finish. So take the time to properly prep your cabinets, and you’ll be rewarded with stunning results.