
Introduction
Turkey is a traditional main course of the holiday season, and it can be intimidating to prepare. But with a few simple steps and some patience, you can turn out a perfectly cooked bird that will have your family and friends raving. Here’s a step-by-step guide to prepping a turkey for the perfect holiday meal.
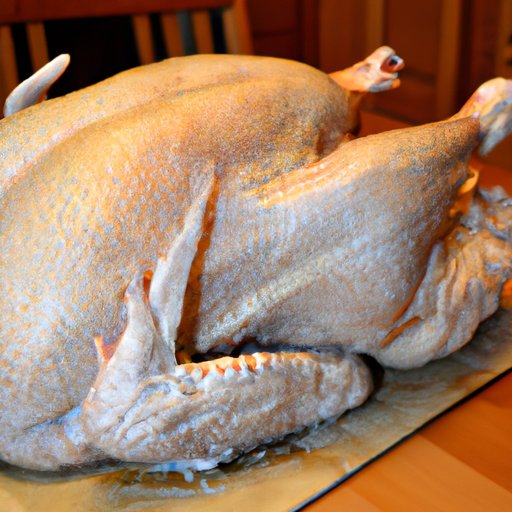
Thawing the Turkey: Tips for a Safe, Flavourful Meal
Before you can start prepping your turkey, you need to make sure it’s fully thawed. There are several ways to do this, but the most important thing is to make sure you do it safely. Here are some tips for thawing a turkey.
How to Thaw a Turkey
When thawing a frozen turkey, you have three options: in the refrigerator, in cold water, or in the microwave. The refrigerator method is the safest and preferred method because it allows the turkey to thaw slowly and evenly. To thaw a turkey in the refrigerator, place the frozen bird in a pan on the lowest shelf of your fridge. Allow 24 hours of thawing time for every 4 to 5 pounds of turkey.
If you’re short on time, you can also thaw the turkey in cold water. Place the bird in a leak-proof bag and submerge it in cold tap water. Change the water every 30 minutes and allow about 30 minutes of thawing time per pound.
The microwave is the fastest way to thaw a turkey, but it can dry out the meat. To thaw a turkey in the microwave, follow the manufacturer’s instructions. Generally, you’ll want to cook the turkey on the “defrost” setting for several minutes.
Safety Tips for Thawing a Turkey
No matter which method you choose, it’s important to follow some basic safety tips. Make sure to keep the turkey in its original wrapping and keep it away from other food. When thawing in the refrigerator, set a timer so you don’t forget about it. And if you’re using the cold water method, make sure the water is cold—not warm or hot—to prevent the growth of bacteria.
Brining Your Turkey: The Secret to Juicy, Delicious Meat
Brining is a great way to add flavour and moisture to your turkey. Brining is a process of soaking the bird in a saltwater solution for several hours before cooking. This helps to tenderize the meat and keep it juicy during cooking. Here’s what you need to know about brining a turkey.
What is Brining?
Brining is the process of soaking a turkey in a salty liquid for several hours before cooking. This helps to tenderize the meat, add flavour, and lock in moisture. The brine solution typically consists of water, salt, sugar, herbs, and spices.
Benefits of Brining a Turkey
Brining has many benefits. It helps to tenderize the meat, making it more succulent and juicy. The salt in the brine also adds flavour, and the herbs and spices give the turkey an extra boost of flavour. Brining also helps the skin to crisp up nicely during roasting.
How to Brine a Turkey
To brine a turkey, you’ll need a large container that’s big enough to hold the bird and the brine solution. Place the turkey in the container and cover it with the brine solution. Cover the container and refrigerate it for 8 to 12 hours. Before roasting the turkey, be sure to rinse off the brine solution and pat the turkey dry with paper towels.

Roasting Techniques: How to Achieve Perfectly Crispy Skin
Once your turkey is brined and ready to go, it’s time to start roasting. Roasting is the key to achieving a perfectly cooked bird with crispy, flavorful skin. Here’s what you need to know about roasting a turkey.
Choosing the Right Oven Temperature
When roasting a turkey, it’s important to choose the right oven temperature. Generally, a higher temperature will give you crispier skin, while a lower temperature will help to ensure that the meat stays juicy. For a traditional roast turkey, preheat the oven to 350°F. If you’re looking for extra-crispy skin, you can increase the temperature to 375°F or 400°F.
Tips for Roasting a Turkey
Once your oven is preheated, it’s time to roast the turkey. Place the bird on a roasting rack in a roasting pan and brush it with melted butter or oil. Cover the breast with foil to prevent it from drying out. Place the pan in the oven and roast the turkey for about 15 minutes per pound. Be sure to check the internal temperature of the turkey periodically with a meat thermometer. The turkey is done when the internal temperature reaches 165°F.
Stuffing and Seasonings: Adding Extra Flavour to Your Turkey
Once your turkey is roasted, it’s time to add the finishing touches. Stuffing and seasonings can take your turkey to the next level and make it even more delicious. Here’s what you need to know about adding flavour to your turkey.
Different Types of Stuffing
Stuffing is a classic accompaniment to roasted turkey, and there are endless possibilities. You can use your favourite bread stuffing recipe, or you can get creative with different combinations of vegetables, fruits, nuts, and herbs. Just be sure to stuff the turkey loosely—you don’t want it to be too tightly packed, as this can lead to uneven cooking.
Tips for Using Seasonings
Seasonings are another great way to add flavour to your turkey. Rubbing the bird with a mixture of herbs and spices (such as garlic, rosemary, thyme, and sage) before roasting will give it a nice flavour. You can also baste the turkey with melted butter or olive oil during cooking to help keep it moist.

Carving Strategies: Mastering the Art of the Beautiful Turkey Slice
Now that your turkey is cooked and ready to serve, it’s time to carve it. Carving a turkey can be tricky, but with a few simple tips you can master the art of the beautiful turkey slice. Here’s what you need to know.
Proper Carving Tools
The first step in carving a turkey is to make sure you have the right tools. You’ll need a sharp carving knife and a sturdy cutting board. A carving fork is also helpful for holding the turkey in place while you carve.
Step-by-Step Guide to Carving a Turkey
Once you have your tools, it’s time to start carving. Begin by removing the legs and thighs. Then, remove the wings. Next, slice the breast meat off the bone. Finally, carve the slices into smaller pieces. Be sure to carve against the grain for maximum tenderness.
Conclusion
Prepping a turkey can seem daunting, but with a few simple steps you can turn out a perfectly cooked bird that’s sure to impress. Start by thawing the turkey safely and brining it for extra flavour and moisture. Then, roast it at the right temperature and add stuffing and seasonings to taste. Finally, master the art of the beautiful turkey slice with a few simple carving tips. With these steps, you’ll be prepping turkeys like a pro in no time.