
Introduction
If you’re looking for a way to spruce up your style without spending a lot of money, piercing your ears at home might be the perfect solution. Piercing your own ears can be a daunting task, but it’s not impossible. With the right preparation and safety measures, you can successfully pierce your ears in the comfort of your own home.

Gather the Supplies You Need
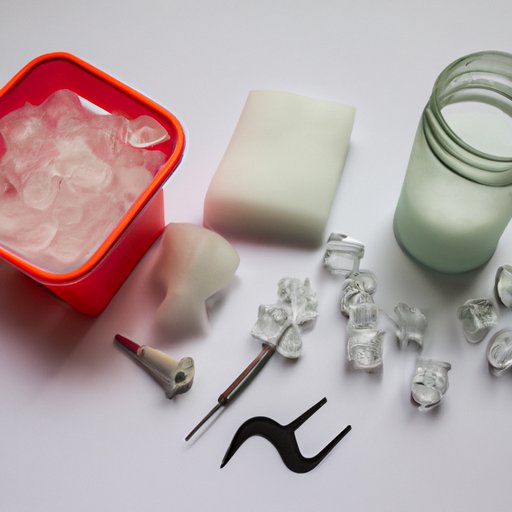
Before getting started, make sure you have all the necessary supplies on hand. You’ll need a sterile needle, jewelry, rubbing alcohol, antiseptic ointment, cotton swabs, and anesthetic cream. The type of jewelry you choose is up to you, but most people opt for either a stud or hoop. You can purchase these supplies from any drugstore or online retailer.
Sterilize the Needle and Area Around Your Ear
Once you’ve gathered all the supplies you need, it’s time to sterilize the area and the needle. Start by cleaning the area around your ear with a cotton swab soaked in rubbing alcohol. Make sure to clean the inside and outside of your ear lobe thoroughly. Then, use a lighter to heat the needle until it’s red hot. This will help kill any bacteria that may be present on the needle.
Mark the Spot You Want to Pierce
Next, you’ll want to mark the spot you want to pierce. To do this, take a marker and draw a small dot on the area you want to pierce. Keep in mind that the jewelry you choose will determine the placement of the piercing. For example, if you’re using a stud, you’ll want to pierce the center of your ear lobe. If you’re using a hoop, you’ll want to pierce the side of your ear lobe.

Place a Dot of Anesthetic Cream on the Marked Area
Anesthetic cream can help minimize the pain associated with piercing your ear. Simply place a small dot of the cream on the marked area. Let the cream sit for about 10 minutes before beginning the piercing process. This will give the cream enough time to take effect.
Put an Ice Cube on the Area for a Few Minutes
Putting an ice cube on the area you’re going to pierce can also help reduce the pain. Place the ice cube on the area for a few minutes before beginning the piercing process. This will help numb the area and make it easier to push the needle through the skin.

Push the Needle Through the Skin
Now it’s time to push the needle through the skin. Take a deep breath and push the needle through the marked area. Make sure to go slowly and steadily. If you go too fast, you could cause trauma to the tissue. Once the needle is through, remove it and discard it.

Insert the Jewelry Through the Hole
Finally, insert the jewelry through the hole. Make sure to use the same gentle pressure you used when pushing the needle through. Once the jewelry is in place, clean the area one last time with a cotton swab soaked in rubbing alcohol. Then, apply a thin layer of antiseptic ointment to the pierced area.
Conclusion
Piercing your own ears at home can be a safe and cost-effective way to add a little bit of flair to your look. Just make sure to follow the proper safety measures and sterilization techniques. Gather the necessary supplies, sterilize the area and the needle, mark the spot you want to pierce, apply anesthetic cream and ice, push the needle through the skin, and then insert the jewelry. With these steps in mind, you can easily and safely pierce your own ears at home.