
Introduction
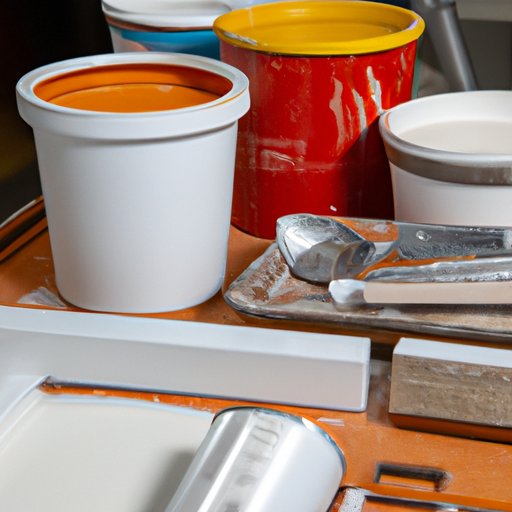
Painting kitchen cabinets can be a great way to give your kitchen a quick and cost-effective facelift. With the right supplies and tools, you can achieve a professional finish that will make your kitchen look like new. In this article, we’ll explore what it takes to paint kitchen cabinets like a pro, from preparing the cabinets for painting to applying the paint and sealing the finish.
Preparing the Cabinets for Painting
Before you start painting, you need to properly prep your cabinets. The first step is to clean the cabinets with a degreaser to get rid of any dirt and grime. Next, you’ll want to sand the cabinets to create a smooth surface for the paint to adhere to. Once the cabinets are sanded, you’ll need to apply a coat of primer to provide an even base for the paint. Make sure to use a high-quality primer that is specifically designed for kitchen cabinets.
Selecting the Right Paint
When selecting paint for your kitchen cabinets, there are a few things to consider. First, you should decide whether you want to use oil-based or water-based paint. Oil-based paints are more durable and provide better protection against wear and tear, but they require more time and effort to apply. Water-based paints are easier to apply and clean up, but they don’t last as long as oil-based paints. You should also consider the type of sheen you want for your cabinets. Flat sheens are best for hiding imperfections, while glossy sheens will help to reflect light and make the cabinets look brighter.
Understanding Cabinet Painting Basics
Before you start painting, it’s important to understand the basics of cabinet painting. Start by prepping the room, which means removing all drawers, doors, hardware, and anything else that could get in the way. Place drop cloths over the floor and countertops to protect them from paint splatter. You’ll also need to tape off the edges of the cabinets to ensure a neat finish. When you’re ready to apply the paint, use a high-quality brush or roller to ensure an even application. If possible, use a sprayer for a smooth finish.
Step-by-Step Instructions for a Professional Finish
Now that you’ve gathered all the supplies and tools and prepped the room, you’re ready to start painting. Here are the steps to follow for a professional finish:
Applying the First Coat of Paint
Begin by applying a thin coat of paint to the cabinet surfaces. Use long, even strokes and pay special attention to corners and edges. Allow the paint to dry completely before moving onto the next step.
Adding the Second Coat of Paint
Once the first coat of paint has dried, apply a second coat. Again, use long, even strokes and take your time to get a smooth finish. Allow the paint to dry completely before moving onto the next step.
Sealing the Finish
Finally, once the paint has dried, you’ll need to seal the finish. Apply a clear topcoat to protect the paint and give it a beautiful shine. Allow the topcoat to dry completely before replacing the hardware and putting the cabinets back together.
Conclusion
Painting kitchen cabinets like a pro doesn’t have to be complicated or time consuming. By following these steps—gathering supplies and tools, cleaning and sanding the cabinets, priming, selecting the right paint, prepping the room, applying the paint, and sealing the finish—you can achieve a professional finish that will make your kitchen look like new. With the right supplies and a bit of patience, you can easily paint your kitchen cabinets and give your kitchen a fresh new look.