
Introduction
Installing a Blink Outdoor Camera is a great way to monitor your home or business and keep it safe from intruders. This article provides a step-by-step guide to installing and setting up your Blink Outdoor Camera. You’ll learn how to mount the camera for optimal security, as well as how to troubleshoot any common issues that may arise during installation.
Step-by-Step Guide to Installing a Blink Outdoor Camera
The first step in installing your Blink Outdoor Camera is unpacking the camera and all its components. Carefully unpack the box and check that all parts are included. Once you have all the necessary components, you can begin the installation process.
The next step is connecting the power source to the camera. Depending on the model of your Blink Outdoor Camera, you may need to use an AC adapter or a USB cable. Follow the instructions provided with your camera to properly connect the power source.
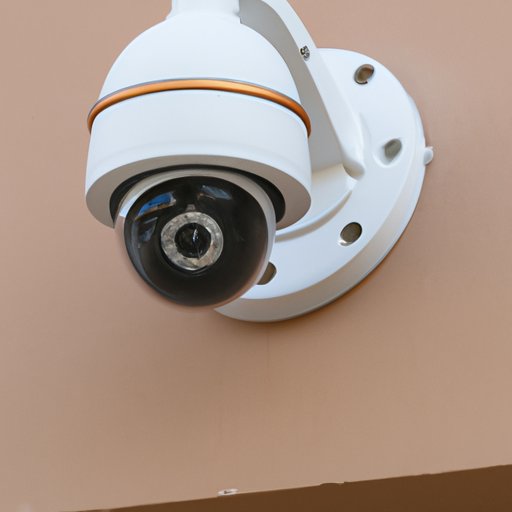
Once the power source is connected, you can move on to mounting the camera. Most Blink Outdoor Cameras come with a mounting bracket and screws. Secure the bracket to the wall or ceiling using the provided screws and then attach the camera to the bracket. Make sure the camera is securely fastened before moving on to the next step.
A Beginner’s Guide to Setting Up Your Blink Outdoor Camera
Now that your camera is mounted, you can set up the Blink mobile app. Download the app from the App Store or Google Play and install it on your smartphone or tablet. Once the app is installed, open it and follow the on-screen instructions to connect your camera to the app.
Once your camera is connected to the app, you can configure the motion detection settings and other features. You can also customize the alerts to be sent to your phone whenever motion is detected. The app also allows you to view live footage from the camera’s feed.

How to Mount Your Blink Outdoor Camera for Optimal Security
To ensure that your Blink Outdoor Camera is installed correctly for optimal security, you need to choose the right mounting location. Consider the areas that need to be monitored and determine the best spot to mount the camera. Make sure the camera has a clear view of the area you want to monitor and that it can’t be easily tampered with.
Once you’ve chosen the right location, attach the camera to the mounting bracket using the provided screws. Make sure the screws are tightened securely so that the camera won’t become loose over time. Finally, adjust the angle of the camera and its field of view to ensure that it captures the desired area.

Tips and Tricks for Installing Your Blink Outdoor Camera
When installing your Blink Outdoor Camera, there are a few tips and tricks you should keep in mind. For instance, use waterproofing tape to seal any exposed wires to protect them from water damage. You may also need to use an extension cable if the camera is located far away from the power source.
Make sure the camera is positioned in a way that it can’t be tampered with. You should also choose a mounting location that is out of reach of potential intruders. Following these tips will help ensure that your Blink Outdoor Camera is securely installed.
Troubleshooting Common Problems with Installing Blink Outdoor Cameras
If you experience any issues during installation, there are a few steps you can take to troubleshoot the problem. First, check the camera’s connections to make sure everything is properly connected. If the connections are secure, make sure the camera is placed within range of your Wi-Fi network.
If the issue persists, try resetting the camera. To do this, press and hold the Reset button on the back of the camera for 10 seconds. Once the camera has been reset, reconnect it to the app and try again.

Choosing the Best Location to Place Your Blink Outdoor Camera
The final step in installing your Blink Outdoor Camera is choosing the best location to place it. Start by determining the areas that need to be monitored and consider the camera’s field of view. Choose a location that is out of reach of potential intruders and gives the camera a clear view of the area.
Conclusion
Installing a Blink Outdoor Camera is a great way to keep your home or business secure. This article provided a step-by-step guide to installing and setting up your Blink Outdoor Camera. You learned how to mount the camera for optimal security as well as how to troubleshoot any common issues that may arise during installation. Lastly, you discovered the best location to place your camera for effective monitoring.