
Introduction
Making jewelry can be a fun and creative way to express yourself. Whether you are creating pieces for yourself or as gifts for friends and family, the process of designing and assembling jewelry can be extremely rewarding. In this article, we will explore the steps necessary to make your own jewelry, from gathering supplies to polishing and finishing the pieces.
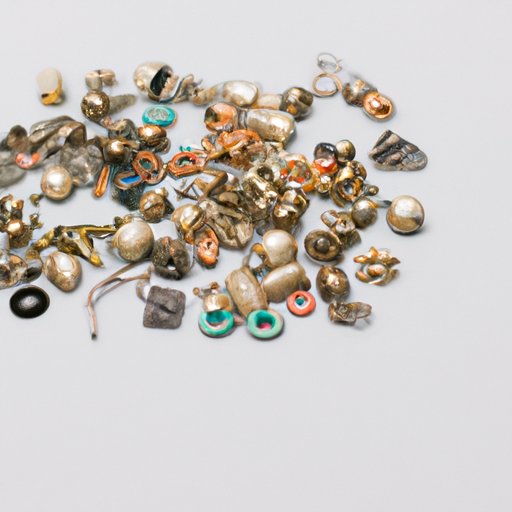
Gather Your Supplies
Before you start making jewelry, it is important to determine what type of jewelry you want to create. Depending on your design, you may need different types of beads, charms, cords, clasps, jump rings, and other materials. It is helpful to research the supplies needed for the specific type of jewelry you are making. Many craft stores have a variety of supplies available, and you can also find many online retailers that specialize in jewelry-making components.
Design a Pattern
Once you have gathered all the necessary supplies, you can begin designing your jewelry. You can sketch out your pattern on paper or use an online template to help visualize your design. When deciding on a pattern, consider the size, shape, color, and texture of the beads you will be using. You can also experiment with different combinations of beads, charms, and accents to create unique designs.
Start Stringing Beads
Once you have your pattern figured out, you can begin stringing the beads together. Depending on the type of beads you are using, you may need to use a beading needle. This tool helps to thread the beads onto the cord or wire. If you are using multiple strands of beads, it is important to keep each strand separate so that you can easily assemble your jewelry later on.
Attach Clasps
Once you have finished stringing the beads, you can prepare to attach the clasps. Clasps are used to secure the ends of the jewelry and make it easier to put on and take off. You can also use jump rings to attach pendants and charms to the design. It is important to make sure that the clasps are securely attached to the jewelry so that it does not come apart.
Add Charms and Accents
Charms and accents can add a unique touch to your jewelry. These pieces can be made of metal, glass, stone, or other materials and come in a variety of shapes and sizes. Adding charms and accents to your design can add interest and personality to the piece. Consider the overall theme of the jewelry when selecting charms and accents.
Assemble Pieces
If you are making earrings or necklaces, you will need to assemble the pieces. To do this, you will need pliers and jewelry tools such as crimping pliers or chain nose pliers. The tools you need will depend on the type of jewelry you are making. It is important to read the instructions for each tool before attempting to assemble the pieces.
Polish and Finish
Once the pieces are assembled, it is important to polish and finish the jewelry. This step will help protect the pieces and give them a professional look. You can use a soft cloth to buff the pieces and remove any dirt or dust. For added protection, you can apply a sealant or coating to the pieces. This will help to keep the jewelry looking its best over time.
Conclusion
Making jewelry can be a fun and creative activity. By following these steps, you can create beautiful pieces that you can enjoy wearing or giving as gifts. Gathering supplies, designing patterns, stringing beads, attaching clasps, adding charms and accents, assembling pieces, and polishing and finishing are all important steps in the jewelry-making process. With a little patience and practice, you can create stunning pieces of jewelry to admire and share.