
Introduction
When planning a wedding, there are so many details that need to be taken care of. One of the most important things that needs to be done is sending out wedding invitations. Although it may seem intimidating at first, making your own wedding invitations doesn’t have to be a daunting task. With the right supplies and some creativity, you can create beautiful and unique invitations for your big day.
Gather Necessary Supplies
Before you begin creating your wedding invitations, you need to make sure you have all the necessary supplies. The first thing you’ll need is paper. You can choose whatever type of paper you like, but it should match the overall theme of your wedding. You’ll also need envelopes to put the invitations in. You may want to consider buying pre-addressed envelopes to save time when addressing them later on.
You’ll also need a printer to print out your invitations. If you don’t have a printer, you can always take your design to a local print shop. In addition to these items, you may also need stamps, stickers, ribbons, or other decorative materials to add to your invitations.
Choose Your Style
The next step is to choose the style of your invitations. There are so many options to choose from, so take some time to look through different designs and find one that fits the theme of your wedding. You can also create your own design if you have some creative ideas. Once you’ve chosen a design, you can start working on the actual invitation.
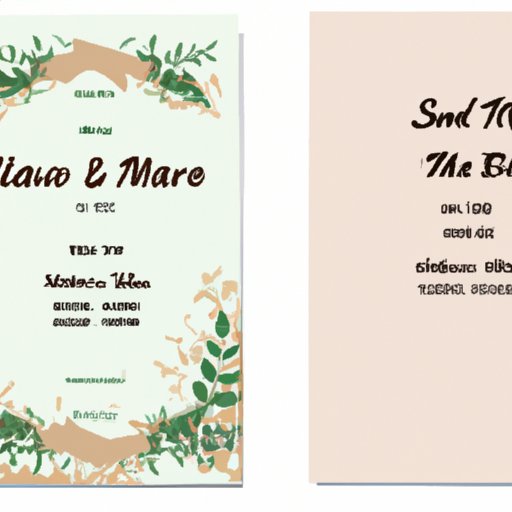
Compose Your Message
Now it’s time to compose the message for your invitations. Start by including the names of the bride and groom, as well as the date and time of the ceremony. You should also include any other pertinent information, such as the location of the ceremony, the dress code, or any special instructions. Keep the message short and sweet, but make sure to include all the important details.
Make a Rough Draft
Once you’ve written the message for your invitations, it’s a good idea to make a rough draft before printing them out. This will allow you to check for any mistakes or typos, as well as make sure all the information is correct. It’s also a great way to see how your design looks on paper before printing multiple copies.
Print the Invitations
Once you’re satisfied with the design and message of your invitations, it’s time to print them out. Make sure to print several extra copies, just in case you need them. If you’re using pre-addressed envelopes, you can print the addresses directly onto them.
Send Out the Invitations
Once all the invitations are printed, it’s time to send them out. If you’re using regular envelopes, you’ll need to address them by hand. Be sure to double-check all the addresses before you mail them out. You may also want to add a personal touch by adding a sticker or ribbon to each envelope.
Follow Up
Finally, it’s important to follow up with your guests once you’ve sent out the invitations. Check in with them to make sure they received the invitation and that they RSVP’d. This will help ensure that everyone who needs to be there will be there.
Conclusion
Making your own wedding invitations may seem like a daunting task, but with the right supplies and some creative thinking, you can create beautiful and unique invitations for your big day. Follow these steps to ensure that your invitations look professional and reflect the theme of your wedding.