
Introduction
Making homemade ice cream in a bag is a fun, easy process that’s perfect for summertime. The process involves measuring out ingredients, mixing those ingredients together, sealing two bags securely, shaking them vigorously, and finally removing the ice cream from the bags. Not only is the process of making homemade ice cream in a bag simple, but it also offers plenty of opportunities to customize flavors and add toppings.
Necessary Ingredients and Items
Before getting started with the process of making homemade ice cream in a bag, you’ll need to gather all the necessary ingredients and items. To make the ice cream, you’ll need 1/2 cup of half-and-half, 1 tablespoon of sugar, 1/4 teaspoon of vanilla extract, 1/2 cup of rock salt, 2 cups of ice cubes, and a one-quart resealable plastic bag. You’ll also need another one-gallon resealable plastic bag to contain the first bag.
Measuring and Mixing Ingredients
Once you have all the necessary ingredients and items, it’s time to measure out and mix the ingredients. Start by adding 1/2 cup of half-and-half, 1 tablespoon of sugar, and 1/4 teaspoon of vanilla extract to the one-quart bag. Seal the bag securely and then shake it vigorously until all the ingredients are thoroughly mixed together. Once the ingredients are mixed, open the seal and pour in 2 cups of ice cubes.
Sealing the Bags Securely
Now that the ingredients are mixed and the ice cubes are added, it’s time to seal the bags securely. Place the one-quart bag inside the one-gallon bag and then squeeze as much air out of the one-gallon bag as possible before sealing it shut. Make sure the seal is tight and secure so that no air can escape during the shaking process. Once the bags are sealed, add 1/2 cup of rock salt to the one-gallon bag.
Shaking the Bag Vigorously
Now that both bags are sealed securely, it’s time to start shaking the bag vigorously. Make sure to wear gloves to protect your hands from the cold temperatures. Shake the bag for about five minutes or until the ice cream has reached your desired consistency. When shaking the bag, make sure to keep it away from your body to avoid any potential injuries.

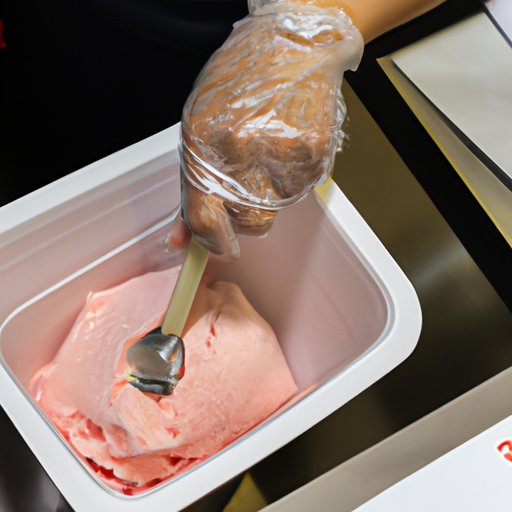
Removing the Ice Cream from the Bag
After shaking the bag for the appropriate amount of time, it’s time to remove the ice cream from the bags. Open the one-gallon bag and carefully remove the smaller bag. Then, open the smaller bag and scoop the ice cream into a bowl or container. Be sure to use a spoon or spatula to avoid any messes.
Serving and Storing the Ice Cream
Once the ice cream is removed from the bags, it’s time to serve and store it. To serve the ice cream, simply scoop it into individual bowls or cones and enjoy! If you don’t plan on eating the ice cream right away, it can be stored in an airtight container in the freezer for up to one month.

Customizing Flavors and Adding Toppings
One of the best parts about making homemade ice cream in a bag is that it allows for plenty of room for customization. To customize the flavor of your ice cream, try adding different extracts or syrups such as peppermint, strawberry, or caramel. You can also add chocolate chips, nuts, dried fruit, or other toppings for some extra flavor. Get creative and experiment with different flavors and toppings to find what works best for you.
Conclusion
Making homemade ice cream in a bag is a fun, easy process that’s perfect for summertime. All you need is a few simple ingredients and items, and you’re ready to go. Measure and mix the ingredients, seal the bags securely, shake the bag vigorously, and remove the ice cream from the bags. Serve the ice cream or store it in an airtight container in the freezer.