
Introduction
Gel candles are an increasingly popular type of candle that can be used to decorate any room. They are made from a special kind of wax called ‘gel wax’ which is a transparent or semi-transparent wax. Gel candles can be scented or unscented, and they come in various sizes and shapes, allowing you to customize them to fit your needs. As with any type of candle, there are certain safety guidelines that should be followed when making and using gel candles.
Making gel candles is a great way to add a personal touch to your home décor. Not only do they look beautiful, but they also have many practical benefits such as creating a calming atmosphere and providing a pleasant aroma. With the right supplies, it’s easy to make stunning gel candles that will last for years to come.
Step-by-Step Tutorial
Before starting to make gel candles, it’s important to have all of the necessary supplies on hand. You will need a heat source (such as a double boiler), a container for melting the gel wax (such as a glass or metal bowl), a stirring stick, a thermometer, wick holder tabs, wicks, gel wax, dye (optional), and fragrance oil (optional). Once you have gathered all of your supplies, you can begin the process of making your gel candles.
It is important to follow safety guidelines when making gel candles. Make sure that you are working in a well-ventilated area and that you are wearing protective eyewear and gloves. Additionally, keep children and pets away from the area while you are working. It is also important to never leave melting gel wax unattended.
Now, you’re ready to start making your gel candles. Begin by heating the gel wax in a double boiler over low heat. Stir the wax frequently until it has completely melted. Use a thermometer to ensure that the temperature does not exceed 185°F. Once the wax has melted, you can add dye and/or fragrance oil to give your candles a unique scent and color.
Next, attach the wick holder tabs to the bottom of the candle containers. Then, cut the wicks to the desired length and insert them into the wick holder tabs. Pour the melted gel wax into the containers and allow it to cool for about 30 minutes. Once the wax has cooled, trim the wicks to the desired length and let the candles cure for at least 24 hours before burning.
DIY Video Guide
If you’d like to see a visual demonstration of how to make gel candles, check out this helpful video guide: How to Make Gel Candles. This video covers everything from gathering supplies to pouring the wax and curing the candles. It also includes tips and tricks for making the perfect gel candles every time.
Illustrated Guide with Pictures
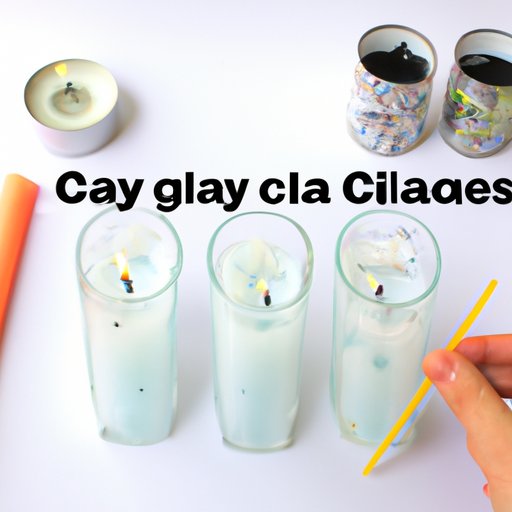
For an even more detailed guide, take a look at this illustrated step-by-step tutorial. Each step is accompanied by a picture to help you better understand the process of making gel candles. You can find the tutorial here:
- Gather supplies
- Melt the gel wax
- Add dye and/or fragrance oil
- Attach the wick holder tabs
- Cut the wicks and insert them into the wick holder tabs
- Pour the melted gel wax into the containers
- Let the candles cool and trim the wicks
- Cure the candles for at least 24 hours
Conclusion
Making your own gel candles is a fun and creative way to add a unique touch to your home décor. Not only do they look beautiful, but they can also provide a pleasant aroma and a calming atmosphere. With the right supplies and these step-by-step instructions, you can easily make stunning gel candles that will last for years to come.
Remember to always follow safety guidelines when making and using gel candles. Be sure to work in a well-ventilated area and wear protective eyewear and gloves. Additionally, never leave melting wax unattended and keep children and pets away from the area.