
Introduction
Making a kitchen island out of base cabinets is a great way to create more storage space and add some style to your kitchen. With the right supplies and a bit of patience, you can create a beautiful and functional kitchen island that will become a showpiece in your home. In this article, we’ll explain the steps necessary to build your own kitchen island from base cabinets.
List of Supplies Needed
Before you get started on your project, you’ll need to gather the following supplies:
- Base cabinets
- Countertop
- Trim, handles and knobs
- Screws
- Sealant
Once you have all of your supplies, you’re ready to begin building your kitchen island.
Determine the Size and Shape of the Island
The first step in building your kitchen island is to determine the size and shape of the island you want to create. To do this, measure the area where the island will be located and consider the shape of the room, available space, and desired size of the island. Once you have determined the size and shape of the island, you are ready to move onto the next step.

Position the Cabinets and Secure Them to the Floor
Once you have determined the size and shape of the island, it’s time to position the cabinets and secure them to the floor. Place the cabinets in their desired location and use screws to secure them to the floor. This will ensure that the cabinets are firmly attached to the floor and will not move or shift when weight is added to the island.

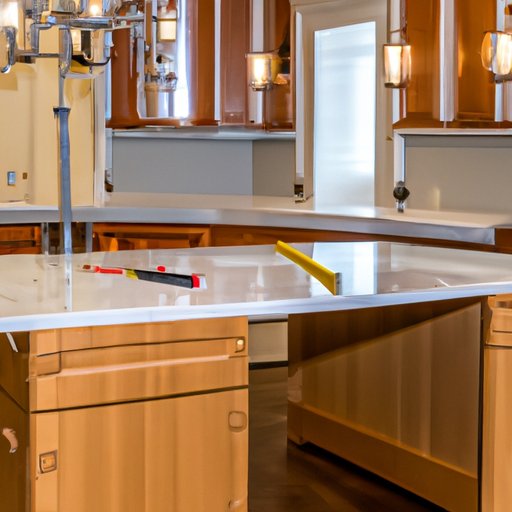
Cut the Countertop to Fit the Island
Next, you’ll need to cut the countertop to fit the island. Measure the length and width of the countertop and then cut the countertop according to the measurements. It’s important to double check your measurements before cutting the countertop so that it fits correctly.

Install the Countertop onto the Cabinets
Once the countertop has been cut to the correct size and shape, it’s time to install it onto the cabinets. Place the countertop on top of the cabinets and secure it with screws. This will ensure that the countertop is firmly attached to the cabinets and will not move or shift when weight is added to the island.
Add Finishing Touches such as Trim, Handles and Knobs
Now it’s time to add the finishing touches to your kitchen island. Choose decorative trim, handles and knobs that match your kitchen décor. Attach the trim, handles and knobs to the cabinets and countertop to give your kitchen island a finished look.
Seal the Countertop for Protection
The last step in building your kitchen island is to seal the countertop for protection. Clean the countertop with a mild detergent and then apply sealant to protect the surface of the countertop. This will help prevent stains and water damage to the countertop.
Conclusion
Making a kitchen island out of base cabinets is a great way to add storage and style to your kitchen. By following the steps outlined in this article, you can easily create a beautiful and functional kitchen island. You’ll enjoy the benefits of having a custom kitchen island built from base cabinets that perfectly matches your kitchen décor.