
Introduction
Laminating documents is an excellent way to preserve them for long-term use and protect them from damage. It’s also a great way to make documents look professional and attractive. While it used to be difficult to find a laminating machine, now they are readily available for purchase. This article will provide a step-by-step guide on how to laminate at home.
Gather the Necessary Materials
First, you’ll need to gather the necessary materials for laminating. You’ll need a laminating machine, laminating pouches, scissors, and an iron. The laminating machine should be one that is suitable for your needs, such as a thermal laminator or a pouch laminator. Laminating pouches come in a variety of sizes to accommodate different types of documents. They are usually made of plastic, but some may be made of vinyl. Scissors will be needed to trim the document before inserting it into the pouch. An iron can be used to seal the pouch if you don’t have a laminating machine.
Prepare the Document
Before you can begin laminating, you need to prepare the document. First, you should trim the document to the desired size. Make sure to leave enough room around the edges of the document for the pouch to seal properly. Next, you should clean the document to remove any dirt or debris. This will help ensure the best possible results when laminating.
Insert the Document into the Pouch
Once the document is prepared, you can insert it into the laminating pouch. Start by placing the document in the center of the pouch. Make sure the document is facing the right direction and that all four corners are aligned. Then, you can seal the pouch. If you’re using a thermal laminating machine, you can simply close the pouch. If you’re using a pouch laminator, you may need to use an iron to seal the pouch.
Set Up the Laminator
Now that the document is ready, you can set up the laminator. Start by plugging the machine into a power source. Then, turn the machine on and wait for it to warm up. Once the machine is ready, you can begin laminating.

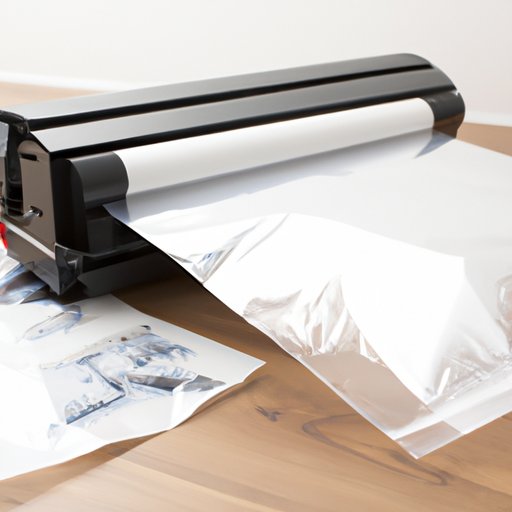
Feed the Laminated Pouch Through the Machine
The next step is to feed the laminated pouch through the machine. Make sure the pouch is positioned correctly in the machine before turning it on. Depending on the type of machine you’re using, you may need to adjust the speed setting. Once the pouch has been fed through the machine, it is ready to be cooled and trimmed.

Cool and Trim the Laminated Document
After the document has been laminated, it needs to cool before it can be used. Allow the document to cool for several minutes before handling it. Once the document has cooled, use scissors to trim the edges of the pouch. This will give the document a neat, professional look.
Conclusion
Laminating documents at home is a simple and cost-effective way to preserve documents for long-term use and create professional-looking results. By following the steps outlined in this article, you can easily learn how to laminate at home. With the right materials and a bit of patience, you can achieve excellent results.