
Introduction
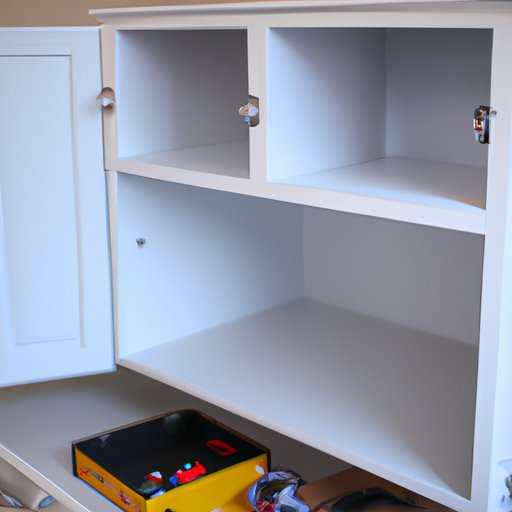
Upper cabinets are a great addition to any kitchen or bathroom. They provide extra storage space, and can be customized to fit your specific needs. But before you can enjoy the benefits of having upper cabinets, you must first know how to install them. Installing upper cabinets can seem like a daunting task, but it doesn’t have to be. With the right tools, supplies, and a little bit of know-how, anyone can learn how to install upper cabinets.
Step-by-Step Guide to Installing Upper Cabinets
Installing upper cabinets is a process that includes several steps. The first step is preparing the space for installation. This involves measuring the area where the cabinets will be installed, and making sure the walls are sturdy enough to support the weight of the cabinets. Once the space is ready, the next step is assembling the cabinet pieces. This includes attaching the sides and back panels to the cabinet frame, and securing any additional hardware such as hinges and handles. After the cabinet is assembled, it must then be secured to the wall. This is done by using wall anchors and screws. Finally, once the cabinet is mounted to the wall, there are a few finishing touches that need to be taken care of. This includes adding trim, caulk, and paint if desired.

How to Assemble and Install Upper Cabinets
The first step in assembling and installing upper cabinets is to measure the area for installation. This helps to ensure that the cabinets will fit properly in the space. Once the measurements are taken, the next step is to choose the right hardware. This includes hinges, handles, and other necessary pieces. After selecting the hardware, the next step is to assemble the upper cabinets. This involves attaching the side panels, shelves, and doors. Once the cabinet is assembled, the next step is to mount the cabinet to the wall. This is done by using wall anchors and screws. After the cabinet is secured to the wall, the final step is to make sure the cabinet is level and properly adjusted. This is done by using a level and adjusting the hinges as needed.
A Beginner’s Guide to Installing Upper Cabinets
Installing upper cabinets can be intimidating for those who are new to the process. To make it easier, it’s important to understand the basics of installing upper cabinets. This includes understanding the different types of cabinets, the tools and supplies needed, and the steps involved in assembling and installing the cabinets. Once these basics are understood, it’s much easier to move on to the actual installation process.

DIY Tips for Installing Upper Cabinets
If you’re looking to save money and take on the challenge of installing upper cabinets yourself, there are a few tips to keep in mind. First, it’s important to gather all of the necessary tools and supplies. This includes everything from the cabinet pieces to the hardware and other tools. Next, it’s important to plan out the installation process. This includes laying out the steps, and making sure you have the right tools for each step. It’s also helpful to familiarize yourself with the installation instructions. Finally, it’s important to be mindful of safety precautions. This includes wearing protective gear such as gloves, goggles, and a dust mask.

8 Simple Steps for Installing Upper Cabinets
Installing upper cabinets doesn’t have to be a complicated process. Here are 8 simple steps to help you get started:
- Measure the cabinet space
- Cut and secure the wall studs
- Attach the cabinet hanging strips to the wall
- Hang the upper cabinets
- Attach the side panels
- Install the doors
- Secure the countertop
- Add the final touches
By following these steps, you’ll be able to quickly and easily install your upper cabinets.
Quick and Easy Installation of Upper Cabinets
Installing upper cabinets can be a quick and easy process if you take the right steps. First, it’s important to choose the right style of cabinet. This will depend on the size and shape of the space, as well as your personal preferences. Once the right style is chosen, the next step is to prepare the cabinet for installation. This includes ensuring that all pieces are properly cut and measured. After the cabinet is prepared, the next step is to actually install it. This involves securing the cabinet to the wall, and making sure it is level and properly adjusted. Finally, the last step is to install the doors and drawers. This can be done with the help of a drill and screwdriver.
Conclusion
Installing upper cabinets can seem like a daunting task, but with the right tools and a step-by-step guide, anyone can become an expert in no time. Whether you’re a beginner or an experienced do-it-yourselfer, this guide will help you install your upper cabinets quickly and easily. From measuring and assembling to mounting and finishing touches, this guide has everything you need to know about installing upper cabinets.