
Introduction
Shiplap is a type of wood paneling that has been popular in home design for centuries. It’s characterized by long, thin boards that overlap each other slightly, creating a distinctive “rabbeted” look. In recent years, shiplap has become increasingly popular as an interior design element, due to its classic style and easy installation. Installing shiplap on a ceiling is a great way to add texture and visual interest to any room.
Overview of Shiplap
Shiplap is typically made from pine or cedar, although it can also be found in other woods. The boards are usually about 8 feet long, and come in various widths ranging from 4 inches to 12 inches. Shiplap panels are available pre-primed and ready to paint, or unfinished and in need of staining or painting. Shiplap can be installed horizontally or vertically, depending on the desired look.

Benefits of Installing Shiplap on a Ceiling
Installing shiplap on a ceiling is a great way to add texture and visual interest to any room. It’s a relatively inexpensive and easy way to give a room a classic, timeless look. Shiplap can be painted or stained to match the existing décor, making it a versatile and affordable option. Additionally, shiplap is easy to install and maintain, making it a great choice for do-it-yourself projects.
Step-by-Step Guide to Installing Shiplap on a Ceiling
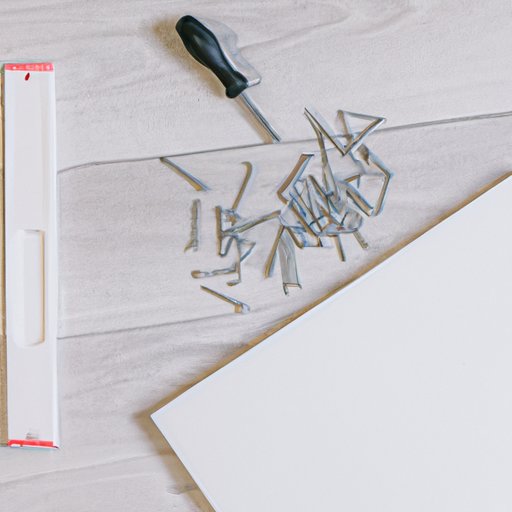
Before beginning the installation process, it’s important to gather all the necessary materials. These include shiplap panels, nails, screws, caulk, and painter’s tape. Once the materials have been gathered, measure and mark the ceiling to ensure accurate placement of the shiplap panels. Then, cut and attach the panels to the ceiling using either nails or screws. Finally, finish the project by caulking any gaps between the panels and painting the entire surface.
How to Create a Beautiful Shiplap Accent Wall on Your Ceiling
Creating a beautiful shiplap accent wall on your ceiling is a great way to add visual interest and charm to any room. Begin by determining the design you would like to create, then measure and mark the ceiling accordingly. Cut and attach the shiplap panels, ensuring that they fit together snugly. Once the panels are in place, add some finishing touches such as trim or molding, if desired.
DIY Shiplap Ceiling: Tips and Tricks for Installing Shiplap
When installing shiplap on a ceiling, it’s important to start out right by properly preparing the surface. Make sure the area is clean and free of debris, and fill any holes or cracks with spackle. Additionally, it’s important to consider the type of wood being used, as different types require different installation methods. When attaching the panels, use a generous amount of adhesive, and make sure to seal the panels with a waterproof sealant once they are in place. Finally, consider adding accessories such as crown molding or corner pieces to give the ceiling a finished look.

All You Need to Know About Installing Shiplap on a Ceiling
Before beginning a shiplap installation project, it’s important to understand the basics. Shiplap can be installed horizontally or vertically, and comes in various widths. Additionally, the type of wood used will affect the installation process. Once the surface is prepared, measure and mark the ceiling before cutting and attaching the shiplap panels. To finish the project, caulk any gaps between the panels and paint the entire surface.
Get the Look: Installing Shiplap on a Ceiling
To create a beautiful shiplap ceiling, it’s important to choose the right color. Consider the existing décor and pick a shade that complements the other elements in the room. Additionally, think about creating a pattern with the shiplap panels, such as a chevron or herringbone pattern. Finally, consider adding decorative elements such as crown molding or wainscoting to give the ceiling an extra touch of elegance.

Simple Ways to Install Shiplap on a Ceiling
There are several ways to install shiplap on a ceiling. One option is to use adhesive, which is especially helpful for larger projects. Another option is to nail the shiplap directly into the ceiling joists. For added stability, consider using screws instead of nails. Finally, there are also prefabricated kits available that make installation even easier.
A Beginner’s Guide to Installing Shiplap on a Ceiling
Installing shiplap on a ceiling doesn’t have to be difficult. Before beginning the project, plan ahead and gather all the necessary materials. Properly measure the ceiling and double-check the measurements before cutting the shiplap panels. Additionally, consider using a level to ensure accuracy when attaching the panels. Finally, use a generous amount of adhesive and caulk any gaps to ensure a secure installation.
Conclusion
Installing shiplap on a ceiling is a great way to add texture and visual interest to any room. With the right tools and materials, it’s a relatively simple project that can be completed in a few hours. Consider creating a unique design with the shiplap panels, or adding decorative elements such as crown molding or wainscoting for a more polished look. Following these tips will help ensure a successful installation.