
Introduction
An outdoor electrical outlet is a great addition to any home or business. It allows you to easily access power for tools, lights, or appliances without having to run extension cords or other wiring through walls or windows. Installing an outdoor electrical outlet is not a difficult task, but it does require knowledge of basic electrical principles and local building codes. This article will provide a step-by-step guide on how to safely and correctly install an outdoor electrical outlet in your yard.
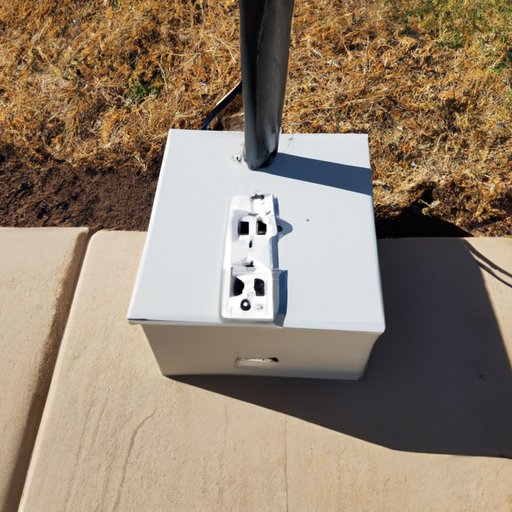
Step-by-Step Guide to Installing an Outdoor Electrical Outlet in Your Yard
Before beginning the installation process, it is important to gather all necessary materials. This includes an outlet box, cover plate, ground fault circuit interrupter (GFCI), and appropriate wiring. Once the supplies are gathered, select an appropriate location for the outlet. Be sure to choose a spot that is at least three feet away from any water source such as a pool, fountain, or pond.
Next, install a GFCI. This device is designed to protect people and property from electric shock. Connect the wires according to the manufacturer’s instructions and be sure to double-check all connections. After the wires are connected, place the outlet box into the hole and secure it with screws.
Finally, attach the cover plate and turn the power back on. Test the outlet by plugging in a lamp or other device to make sure it is working properly. If everything looks good, the installation is complete!

DIY Electrical: How to Install an Outdoor Electrical Outlet in Your Yard
Installing an outdoor electrical outlet is a relatively simple task, but it is important to understand basic electrical principles and local building codes before beginning. Reading the instruction manual and following all safety precautions is essential. Additionally, it is important to know what type of outlet is best for your needs.
What You Need to Know About Installing an Outdoor Electrical Outlet in Your Yard
There are several types of outdoor electrical outlets available, including standard outlets, weatherproof outlets, and GFCI outlets. Standard outlets are typically used for low-voltage applications such as lighting. Weatherproof outlets are designed to withstand exposure to the elements and can be used for higher voltage applications such as running power tools. GFCI outlets are designed to provide extra protection against electric shock and should be used whenever possible.
Other considerations when installing an outdoor electrical outlet include proper grounding and surge protection. Grounding helps protect against electric shock and surge protection helps prevent damage to electrical devices caused by power surges. Both of these must be taken into account when planning the installation.
A Beginner’s Guide to Installing an Outdoor Electrical Outlet in Your Yard
Planning and preparing for the installation is the first step. Make sure to read and understand the instructions for the outlet and follow all safety guidelines. Check local building codes to ensure that the installation meets all requirements. Gather all necessary tools and supplies, including an outlet box, cover plate, GFCI, and appropriate wiring.
The installation process is relatively straightforward. Start by selecting an appropriate location for the outlet, then install a GFCI and connect the wires. Place the outlet box into the hole and secure it with screws. Attach the cover plate, turn the power back on, and test the outlet before use.

The Basics of Installing an Outdoor Electrical Outlet in Your Yard
The first step in installing an outdoor electrical outlet is to collect all necessary tools and supplies. This includes an outlet box, cover plate, GFCI, and appropriate wiring. The next step is to select an appropriate location for the outlet. Be sure to choose a spot that is at least three feet away from any water source such as a pool, fountain, or pond.
Once the location is selected, install the GFCI and connect the wires. Place the outlet box into the hole and secure it with screws. Finally, attach the cover plate and turn the power back on. Test the outlet before use to make sure it is working properly.

Safety First: Essential Tips for Installing an Outdoor Electrical Outlet in Your Yard
Installing an outdoor electrical outlet is a relatively easy task, but safety should always come first. Wear proper safety gear such as gloves and eye protection during the installation process. Double-check all connections to make sure they are secure and tight. Finally, test the outlet before use to make sure it is working properly.
Conclusion
Installing an outdoor electrical outlet is a fairly straightforward process, but it is important to understand basic electrical principles and local building codes before beginning. Take the time to plan and prepare for the installation and always follow safety guidelines. With the right tools and supplies, anyone can install an outdoor electrical outlet in their yard.