
Introduction
Installing kitchen sink plumbing can seem like a daunting task, but with the right knowledge and preparation it is possible to do it yourself. In this article, we will discuss the basics of kitchen sink plumbing, provide a detailed step-by-step guide to installation, as well as some helpful tips and advice.

Overview of Kitchen Sink Plumbing
Kitchen sink plumbing involves the installation of pipes and fixtures that connect the sink to the rest of the plumbing system in a home. This includes a drainpipe, which carries water away from the sink after it has been used, and a garbage disposal, which grinds up food waste before sending it down the drain. The plumbing also includes a faucet, which allows you to control the flow of water into the sink.
Purpose of Article
This article is intended to provide a comprehensive guide to installing kitchen sink plumbing. We will cover the necessary materials, tools, and steps involved in the process, as well as some helpful tips and advice. If you are new to plumbing or have limited experience, this article will give you the information you need to successfully install your kitchen sink plumbing.
Step-by-Step Guide to Installing Kitchen Sink Plumbing
Installing kitchen sink plumbing may seem complicated, but it is actually quite straightforward if you follow the steps below.
Assembling the Necessary Materials
Before beginning the installation process, you will need to gather all the necessary materials. These include a drainpipe, garbage disposal, faucet, pipe sealant, plumber’s tape, and any other items required by your particular setup. Make sure that all the parts fit together properly and that you have enough materials for the job.
Preparing the Sink Area
Once you have gathered the necessary materials, you can begin to prepare the sink area. Start by removing any existing plumbing components, such as old pipes or fittings. Then, clean the area thoroughly with a damp cloth or rag. Finally, make sure that the space is level so that the new plumbing components will fit correctly.
Connecting the Drainpipe and Garbage Disposal
The next step is to connect the drainpipe and garbage disposal. Begin by attaching the drainpipe to the garbage disposal using the appropriate fittings. Once the connection is secure, use plumber’s tape to seal the joints. Finally, attach the drainpipe to the wall or floor where it will exit the room.
Installing the Faucet
Now it’s time to install the faucet. Start by attaching the faucet to the sink with the appropriate fittings. Then, connect the supply lines to the hot and cold valves. Make sure that the connections are tight and secure. Finally, seal the connections with pipe sealant to prevent leaks.
Finishing Touches
Once the faucet is installed, you can move on to the finishing touches. This includes connecting the drainpipe and garbage disposal to the main drain line, as well as any other necessary connections. Once everything is connected, turn on the water and check for any leaks. If there are no leaks, the installation is complete.

DIY Kitchen Sink Plumbing: What You Need to Know
If you are planning to tackle the installation of kitchen sink plumbing yourself, there are a few things you should know. First, you will need to familiarize yourself with the types of materials used in plumbing, such as PVC pipe, copper piping, and PEX tubing. Second, you will need to know what tools are needed for the job, such as wrenches, screwdrivers, and a hacksaw. Third, be aware of the most common installation mistakes, such as incorrect measurements and improper sealing. Knowing these things beforehand will help ensure a successful installation.
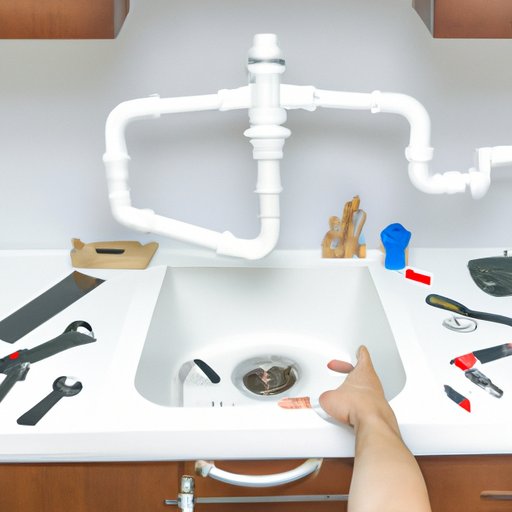
How to Install a Kitchen Sink Drain with Pictures
Installing a kitchen sink drain can be tricky, even for experienced plumbers. To make the process easier, it is helpful to follow along with detailed instructions and accompanying pictures. Here, we will provide an explanation of each step in the installation process, as well as images to illustrate how each step should look.
Step 1: Attach the Drainpipe to the Garbage Disposal
Start by attaching the drainpipe to the garbage disposal using the appropriate fittings. Make sure the connection is tight and secure.

Step 2: Connect the Drainpipe to the Wall or Floor
Next, attach the drainpipe to the wall or floor where it will exit the room. Use plumber’s tape to seal the joints.

Step 3: Attach the Faucet to the Sink
Now it’s time to attach the faucet to the sink. Use the appropriate fittings to make the connection.

Step 4: Connect the Supply Lines to the Hot and Cold Valves
Finally, connect the supply lines to the hot and cold valves. Make sure the connections are tight and secure. Seal the connections with pipe sealant to prevent leaks.


Tips for Installing Kitchen Sink Plumbing
Installing kitchen sink plumbing requires careful attention to detail. Here are a few tips to keep in mind throughout the installation process:
- Ensure Proper Measurements: Measure twice, cut once! Make sure you take accurate measurements when cutting pipes or attaching fittings.
- Double-Check Connections: Once you have connected all the pieces, double-check that they are secure. Any loose connections could lead to leaks.
- Seal Pipes Correctly: Make sure to use the correct type of sealant for each connection. This will help prevent leaks and ensure a long-lasting installation.
A Beginner’s Guide to Kitchen Sink Plumbing Installation
If you are a beginner to plumbing, there are a few things you should keep in mind when installing kitchen sink plumbing. First and foremost, always take safety precautions when working with plumbing. Wear protective gear, such as gloves, goggles, and a face mask, and make sure the area is well ventilated. Additionally, be aware of the most common installation issues and how to troubleshoot them. If you run into any problems, don’t hesitate to call a professional for assistance.
How to Select and Install the Right Kitchen Sink Plumbing
Once you have decided to install kitchen sink plumbing, the next step is to select the right materials and fixtures. There are many different types of sinks and plumbing fixtures available, so it is important to choose ones that are suited to your particular setup. Additionally, consider factors such as size, style, and cost. Once you have selected the materials and fixtures, you can proceed with the installation process. Make sure to follow the steps outlined above and take proper safety precautions.
Conclusion
Installing kitchen sink plumbing is a relatively simple process if you have the necessary knowledge and preparation. This article provided a comprehensive guide to the process, including a step-by-step guide, information on materials and tools needed, common installation mistakes, images to illustrate each step, tips for successful installation, and important safety considerations. With the right information and a bit of patience, anyone can tackle kitchen sink plumbing installation.